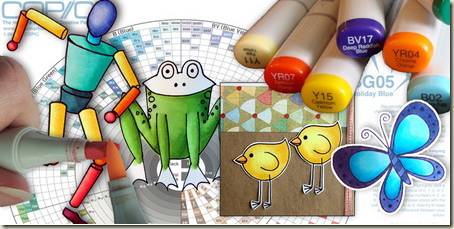
 Copic markers have become a favored tool of stampers, card makers, scrapbookers, scientific illustrators, and even manga artists.
Copic markers are different than other markers in their applications and in their cost. Michelle Houghton is a certified copics instructor. Use her advice below along with her series of illustrated tutorials to get started using copic markers.
copic markers are different
Copic markers were originally created for designers and with the needs of designers in mind. Here are things that make them special:
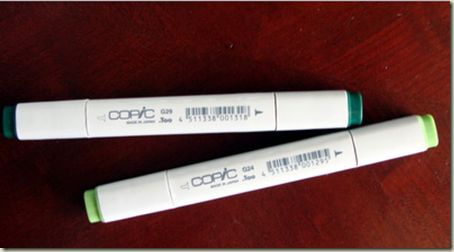
- All of the markers can be refilled with ink and come with replaceable nibs or tips.
- The labeling on the side of the markers is embossed so will not rub off.
- The ink in the Copics is an alcohol based dye ink. This formula allows you to blend the colors together without tearing up your paper like a water-based ink.
- The ink has a guaranteed color consistency so you know your colors will always match and color smoothly.
- As the alcohol evaporates the ink becomes acid free so it works great on paper-crafting projects.
- The markers have a three-year shelf life, meaning if they are closed tightly sitting on a shelf they will still be good after three years. I do not think once you get your hands on them you will let them sit that long.
- Two of the marker styles are also compatible with an air brush system.
there is a system to buying copic markers
Michelle offers details on Buying Copic Markers. If you decide to really get into it you’ll need to understand the four types of copic markers: copic, sketch, ciao and wide – brief descriptions. Additionally, there is a four-part labeling system you should use when buying them. The labels on all the markers work with a numbering system that includes 4 parts: broad classification, intermediate classification, brightness, and color name. And . . . there are exceptions. If you are interested in buying a set of markers to get you started, here are Michelle’s recommendations for the markers you’ll need in your starter set.
you’ll need additional supplies
pens
If you are a doodler and are planning on making your own doodles to fill with your Copics you will have the best luck using one of their pens to doodle with. Copic makes sketch pens called multilinkers. There are 2 styles of these pens. The Copic Multiliner is a great sketch pen that ranges in size from .03mm to 1.0mm and also comes in 2 brush sizes. The ink is waterproof and compatible with Copic markers. They come in black and 5 colors as well.
If you have a favorite sketch pen already you can always test it with your Copics. Draw a small circle on your paper, color in the inside of your circle with a Copic marker. Going right up next to the line but not over it. Continue adding more color so that the color begins to spread and bleed. Watch what happens to the ink line as the Copic washes over it. If the ink line stays tight and does not bleed you have a pen that will work with your Copics. If it bleeds and becomes fuzzy you will have to find another pen to use with your markers.
stamping ink
If you will be stamping your images you will need ink that is compatible with your markers.
Tsukineko Memento or Brilliance Ink, Ranger Distress Inks, A Muse Dye, or Stewart Superior Palette Noire all are recommended. You can get even more consistent results by heat setting before you color with your markers.
StazOn and Stampin’ Up ink are solvent inks which are meant to be used with water based media they DO NOT work with Copic markers.
paper
You will need paper to do any of this fun stuff. There are many brands of smooth white cardstock that will work with the markers. Bazzill Smoothies can be found fairly easily, I have used the smooth white cardstock you can purchase at Archiver’s. Other brands that are recommended include Neenah, Prism, Georgia Pacific, Gina K., and Papertrey.
the magic is in the blending
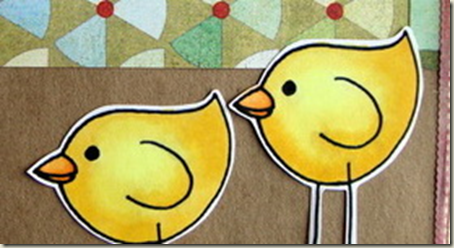
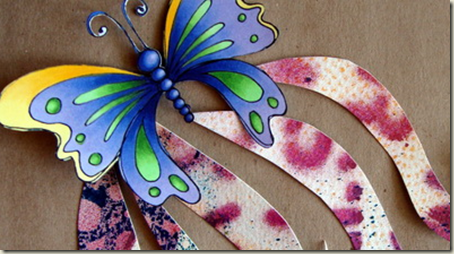
The magic of these markers is in blending the colors together, so let’s look at how to do that with my starter lesson: How to Blend with Copic Markers. As you progress, you’ll want to learn other ways to add shading into smaller areas and where to add your shading.
the blending marker rocks
My first question after I saw someone demonstrate how to blend Copic markers was: “What is the blending marker for then?” I got my answer and then played, researched, and discovered a little more. The standard answer is that the blender is for “pushing” color. Learn more in my lesson: Using the Blending Marker.
copics are awesome for shading
Take a look at my lesson: Copic Marker Shading with Printable Rocket.
- Video Blog | Scrapbooking Ideas for Making Your Own Big-Dot Pattern
- Paper and Digital Techniques for Making Your Own Flat Geometric (Low Poly) Elements
- The Best Practices for Copic Marker Cleaning | Michelle Houghton on Mixed Media
- On-Trend Scrapbooking Ideas for Making Your Own Big-Dot Pattern
- Gelatos Art How-To for Misting and Rubbing Techniques
- Ideas for Copic Marker Coloring on Scrapbook Layout Embellishments
- 12 Essential Lessons For Copic Marker Users
- How to Use Copic Markers Tutorial No 31 | Squirrel and Acorns
- How to Use Copic Markers Tutorial No 30 | Coloring fabric folds – pig in tutu
- Alcohol Marker Comparison – Part 3 (copic tutorial no. 29)
- Alcohol Marker Comparison – Part 2 (copic tutorial no. 28)
- Alcohol Marker Comparison – Part 1 (copic tutorial no. 27)
- How to use Copic Markers Tutorial 26 | Coloring Transparent Balloons
- How to Use Copic Markers with Doodling to Create One-of-a-Kind Transparency Designs
- Fun Copic Ink Technique How-To (copic marker tutorial no 25)
- 3 Techniques for Using Copic Marker Inks on Fabric (copic marker tutorial no 24)
- How to use copic markers tutorial 23 | hedgehogs
- The Copic Markers You Need in Your Starter Set
- How to use Copic Markers Tutorial 21 | Fish
- How to use copic markers tutorial 20 | juicy watermelon
- How to use copic markers tutorial 19 | monster no. 2
- How to use copic markers tutorial 18 | using digital stamps for copic coloring
- How to use copic markers tutorial 17 | monster no. 1
- How to use copic markers tutorial 16 | tips on nibs
- How to use copic markers tutorial 15 | 4 leaf clover printable + blending how-to
- How to use copic markers tutorial 14 | luv bugs printable + blending how-to
- How to use copic markers tutorial 13 | 8 Valentine’s Day cards
- How to use copic markers tutorial 12 | a new year (part 2)
- How to use copic markers tutorial 11 | make 2011 album cover art
- 6 Tips for Getting Started with Copic Markers
- How to use copic markers tutorial 10 | pumpkins printable and shading how-to
- How to use copic markers tutorial 9 | monkey printable + shading how-to
- How to use copic markers tutorial 8 | dragon printable + shading how-to
- How to use copic markers tutorial 7 | star printable + shading how-to
- How to use copic markers tutorial 6 | heart printable + shading how-to
- How to use copic markers tutorial 5 | rocket printable + shading how-to
- How to use copic markers tutorial 4 | flower printable + shading how-to
- How to use copic markers tutorial 3 | using the blending marker
- How to use copic markers tutorial 2 | how to blend with copic markers
- How to use copic markers tutorial 1 | how to buy copic markers
[mhoughton]


