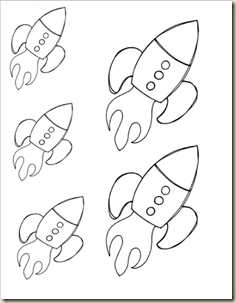
 As promised, here is another step-by-step tutorial for using your Copic markers and shading an image we can all work on together.
This time we are playing with an image made specially for all my friends with little boys. For those of you with little girls I am sure you can find an excuse to use this cute rocket. I added mine to a layout of a visit to the Science Center.
First get your image ready by printing out the sheet of multiple rockets or resizing the image and printing it to suit your project. Download/open pdf with rockets for practice. Remember some of you might have to take the image to a copy center if your ink jet printer is not compatible with your Copics.
The color list that I am using today is; Y00, Y11, Y15, YR04, YR07, YG11, YG13, B00, B02, and B05. You do not have to have these exact colors–play along with what you can find! 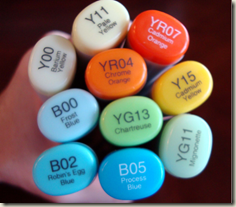
Step #1 – I started with the flame on the rocket. This part of the image has the most layers on it. I actually used 5 different colors on this section. You can simplify however you like. I started with Y00 to get my lightest yellow out into the far corners of the flame. I knew that with all the layers I was going to add that I would have a lot of moisture on the page so I did not add the yellow all the way into to the base of the rocket.
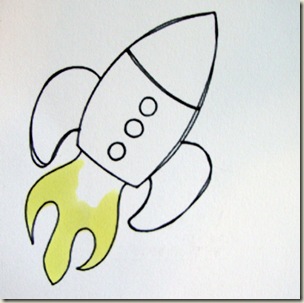
Step #2 – I added Y11 into the flame next. Right down the center of each piece of the flame and back in a little closer to the base of the rocket. I blended this layer in with the Y00.

Step #3 – I added Y15 into the flame not going all the way up into the individual bands of the flame but all the way back to the base of the rocket. I blended with the Y11 to smooth out this layer.
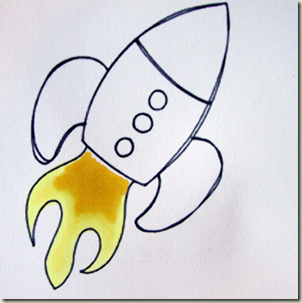
Step #4 – YR04 is next on the list for the flame. This is a whole different color family so you will see a big difference. One of the big keys here is working quickly. If your ink is still wet it will do some of the blending for you. Go back in with your Y15 in small circles over the edges to blend this layer in further. Do not worry about the darker color getting on your marker, this is part of the magic of these markers, the darker ink will not stay on the lighter marker.
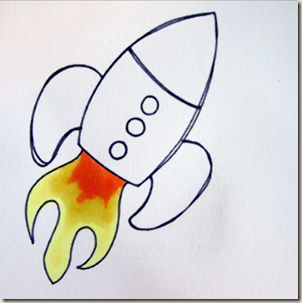
Step #5 – I finished of the flame with YR07 this is a very dark yellow/red and will really push that flame to the extremes. I just added this at the base of the rocket. I blended this layer in with the YR04 and then a little more with the Y15. The flame is finished.
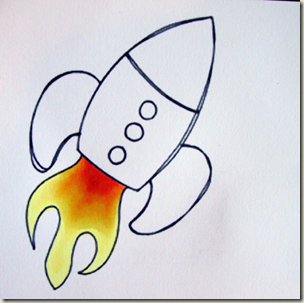
Step #6 – Next, let’s work on the fins. I am pretending that the light is coming in from the left side of my image so this will effect where I add my highlights and shadows. I am going to do both fins at once but you can do one at a time. I am starting with my YG11 and adding the base color filling the majority of the fins.
Step #7 – Now I am going in with the YG13 to add the shading. On the left fin, I am adding a wider band of color on the underside, to the lower right, on the fin. On the right side fin I am doing a wider band of color on the right hand side and another against the body of the rocket where it will cast a shadow. Check the image on this step, it is complicated to put into words. Finish up the fins with blending back with YG11.
Step #8 – On to the top of the rocket. I am starting with the YG11 again and this time just starting with a wide band a little off center to the left side.
Step #9 – I am adding YG15 next on the rocket top. The darker color will fill both sides with a wider band to the right, further away from the light source. Going back to blend with YG11 will finish off the top.
Step #10 – Moving on to the body of the rocket we are going to start with B00. I started with a wide band on this portion off center to the left and working around the windows.
Step #11 – I added my middle tone with B02. I created bands on both sides out to the edges being careful around the windows then blended with B00.
Step #12 – Last on the body of the rocket is B05 to add the darkest tones. I added just a touch of color on the edge along the left and did a narrow band of color along the right. Blending back in with B02 finishes off the body of the rocket.
Step #13 – Last but not least I added Y15 to the windows, no shading here just the bright yellow for the windows.
One rocket ready to add to your layout or card. Enjoy! [mhoughton]

