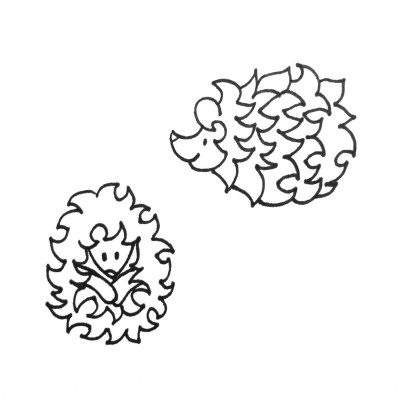
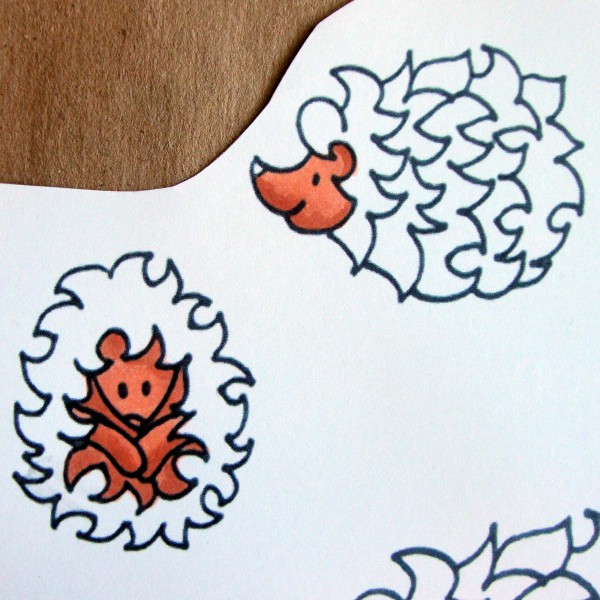
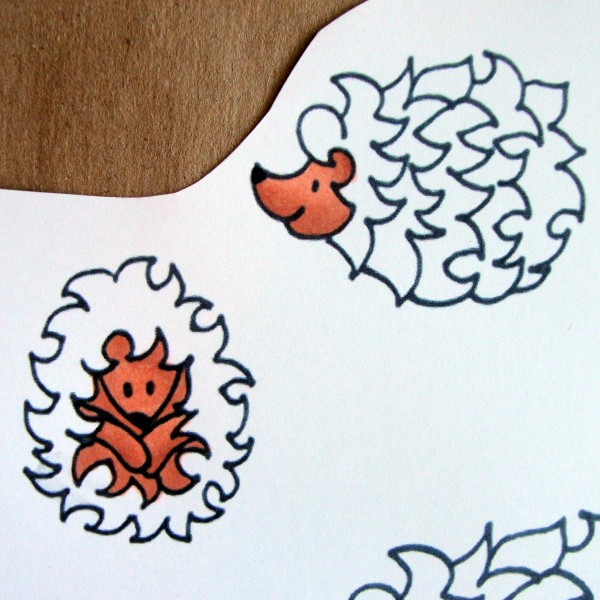
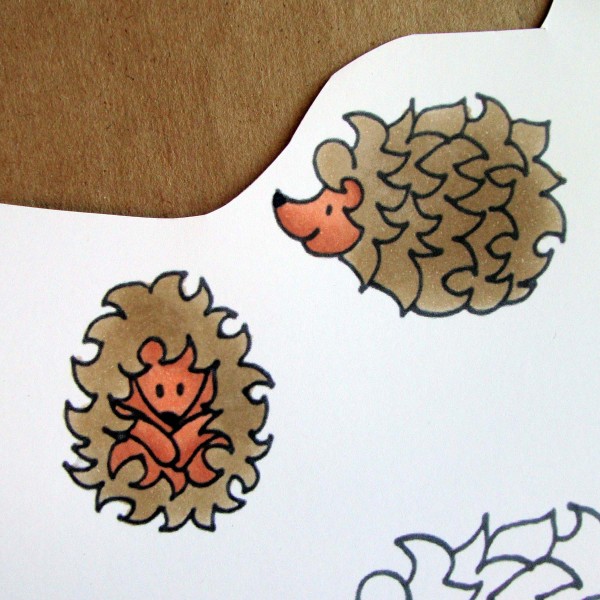
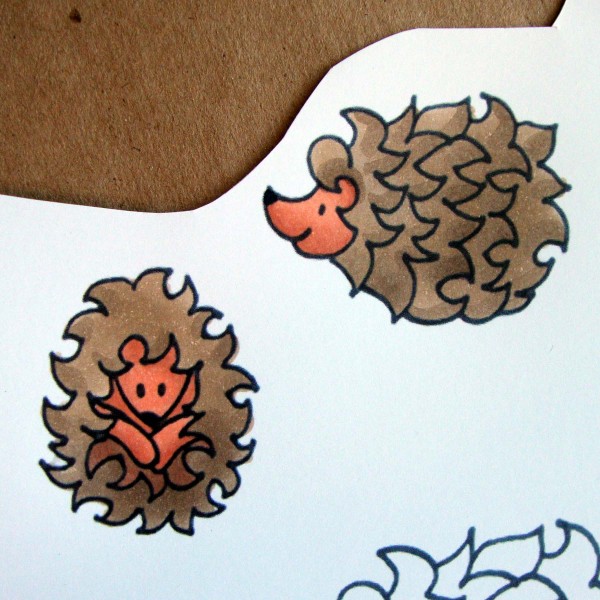
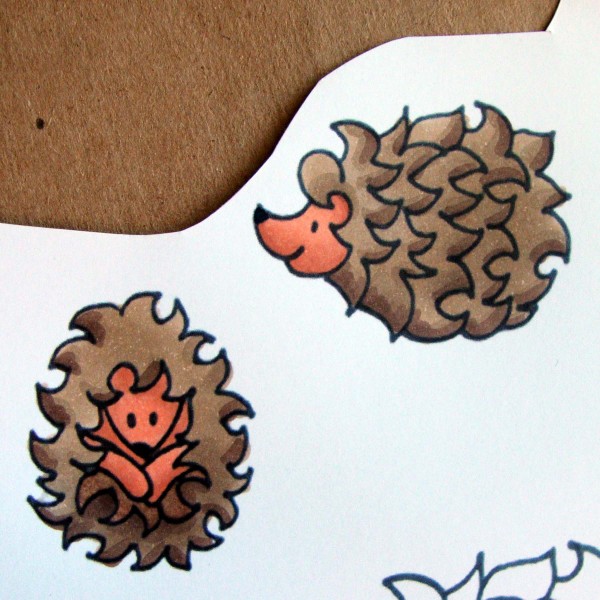
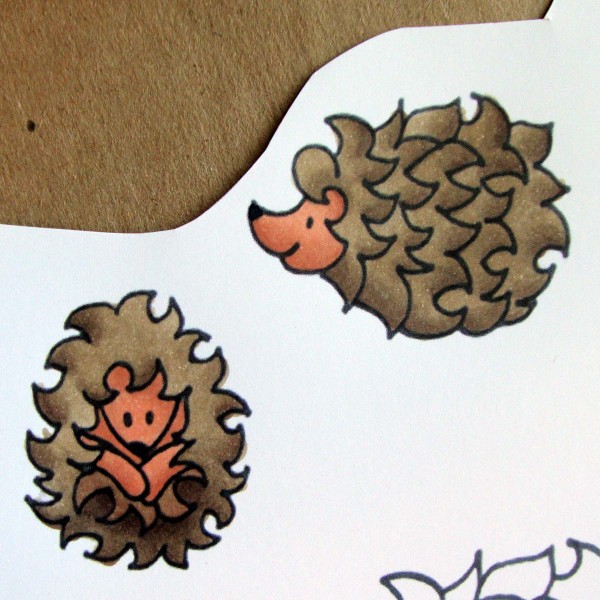
 Copic lovers, I have a new image for you to color along with step-by-step instructions. I had a friend request a hedgehog, and because I am always looking to please, I whipped two little critters up for her.
These little hedgehogs are original artwork by me that I am sharing with you. If you use these little critters on a card or project that you post, publish or share please also pass my name and if possible my information on with the image. You can direct them to my blog at http://scrapweaver.blogspot.com or to my home teaching site at www.getitscrapped.com .
Thank you in advance for this courtesy.
Download Free Printable Here
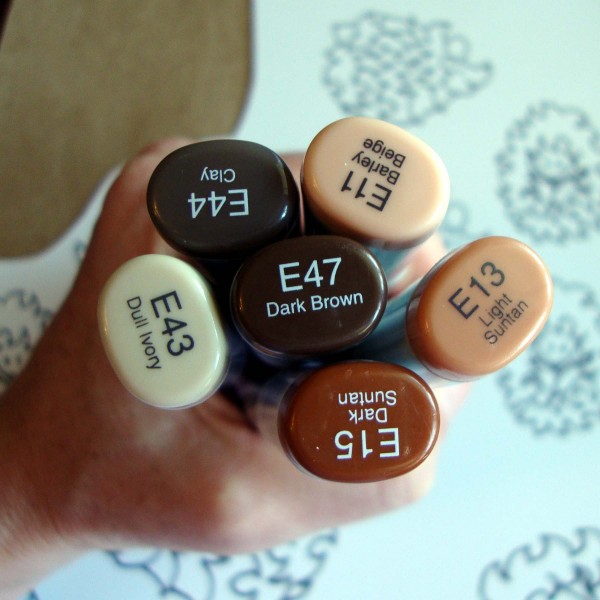
Now on with the coloring! For these images I am using E11, E13, E15, E41, E44, E47 and a black sketch marker. It is not pictured because any black marker will do.
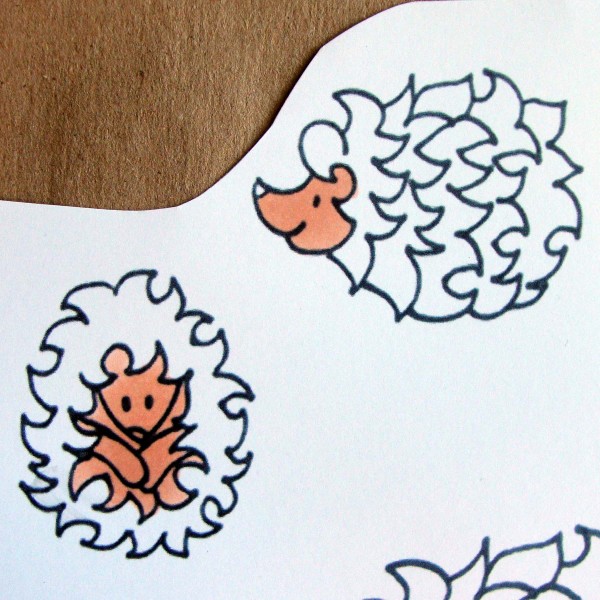
Step #1 – Color the face and soft under body of the hedgehogs with E11. I am coloring both at once to show you, but I would not recommend it. It is very hard to keep both critters going quick enough to keep the ink wet.
Step #2 – I used E13 to add shading to the underside of the profile face, to the bottom edge of the arms, around the fur framing the underside and the sides of the face on the front facing hedgehog.
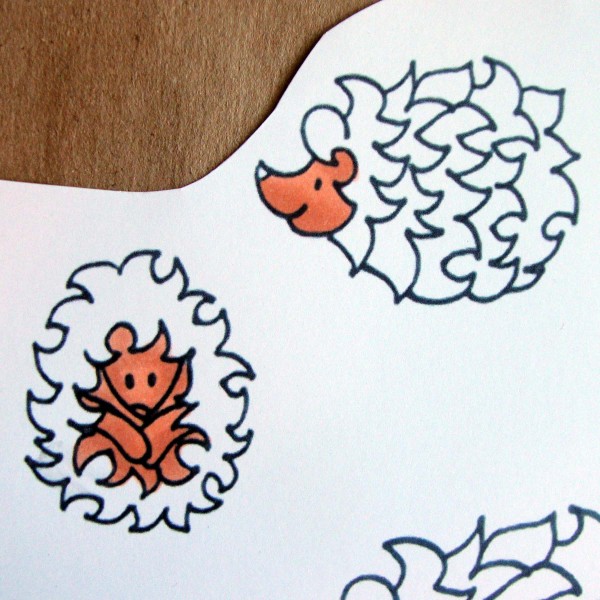
Step #3 – You can blend your E13 in with Your E11 and then add a third layer of shading with your E15. For this last layer add your color in smaller amounts in the same areas that you added your E13.
Step #4 – Use E13 and E11 to blend the faces and undersides of the hedgehogs. Also use a black marker either Copic or another brand to fill in the noses. Because this is added on after blending and will not be worked over we can use any marker here.
Step #5 – I used my E41 to fill in the quills on both hedgehogs.
Step #6 – I added my first layer of shading with my E44 on individual quills. On the profile hedgehog I hit the bottom half of every quill. The front facing critter had several quills shaded and more at the bottom section. I also realized that I wanted one of the sections I had already colored with the faces to be colored with the quills. This is a great example of how you can sometimes work right over an area a second time. I covered this small section with the E44 as well.
Step #7 – I went right ahead without blending and added my E47 in very small amounts to the areas where I had placed my E44. Note, I did not add E47 to the area near the bottom of the front facing hedgehog that I am trying to change.
Step #8 – Lastly I went back in with my E44 and then with my E41 to smooth the shading on the quills. I hit the section I am changing on the front facing hedgehog pretty hard with the E41 to lighten it further. I also went back in with my E47 one more time under that section of quills to make them look even lighter and like they are laying on top of the very bottom section.
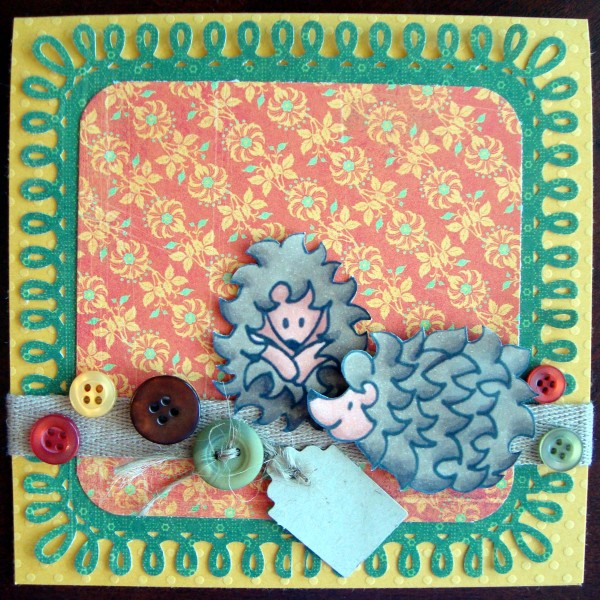
Thanks for coloring along with me! I hope your enjoy your pair of hedgehogs and find the perfect project or projects for them to call home. [mhoughton]

