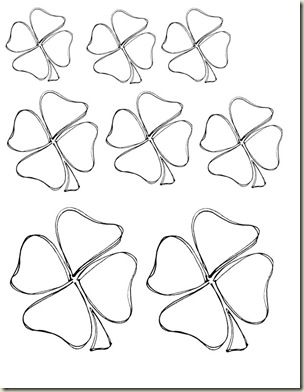
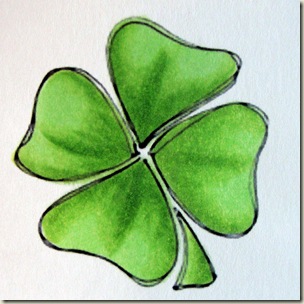
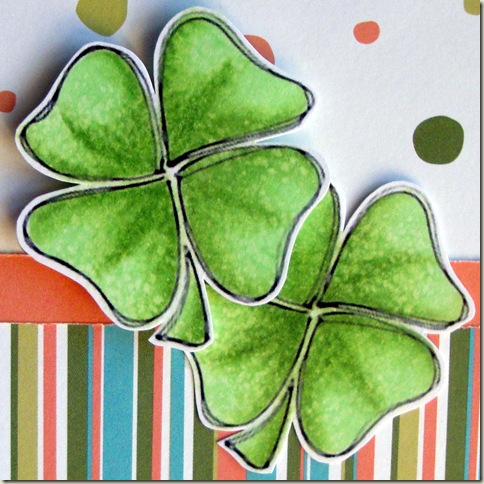
A little bit of luck was in order for the month of march so here is a simple image with a fun texture technique at the end. For my clover I used YG11, YG13, and YG17. These three colors are a very common set of greens to have in your collection. They are a wonderful spring, grass green. I also used my Blender marker and blender solution to create a texture effect at the end, this is a completely optional step. Gather your greens, print your clover and let’s color!
Click Here to Download Printable Images
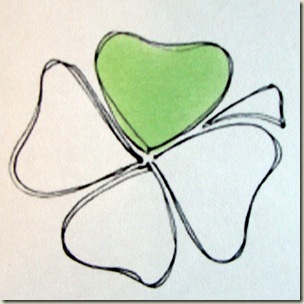
Step #1 – I am coloring only one leaf at a time so I can work while my ink is still wet. Fill your first leaf with your lightest green (YG11).
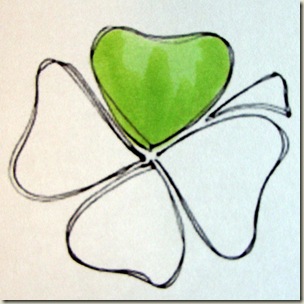
Step #2 – Your middle green comes in next(YG13). I colored a center crease and then worked in from the outer sides of the leaf.
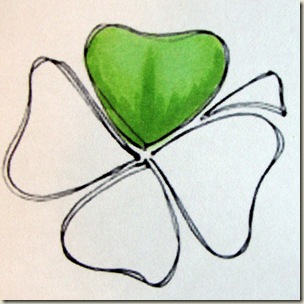
Step #3 – Blend your middle layer in with your lightest marker (YG11). Add your darkest layer (YG17) next. I am making a narrower line up my center crease and hitting the side edges of the leaf.
Step #4 – Blend this last layer in with your middle green (YG13) and lightest green (YG11). Complete all four leaves and stem in the same manner. Let your coloring dry almost completely, yes, this requires a touch of patience.
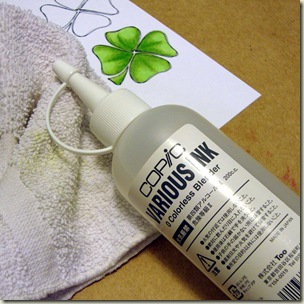
Step #5 – If you would like you can add this final step to add texture to your clover. I am using an old washcloth and dripping blending solution on it. I have a large bottle of blending solution to do this technique with. If you do not have a bottle you can use your blender marker and just dampen your fabric with it.
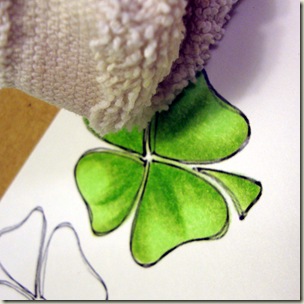
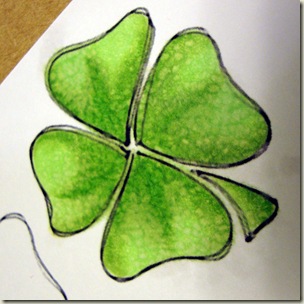
Step #6 – Lightly dab your clover with the wet portion of your fabric, lift and magic! You can go back once or twice but you won’t need a whole lot.
May the luck of the Irish be with you this month, happy coloring!
[mhoughton]

