Hi everyone! I’ve got another copic coloring printable and tutorial for you!
Here is a small critter that will be the perfect for your fall scrapbook pages and projects.
Get started by downloading and printing this page full of hand-drawn squirrels–and of course what squirrel would be complete without an acorn to store away for winter?
Click Here to Download Free Squirrel and Nut Printable
Note: There are directions for printing in earlier tutorials if you are new to this series. And as always this is an original image by me so if you choose to post your work or submit it please give credit for the art work. Thank you!
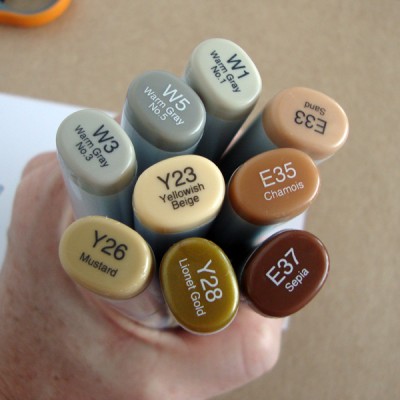
For these images I used the following colors W1, W3, W5, Y23, Y26, Y28, E33, E35 and E37.
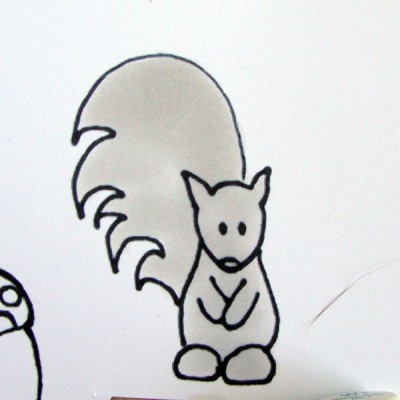
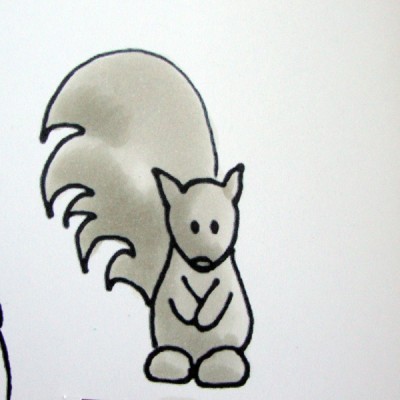
Step #1 – Color the entire squirrel with W1.
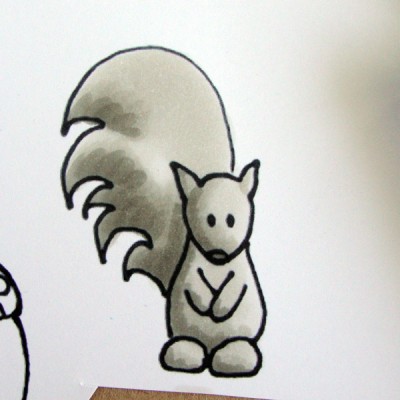
Step #2 – Add your first layer of shading on the squirrel with your W3.
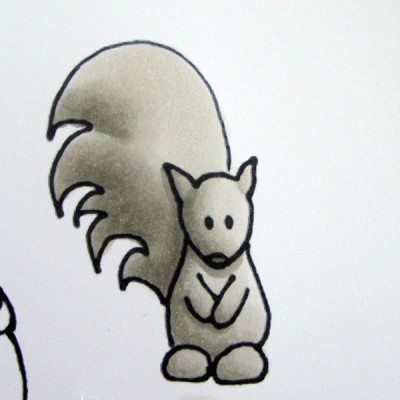
Step #3 – Add your darkest shading with your W5.
Step #4 – Blend your layers together going in reverse with your W3 and then W1. Add one or two more layers with your W5 on the nose and as cast shadows under the chin and arms.
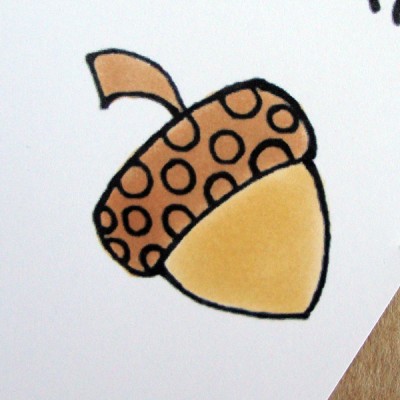
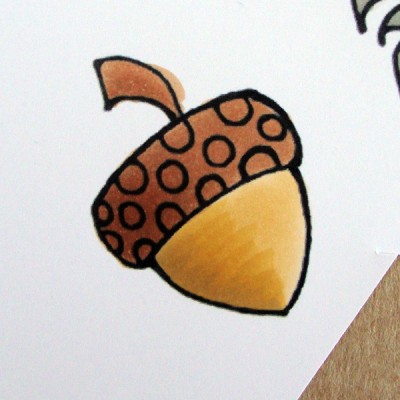
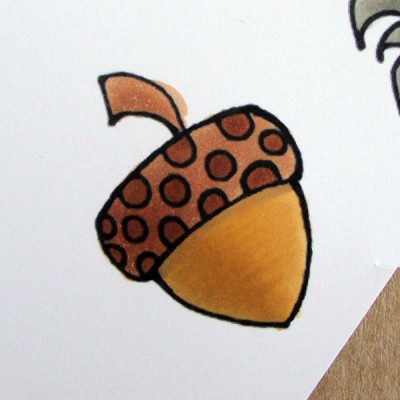
Step #5 – Start the nut portion of your acorn with your Y23 then color the cap with E33, color over the dots.
Step #6 – Add shading to the nut with Y26 and to the cap with E35.
Step #7 – Add your darkest shading on your nut with your Y28. Fill in the dots on the cap with your E37. If you need to blend the Y’s do so then add a shadow under the cap with your Y28.
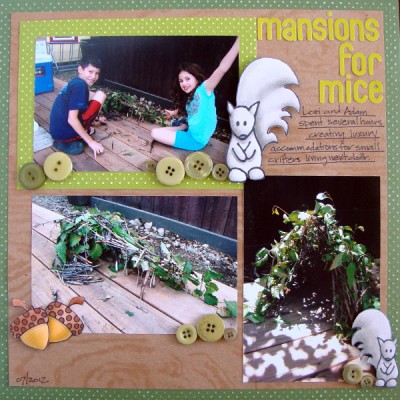
Now you’ve finished one small squirrel and acorn to add to your card, layout or crafting project. All thats left to do is cut them out and pop them into place.
[mhoughton]

