 Just about any surface can be colored with Copic markers and Copic ink–including metals, plastics, wood veneer, and fabric–because of the alcohol base in the ink. Below are ideas for coloring your alphas, paper flowers, stamped images, and even crystals and paper flowers.
color coordinate your page with Copic markers
Michelle Houghton says, “This layout commemorates a vacation my girls and I took on our own to visit my sister in-law. The photos are from a particularly nice lunch at a local restaurant.”
Michelle used Copic markers to color on all of the embellishments and alphas here, and she describes her steps here:
- The letters are colored in pink and blue. I tend to use cream or white letters and embellishments when I’m adding color with Copic markers but it is not a requirement. Just remember that Copic ink is transparent so the color below will show through
- The flowers were shaded with two colors.
- The lace was dyed with Copic ink. To color the lace, I put it in a baggie and added several drops of ink from a Copic re-inker and several drops of colorless blender and squished it around to get the color that I wanted.
- Even the wood veneers were colored. Just about ANY surface can be colored with Copic ink, including metals and plastics because of the alcohol base in the ink.
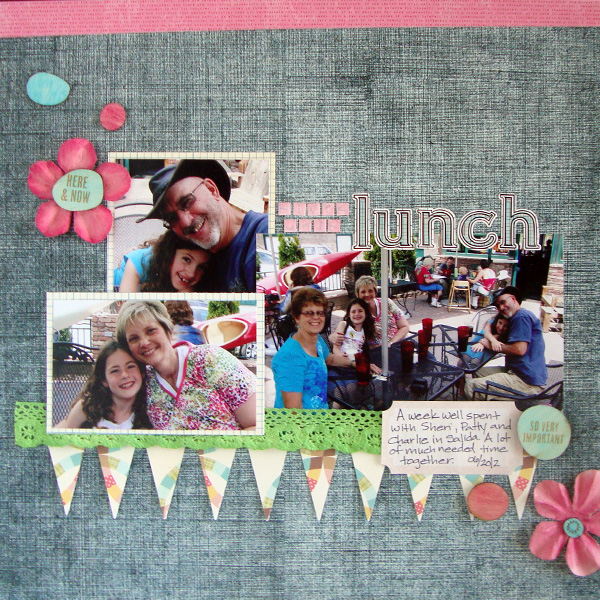
River Walk Lunch by Michelle Houghton | Supplies: papers: October Afternoon and Jillybean Soup; flowers: Prima; wood veneers and label: Studio Calico; sticker letters: Jenni Bowlin and Adornit; lace: American Crafts; ink: Copic; layot design: Scrapbook Coach On A Shelf class
Brenda Becknell says, “My granddaughter had her first taste of a rainbow snow cone this summer, and although it got a little messy towards the end, she loved it.”
Brenda colored several elements on the page with Copics. She says:
- The rainbow and sun images are digital stamps colored with Copics and then fussy cut.
- I colored clear crystals with a blue Copic marker.
- I used Copic markers to color the alphabet stickers in the title. The “cool” and “rainbow” letters were originally white. The “snowcone” letters were a light gray, so coloring them with Copic B02 gave me a teal color that was a perfect match for the patterned papers. Adding Copics to colored alphabet stickers is a great way to get deeper colors, or different shades of a color, so don’t limit yourself to just using Copics on white alphabets.
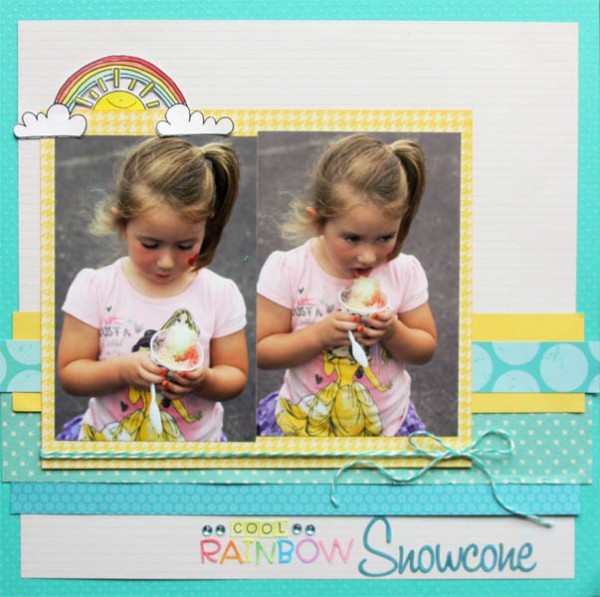
Cool Rainbow Snowcone by Brenda Becknell | Supplies: Cardstock: BoBunny; Patterned paper: Studio Calico, Doodlebug Designs, Jillibean Soup, Heidi Swapp; Alphabet stickers: Doodlebug Designs, Basic Grey: Digital stamps: Plain Jane, Provo Craft; Other: twine, Copic markers
stamp and color an image for embellishing
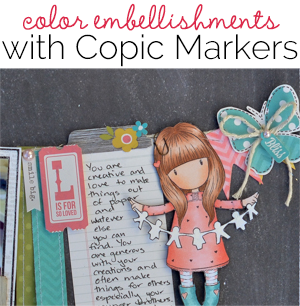
Kristy T says, “My daughter is very creative and loves to make things out of paper. In this photo she is looking quite pleased with the Easter baskets she made for her class.”
“The image of the girl holding a string of paper-cut figures was made with a Gorjuss stamp. It reminds me of my daughter and I colored it with Copic makers to make an embellishment. “
Kristy’s tips:
- With Copic markers you can color an image that supports your story to make your layout unique.
- When you color your image, you can match it to the colors of your pre-made supplies.
- And you can use Copic markers to alter embellishments. Here, I colored Heidi Swapp banners and the wood veneer camera with Copic markers.
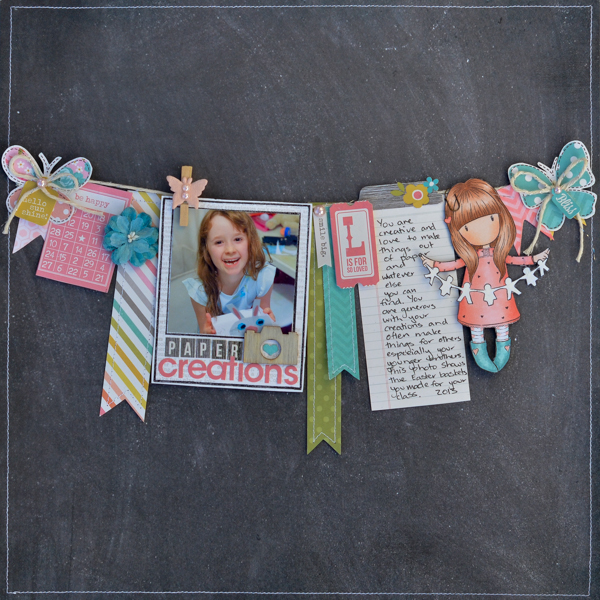
Paper Creations by Kristy T | Supplies: Paper: Simple Stories; Stickers: Simple Stories; Stamp: Gorjuss; Pens: Copic Markers, Atyou Spic, Pilot; Twine: Maya Road; Flower: Prima; Alphas: Simple Stories; Pearls: Prima; Wood Veneer: Studio Calico; Butterfly: Prima
fill an element (like a heart) with an ombre treatment
Marie-Pierre Capistran says, “On ‘Summer Love,’ I gathered photos that show what we do during the summer and what I enjoy about the season.”
“I used Copic markers to color the heart behind the title with an ombre effect. I also colored a stamped image of a lemonade stand placed at bottom right.”
To make the heart: “I used colors next to each other on the color wheel. I stared with one color, and then I colored next to it and a little over it with my next color. I used two to three different marker shades for each hue.”
To color the lemonade stand: “I stamped the image of the lemonade stand with black Memento ink. I colored the wood with three shades of brown. I started with the palest color which I used all over the image. I built up my image adding the next color and the darkest color at the end. When coloring I kept in mind that the lighter areas should be in the center of the stand and that my dark color would come around the image. I also colored with a darker color where things are overlapping, to create a shadow. The center of the flowers were colored with three different yellows. To mimic a sphere I used a circular motion while coloring and I followed the side of the circles to add my darkest color. I wanted to keep the petals white so I only used a very pale blue on the lines of the petals but left the center white. When I color I always use the palest color first and then add the medium tone and finish with the darkest one and I color over the whole thing with my paler shades afterward.”
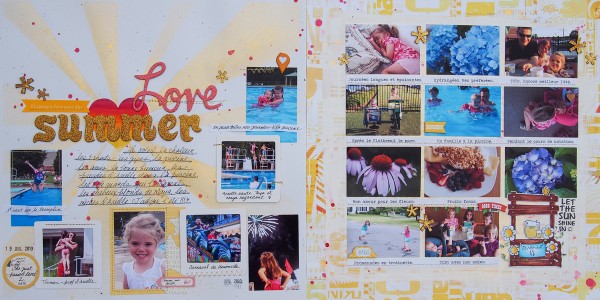
Summer Love by Marie-Pierre Capistran | Supplies: Cardstock: Stampin’Up; Patterned paper: Studio Calico; Stamps: Unity Stamp, Studio Calico; Die cuts: October Afternoon; Chipboard elements: Echo Park Paper, Dear Lizzy; Chipboard letters: American Crafts; Cork stars: Studio Calico; Puffy geotag: Skipping5; Journaling card: Studio Calico; Spray mist: Heidi Swapp; Stencil: Heidi Swapp; Other: Gesso, gold thread, date stamp.
Copics are great for quick-and-easy customizing
Katie Scott says, “We live less than 2 hours from Disney World, so we often get the Disney Waterpark Passes, and Blizzard Beach is one of my kids’ favorite summer getaways.”
“This simple page went together quickly because I used (three) 4″ x 6″ photos and (three) 3″ x 4″ journaling cards.” To match the colorful ‘summer’ banner at the top, Katie colored all-white canvas Thickers alpha (American Crafts) to match the banner using Copic markers. Katie says, “Sometimes I think I should buy letter stickers only in white so I could always customize them to match the page. It is very easy to color any type of letter sticker or Thicker with Copic markers. The color stays on all types of surfaces.”
“I know you can use Copics for color blending and all sorts of fancy techniques, but they are also very useful for simple techniques: quick, easy and done! I’ve had my set of Copic markers for well over 5 years and they still work perfectly. Wo while they are a bit expensive, they are long lasting.”
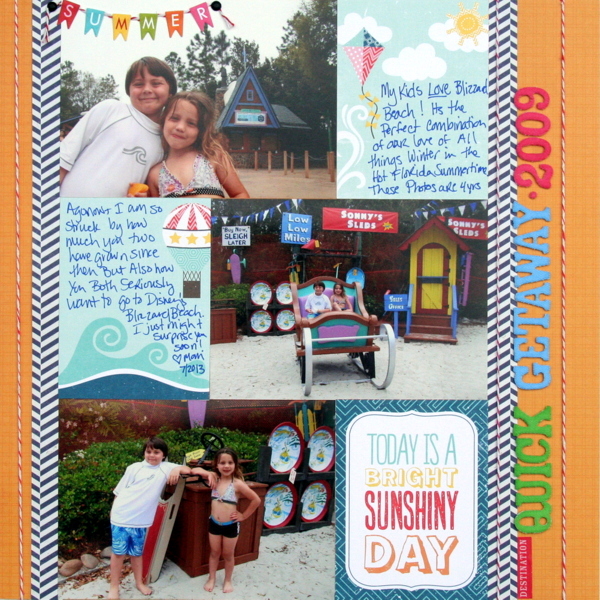
Quick Getaway 2009 by Katie Scott | Supplies: Bella Blvd banner stickers; American Crafts twine and canvas letter stickers; My Mind’s Eye patterned paper; Echo Park cut away 3×4 cards.
add distressing with Copic markers
Amanda Robinson says, “This is a nursery school photo of myself.”
“I used Copics to distress the edges and colored areas of the clock die-cut. I also dyed the canvas flower with Copic ink.”
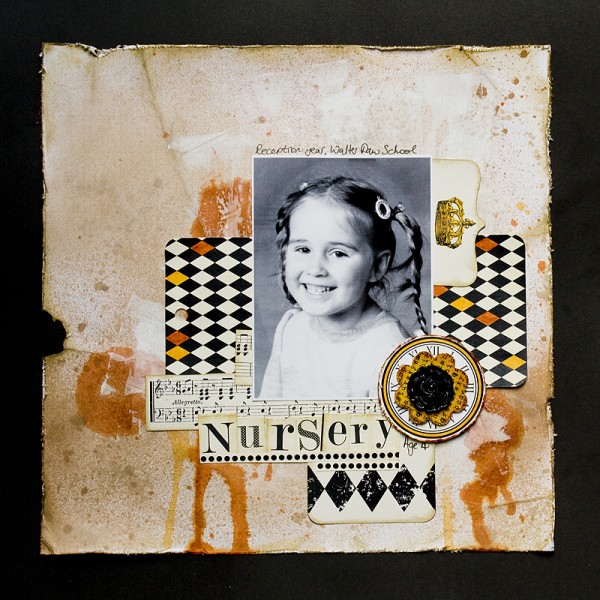
Nursery by Amanda Robinson | Supplies: Teresa Collins Designs Timeless – Notations Album Kit, Sports Edition II Other: Glimmer mist, gesso, paper edge distresser?, Copic Markers, canvas flower, plastic flower.
master shading with Copic markers
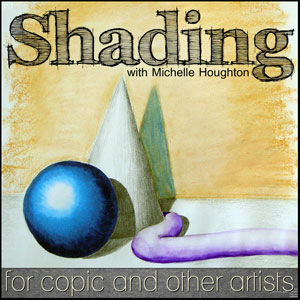 Several of the Copic-colored embellishments here required shading. The paper flowers on Michelle’s page, Marie Pierre’s lemonade stand and Kristy’s little girl stamp were all made with a knowledge of how to give shapes the look of dimension and by using multiple markers. Michelle’s new class at Creative Passion Classes is “Shading for Copic Artists,” and in it she teaches this skill step by step.

