 How about a little Valentine inspiration?
I threw together a whole pile of cards lickity split with fun Copic colored images. No images to share today, it is up to you to do some stamping or doodling to get started. I started with a sheet of doodled hearts some simple and some decorative. I made sure to use my Multiliner sketch pen so I knew the ink would be compatible with my Copic markers. If you are stamping make sure your ink is going to work ahead of time. (Check the first couple tutorials if you have questions about compatibility or post your question in the comment section.)
I have 8 cards total I colored in three distinctly different ways the easiest of the three was just coloring in the areas. No blending or shading on these hearts.
I was not sure about this heart when it was just black and white. The doodles were not all that great, but once I got some color on it I liked it a whole lot more. I cut around the outer dots making a scalloped edge and then completed this simple card with a patterned paper base and two strips of coordinating patterned paper. The heart is popped up on pop dots.
This little tiny heart was fun and very quick because of it’s size. Again I used patterned paper as the base for this card and punched one edge to add a little something. Mulberry paper and ribbon add the final touches to give a frame to this itty bitty heart.
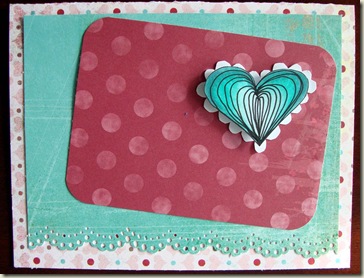
I love the expanding rings on this heart. I used RV14, RV17 and RV19 to color in the rings and made a simple card with a patterned paper base, and two patterned paper blocks to complete the look.
This card is my favorite of this group and maybe of all of these Valentines. I love the wood texture I used 3 earth tone markers to color. I used yellows on the handle and then added just a touch of highlight with opaque white. (Copic makes an opaque white paint for these little touches.) The card has a patterned paper base, two more layers of patterned paper, raffia wraps the card and the heart is up on pop dots.
The next group of cards has some shading that goes all the way across the heart. The shading ignores the doodling lines and moves across them.
The first is this silly little heart character that I love to draw. I used three blue violet markers to color in this little guy. The card he is popped up on is a patterned paper base with one fancy ribbon running it’s width, simple and sweet.
On the second card the heart has more detail to it but the shading is still just as basic. I used three blue greens this time to shade my heart. I used a patterned paper base, and then added a punched edge to my bottom layer of two patterned papers. I also cut a white scalloped heart to sit underneath my colored heart which is popped up again.
One last style of coloring, detailed shading. These two cards have a little more shading to them. I did shading with the doodled patterns. This took more time but I enjoy the coloring so it is worth it to me.
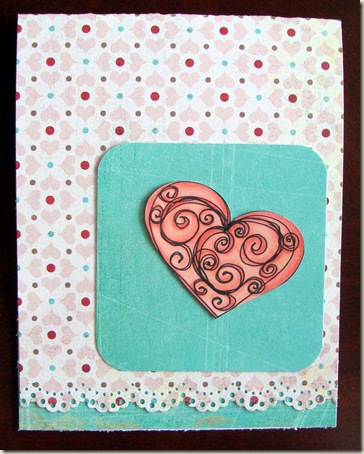
This first heart is very similar to one I shared in an earlier tutorial. I used three reds to shade this heart and added my shading along the swirls. Not super detailed or exact but a fun effect. The card is made with a patterned paper base. On the front bottom edge I used a decorative punch. To complete the card I added a strip (the blue) of patterned paper under the decorative edge and cut a block of the same blue paper to sit the heart on top of.
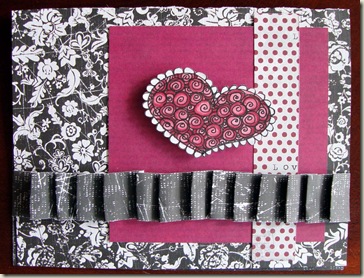
This last card has the most detailed shading on it. I colored each spiral with a series of red violets. I did this a section at a time, about 4 to 5 spirals so I could keep the ink wet while I worked. The card is a patterned paper base again with one block of patterned paper on top of it. I added one short strip of contrasting paper vertically and then used a very long strip to add a folded ruffle across horizontally. The heart with it’s scalloped edge cut out is popped up on top of it all.
Hope these give you a few ideas to put together a few cards of your own! [mhoughton]


