If you’re new to this series by Michelle, you can find all of her tutorials here: Copic Marker Tutorials.
 This lesson includes a much simpler shape to shade.
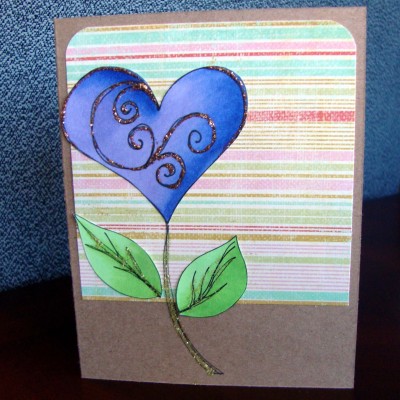
The heart image does not have tons of colors or sections to shade in different steps. What makes it a little more interesting is the shape itself. To make a heart look three dimensional I did not shade from one side over to the other. I wanted the heart to have the appearance of being rounded more like a heart shaped balloon or candy would be.
Here is what that shading might look like in pencil before we get started. You will see highlight on the upper left corner and again on the upper left section of the right hump.
When you are ready to give it a try print off the sheet of hearts or resize a heart to suit your needs and shade along with me. Download pdf with hearts.
I used Copic markers BV00, BV02, BV04 to shade my heart, you can do any variety of colors that you wish on your heart just work from light to dark. Note the images that go with step #2 and #3 are shown before the blending takes place so you can better see where I am placing the next layer of color. To see the blended colors go to the next step.
Step #1 – Start with your lightest shade, I started with BV00, and fill in a good portion of your heart from the left side over. Use small circular strokes to get nice even color throughout.
Step #2 – Go in with your middle shade, mine is BV02, from the right side over and a small amount on the downward slope of the left hump of the heart. Go back and blend with your lighter marker BV00.
Step #3 – Lastly use your darkest shade, on mine BV04, and add your deepest shade again on the right edge and on the slope of the left hump. Go back with your middle shade BV02 and blend and then with your lightest shade BV00 to finish your shading.
Step #4 – I was using my heart by itself on a card so I decided to add a little more to it with stickles on top of the swirls and outline.
Now my image is ready to cut out and add to my project. Stay tuned for the next lesson. The image is ready to go and is so fun! As a tease his name is Izzy after the young man who inspired him.
[mhoughton]


