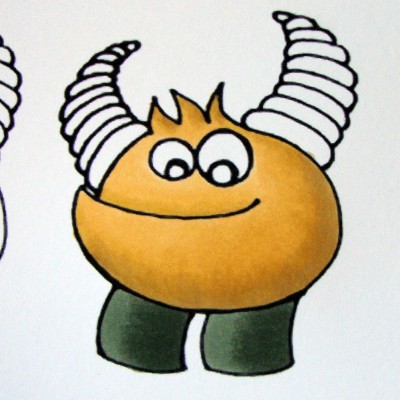
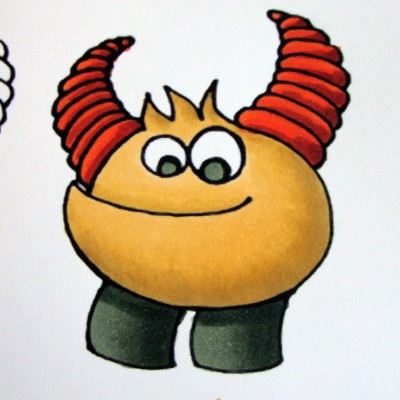
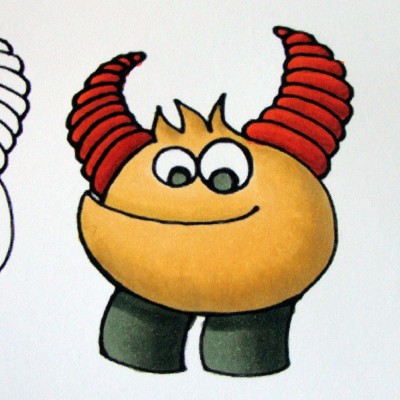
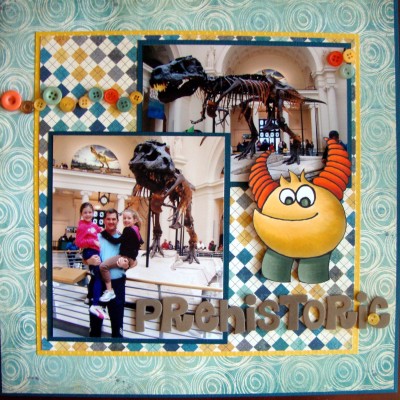
As promised I have a second monster for you to color and play with. I am using him on another layout similar to my first, so the papers are similar and my color choices are matching my papers. I am going to use Y23, Y26, Y28, BG93, BG96, BG99, YG07, YR09 and E09. Remember you can use the same steps with different colors, just pick out 3 sets of colors that will match your project.
I hope you found the perfect spot for your first little monster and that there will be room for this guy to join him. So get your page of monsters printed and/or copied and let’s get coloring.
Download Free Printable Here
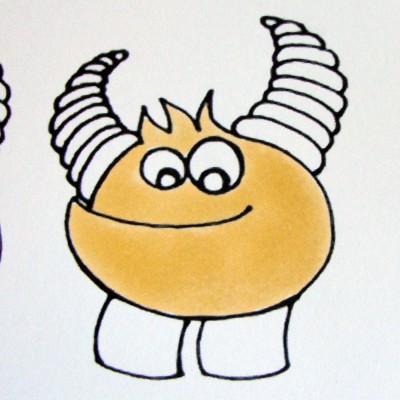
Step #1 – Color the body of your monster Y23. You can split this in half if you are doing one of the large monsters. I did the bottom half then the top half when I colored a big one.
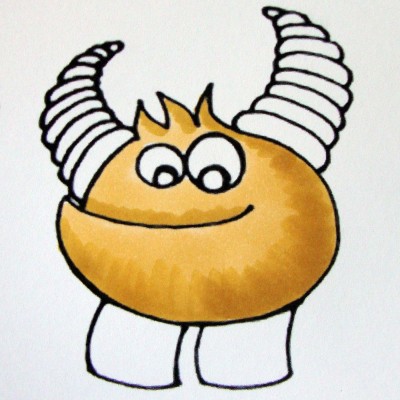
Step #2 – Add your first layer of shading with your Y26. I added shading from the bottom edge of the body up the back, lightly above the lip and on the side of the hair away from my light source.
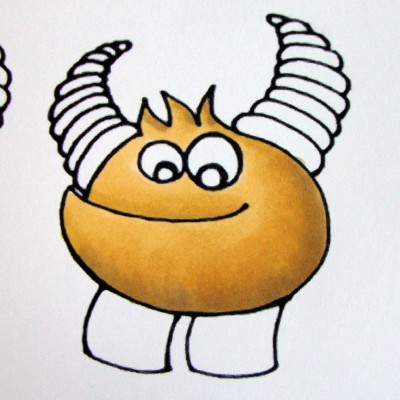
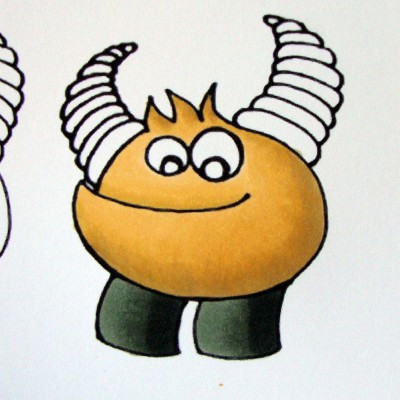
Step #3 – Use you Y23 to blend the Y26 back in and then add Y28 for your darkest shading. I added mine at the bottom and back of the monster and just a touch on the hair. I did not add any to the upper lip.
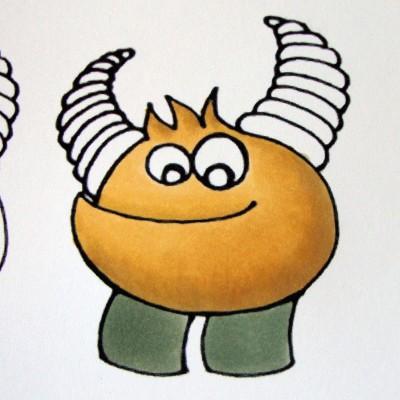
Step #4 – Use your Y26 and Y23 to blend the layers together on the body. Next I added BG93 to the legs, you can do one at a time if you want to.
Step #5 – I used my BG96 to add shading from the darker side about 2/3rds of the way across the leg.
Step #6 – I added my darkest color BG99 to the darker edge of the legs.
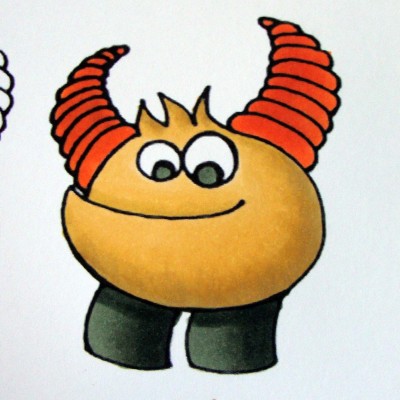
Step #7 – I blended the legs with my BG96 and BG93. When the ink is dry on the legs added a cast shadow with a solid line of BG99 right up against the body. I also used BG96 to fill the eyes. Lastly on this step fill in the horns, both or one at a time, with YR07.
Step #8 – Use your YR09 to add some shading on the horns, this is hard to see in the photo, the colors are very close but it will help the next layer blend in more easily. I added the shading along the bottom edge of each section of the horns and a little on the side away from the light source.
Step #9 – Now I added my E09 in the same areas on the horns, you can see this layer a lot better.
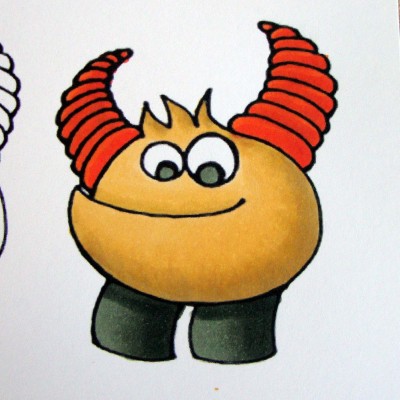
Step #10 – I used my YR09 and then my YR07 to blend the colors on the horns together.
Now I’m all finished up and this little guy is ready to stomp onto a layout or card. I hope you have fun with my second little monster!
[mhoughton]


