 By Dina Wakley
Shaped papers are patterned scrapbook papers that come in any shape other than a square.
You can find lots of them on the market currently. While it’s easy to add them to your basket in the store, it can get challenging to use them on a scrapbook page.
Here are five fun and easy ideas for using shaped papers on scrapbook pages.
1. Give the paper a new turn.
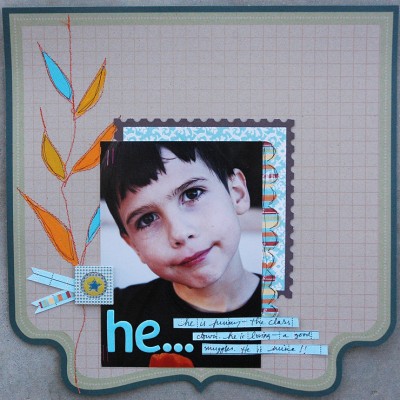
If your shaped paper has a unique shape on just one side, give it a 90-degree turn.
How does it look to you? Do you like the orientation of it? Turn it again. How does it look now?
When I saw the paper I used on this layout, “He,” I assumed at first that the point would go to the right or to the left. But as I turned the paper I found that I really liked the way the paper looked when it was pointing downwards. Don’t be afraid to turn your papers to get an interesting and fresh view.
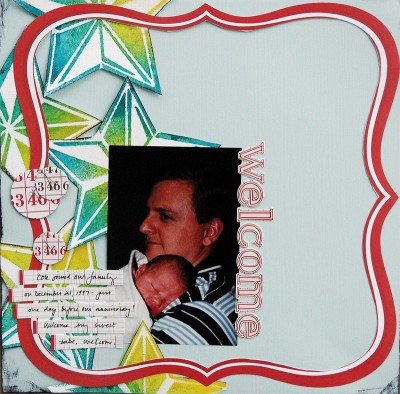
2. Cut the center out of the paper to create a frame.
For this page, “Welcome,” I cut the entire white center out of a piece of shaped Jenni Bowlin paper. I then used the red frame on the layout. I like the way the red pops against the blue and green of the stars.
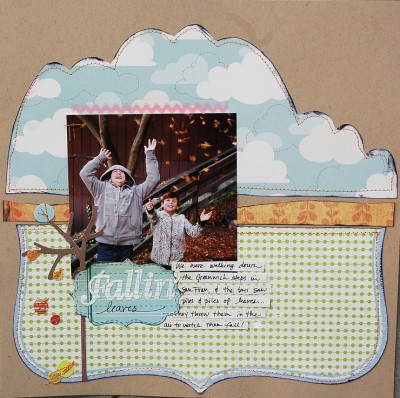
3. Create a custom shape.
For this layout, “Fallin’,” I cut the shaped patterned paper in half and placed it on the bottom half of a piece of kraft cardstock. Then I took another sheet of patterned paper and cut a “top” for the bottom. I just free-hand cut some scallops and made sure that the edges would generally match up to the shaped paper on the bottom. The result is a custom shape that makes a fun backdrop for my photograph.
4. Cut the shaped paper and place the cut side along the edge of your page to create a foundation layer.
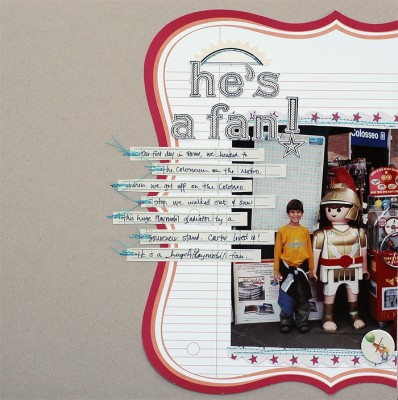
A half-piece (or a bit more, or a bit less) of shaped paper makes a great foundation layer for a page. For this page, “He’s a Fan,” I cut the shaped paper and placed it along the right edge of the page. Then I created the layout on top of the shaped piece.
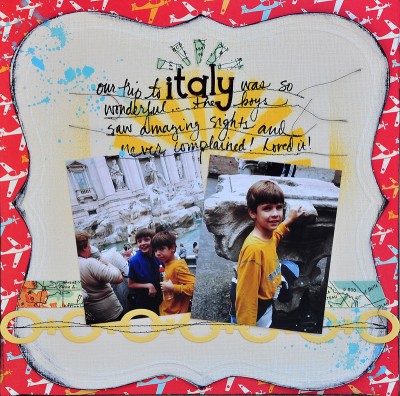
5. Use a solid shaped paper to tone down busy patterned paper.
For this layout, “Italy,” I knew I wanted to use the airplane paper. It was perfect for a travel layout! But, the bold pattern on the paper was overwhelming my photos. I took a solid-colored shaped paper and layered it over the airplane paper. It gave me a good foundation for my layout while still allowing the airplanes to peek through around the border
I hope you have a few new ideas to try with your shaped papers. Happy scrapbooking!
[dwakley]

