The grid foundation is one of several layout configurations scrapbookers use again and again when making scrapbook page designs. Over the years we’ve shared a number of different ideas for using the grid design on your scrapbook pages.
Here’s a roundup of favorites:
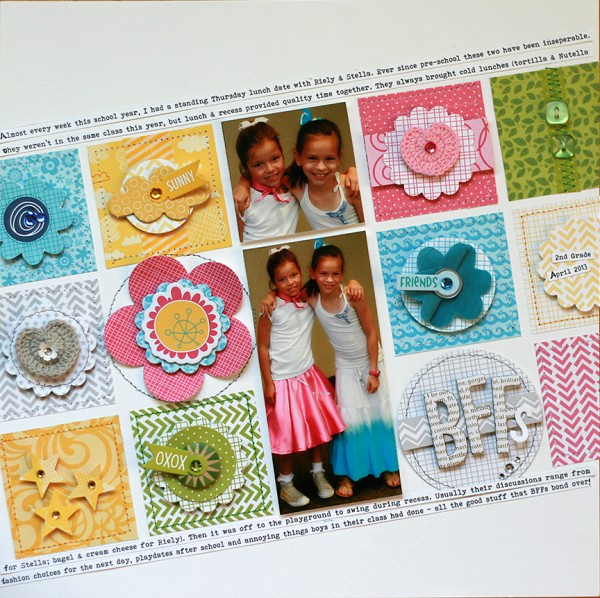
1. Embellish with Tone-On-Tone Color-Blocked Grids
On your next page, try a grid-based embellishing approach: embellish each block in your grid with embellishments of the same color. For example, on Lisa Dickinson’s page here, she’s got pink flowers and a banner on a pink square. Right next to that are green buttons and ribbon on a green square.
This makes a page that’s big on color and big on embellishments while never becoming chaotic. Click here to see more examples of this approach.
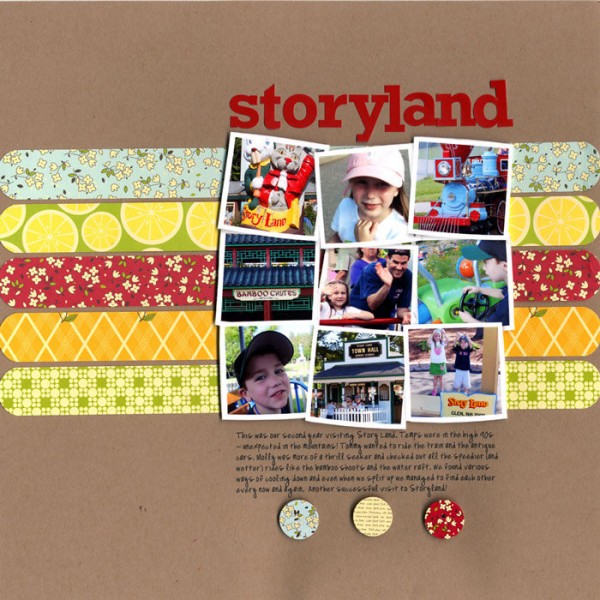
2. Arrange Your Page Elements in One of These Grid Configurations
Using a grid structure is a great way to start a scrapbook page. The grid is inherently stable and makes a great foundation for establishing balance and organizing your elements. Grid foundations come in several configurations including 3×3, 4×4, odds and evens, little boxes, etc.
Here Paula Gilarde’s 3 by 3 grid incorporates smaller photos. TClick here to see scrapbook pages with grid foundations in several configurations.
3. Expand Your Grid Foundation Over Two Pages
The grid can work just as well on two-page layouts as one-pagers.
On this page by Karen-Poirier-Brode, she used journal cards to define compartments across her two-page grid design with defined columns and staggered rows.

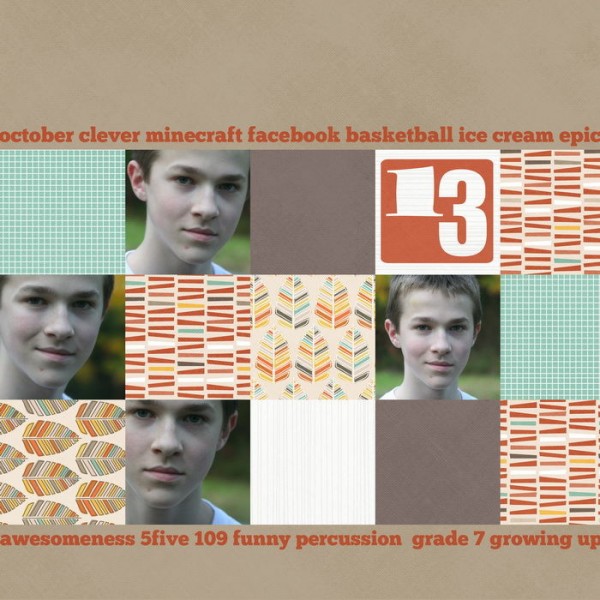
4. Use a Simple “Grid-In-A-Band” Foundation
Here Terri Davenport bordered a grid of portraits and patterned paper squares with a list of all the things she associates with her son right now at age 13.
Use this 8-step formula to recreate this easy scrapbook page.
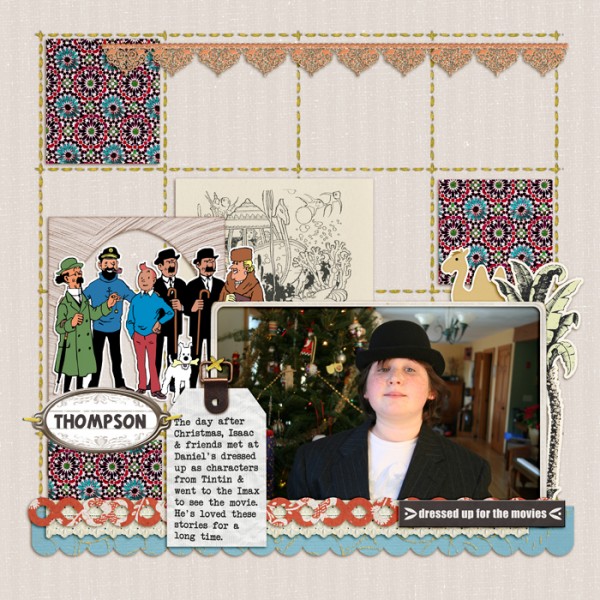
5. Back-up Your Scrapbook Page Elements with Grid
While using a grid structure for organizing your photos, title, journaling and embellishments can be a great way to start a page, that very same grid that holds your elements on one
Here Debbie defined a 4 by 4 grid of squares with stitching on “Thompson.” She filled three squares with patterned paper (to create a visual triangle), and then layered on her photo, title, journaling