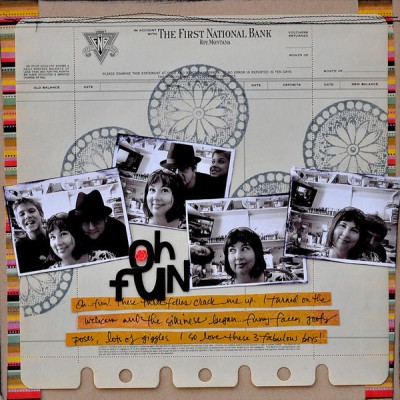
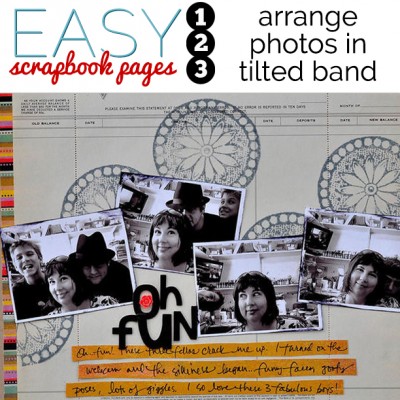
Use this 8-step formula to make easy scrapbook pages. Mount a series of photos in a tilted series across the page. Dina Wakley emphasized the horizontal flow with a series of stamped ornaments behind the photos and striped patterned paper that guides the eye through parts of her story.
[hr]

Oh Fun by Dina Wakley | Supplies: Patterned Paper: Vintage, Basic Grey; Alphabet: American Crafts; Ink: Jenni Bowlin; Stamp: Jenni Bowlin
[hr]
How to make this layout
- Trim and mount 1″ wide strips vertically on left and right sides of canvas. Notice Dina’s use of striped paper trimmed to place stripes running horizontally. The eye/mind will connect those lines across the page–and guide the eye through the photos.
- Trim grid or ledger or low-key tone-on-tone patterned paper a bit smaller than your canvas and mount centered. [Optional: add machine stitching at paper top.]
- Stamp a series of large ornaments across the page at about horizontal center.
- Crop 4 black-and-white photos to about 4.5″ x 3″ (landscape). Either print and trim photos with a narrow white border or mat on white cardstock. [Optional: ink photo edges.]
- Mount photos in a “jiggled” series across the page a bit below horizontal center.
- Handwrite journaling on brightly colored paper strips and mount with tilts at approximately vertical center. Choose a color that repeats one of the colors in your border strips.
- Nestle title into an area between photos, and add a small brightly-colored embellishment with it.
[hr]
Learn more
- Ideas for Scrapbook Page Designs with Tilted Photos
- How to use journaling strips to rock your scrapbook page design
- Ideas for Scrapbooking with Patterned Paper: Dots and Stripes


