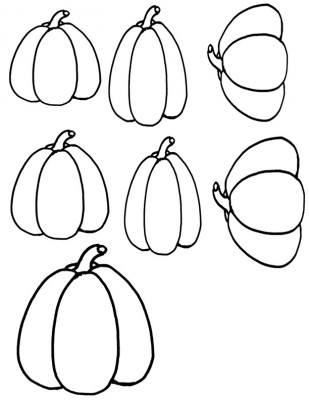
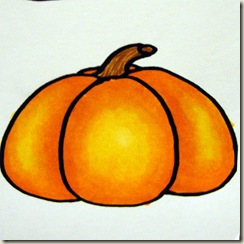
 Here is another fun image to color along with. I was in a fall mood and decided on a nice round pumpkin for this one. I will be using YR04, YR07, YR31, E33 and E37 for this image. If you do not have a Y31, which is kind of an oddball, any lighter YR’s will do. I was just aiming for a little warmer orange for my pumpkin so even a light Earth tone, or Yellow might work as well. When you open the image file you will find that I played a lot with the shape of the pumpkin on this one so you have some fat, some tall and some larger ones to play with. Print out your pumpkin, gather your markers and let’s get coloring!
Click Here to Print Pumpkin Page
There are directions for printing in earlier tutorials if you are new to this series. And as always this is an original image by me so if you choose to post your work or submit it please give credit for the art work, thank you.
Step 1 – Using your lightest YR color (YR31) fill in one section of your pumpkin. I use small circular strokes and go over the area at least twice to get nice even coverage.
Step 2– Using your middle YR color (YR04) feather stroke in towards the center of your pumpkin section.
Step 3 – Blend this second layer in using a small circular stroke and your lighter marker (YR31). Using your darkest YR (YR07) add one more layer for your deepest shading again coming from the outer edge and feathering in on the section you are working on.
Step 4 – Blend this layer in using your middle (YR04) and lightest (YR31) YR’s. Complete the second and third sections of your pumpkin using steps 1 through 3 above.
Step 5 – Using a light Earth tone (E33) fill in your stem.
Step 6 – Using a dark Earth tone (E37) create small streaks along the stem using only the tiniest tip of your brush nib.
A pumpkin fit to grace a card, or fall layout.
[mhoughton]


