 Below are scrapbooking ideas for using premade Bokeh prints on your layouts and how-tos for making your own Bokeh prints with copic ink, digital brushes, and photography.
A popular photography goal in recent years is to achieve a successful Bokeh effect, in other words to take a photo in which out-of-focus points of light are rendered appealingly. The good news for scrapbookers who don’t have the lens or the skill to get this look with a camera is that there are now plenty of products for adding Bokeh looks to non-photo areas of the page.
Check out Bokeh inspiration on Pinterest.
embellish Bokeh prints with bright scatterings
Katie Scott says, “My daughter and I took a playful break from our normal routine, walked to a local bridge and created sidewalk-chalk graffiti.”
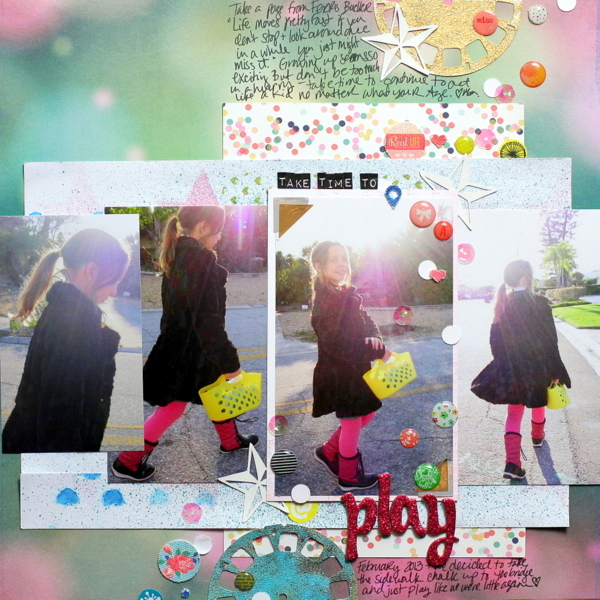
Play by Katie Scott | Supplies Patterned paper by Maggie Holmes for Crate Paper and Allison Kreft for Websters pages; embellishments by Dear Lizzy and Amy Tangerine for American Crafts and Basic Grey; letter stickers by American Crafts; mists by Heidi Swapp and Maya Road, die cuts by Silhouette, heat embossing, gelatos by Faber Castell, and stencils by Silhouette.
“I used a Bokeh print paper by Maggie Holmes on this page. The Bokeh on the paper was concentrated in the center of the page, and my photos would have covered it, so I cut the paper in half and then taped it back together with the outer edges at the center. The Bokeh preint was a jumping off point for my embellishments. Enamel dots, epoxy stickers, confetti, and sequins echo its bright scatterings. View master frames are circular, like Bokeh, and they relate to photography–just like the photography trick of Bokeh.
use shaped Bokeh to match page theme
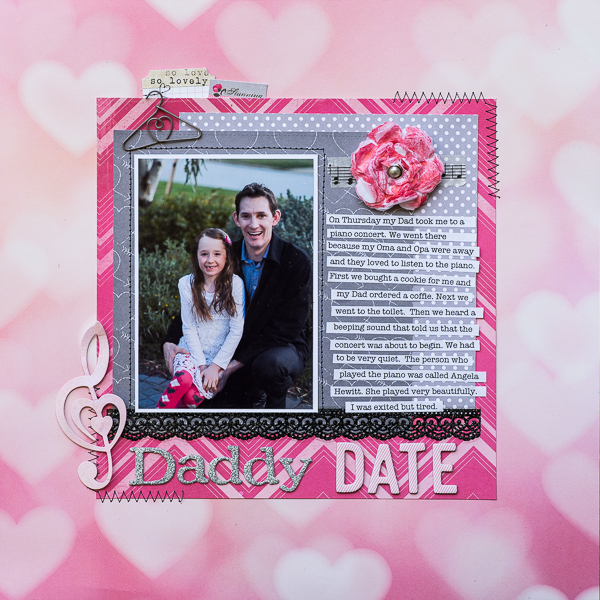
Daddy Date by Kristy T | Supplies: Paper: Crate Paper-Maggie Holmes, My Minds Eye, Tissue Paper, copy paper; Card: Artee; Alphas: American Crafts; October Afternoon; Dies: La La Land Crafts; Sizzix/Tim Holtz; Labels: Elle’s Studio, Authentique; Washi tape: My Minds Eye; Brad: Unknown; Inks: Ranger Distress Inks; Paperclip: Maya Road.
Kristy T says, “This page is about the time my husband took our daughter on a “Daddy Date” to a piano recital. This heart Bokeh paper was a great match for this story and gives the feeling of love that I wanted the page to convey. I chose this blocked design so that my elements were in the centre, surrounded by the heart Bokeh. I took colour inspiration from the Bokeh paper, using many pink elements on my page.”
evoke a dreamy mood with Bokeh prints

Love by Andrea | Cottage Arts Bokeh texture paper; Maya DeLeon Fallen Frost ; Taylormade Additives No1, Picture this Frame.
Andrea says, “I wanted to capture a moment right before my daughter’s senior prom, a mment before she experiences many changes. A Bokeh print paper with soft colors gave the page a dreamy feeling.”
scrapbook celebrations with the confetti look of Bokeh
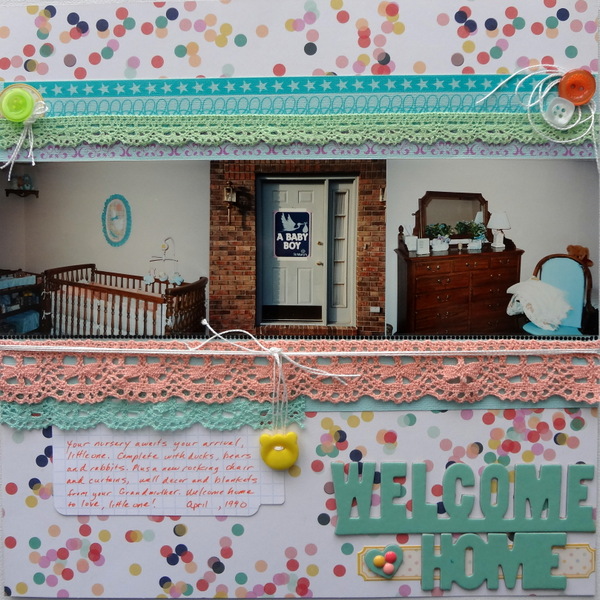
Welcome Home by Susanne Brauer | Supplies: Paper, Websters Pages; Cardstock, Stampin Up; Lace, We R Memory Keepers; Chipboard, American Crafts; Stickers, Hambly Studios, Buttons, Crate Paper
Susanne Brauer says, “This page documents the welcome home for our firstborn, a son, to the nursery we prepared with care, including hanging curtains made by his Grandma. I used a Bokeh print patterned paper with soft pastel spots, to support the nursery theme. The dots resemble confetti which has a celebratory connotation. Because the Bokeh motif spreads in all directions, I added strong borders to the photos with crocheted lace and stickers. Although the borders are straight, they are softened by lacy scallops.”
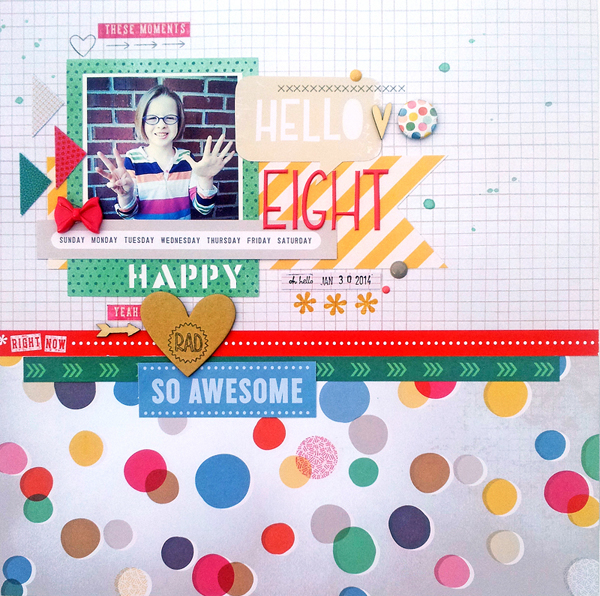
Hello Eight by Ashley Horton | Supplies: Patterned Paper, Stickers, Rub-Ons, Chipboard, Flair Button, Date Stamp, & Acrylic Bow: American Crafts; Wood Veneers: Studio Calico; Color Shine: Heidi Swapp; Enamel Dots: My Mind’s Eye
Ashley Horton says, “I always have my children pose for birthday photos and hold up fingers to represent their age. Here is my daughter at eight. The Bokeh motif reminds me of confetti and parties, and it was a good match for this page. I added a wide band of a colorful Bokeh print along the bottom of the canvas and mounted my photo and other elements on a lower-contrast grid print above. I used the colors in the Bokeh print for titlework and embellishments.”
represent sky and sea with blue Bokeh prints
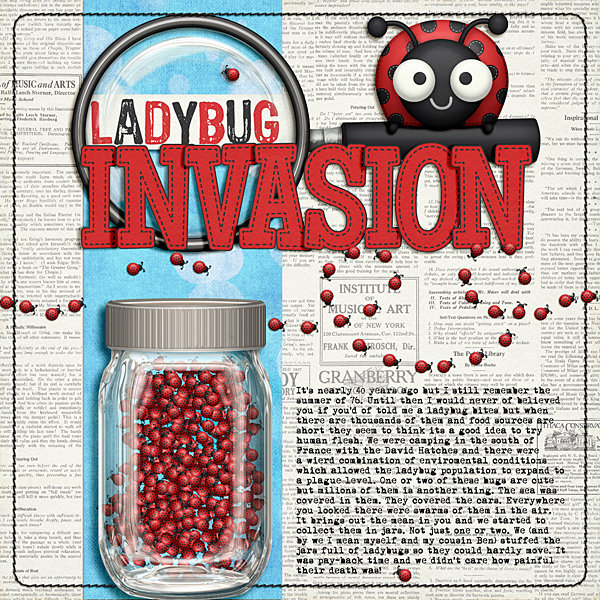
Ladybug Invasion by Ronnie Crowley | Supplies : Katie Aagard: Bugging Out; Katie Pertiet: Bit of Bokeh
Ronnie Crowley says, “This page was prompted by the Bugs and Critters episode of Give your Photos Stories Podcast. It is about the summer 1976 when in Europe the ladybugs swarmed. I used a piece of digital blue Bokeh paper from Katie Pertiet. The blue Bokeh print represents both the blue skies and blue sea from my summer vacations. The Bokeh circles reminds me of the sun glinting on summer days.”
DIY Bokeh prints with digital brushes
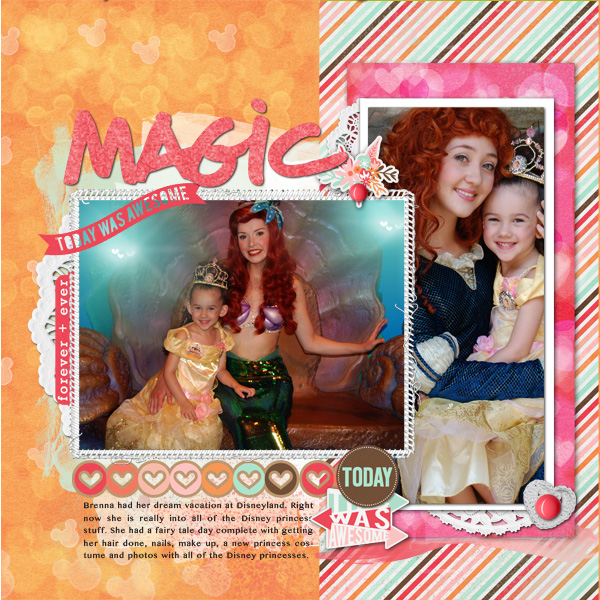
Magic by Terry Billman| Just Jaimee Storyteller February 2014; Anna Aspnes: Heart Bokeh 1, Stitched by Anna Frames 1; Katie Pertiet: Doily Edgers No. 2, Collageable Freebie Heart; Ali Edwards: Thick Hand Drawn Christmas; Crossbone Cuts: Bokeh
Terry Billman says, “This page is about my granddaughter stepping into the magical world of Disney and becoming a fairy princess. I used digital heart Bokeh brushes and circle Bokeh brushes to make my own pink Bokeh patterned paper and I made the orange Bokeh print with mickey-head Bokeh brushes. I like the subtle print effect that can be produced with a Bokeh pattern.”
Tips and details from Terry
- I used a heart Bokeh brush from Anna Aspnes an a circle Bokeh brush from Crossbone Cuts.
- I used a Mickey Bokeh brush from (details coming).
- To create varied intensity of color, I varied the size and opacity of the brush. I used a color dodge blending mode in Photshop.
- I used four different sizes of Mickey Bokeh, varying the opacities. All were applied on a layer set to color dodge blending mode. The smallest size was white and the other three sizes were orange. I found it easiest to start with the largest size Bokeh and then work my way to the smaller Bokeh.
DIY Bokeh prints with copic ink
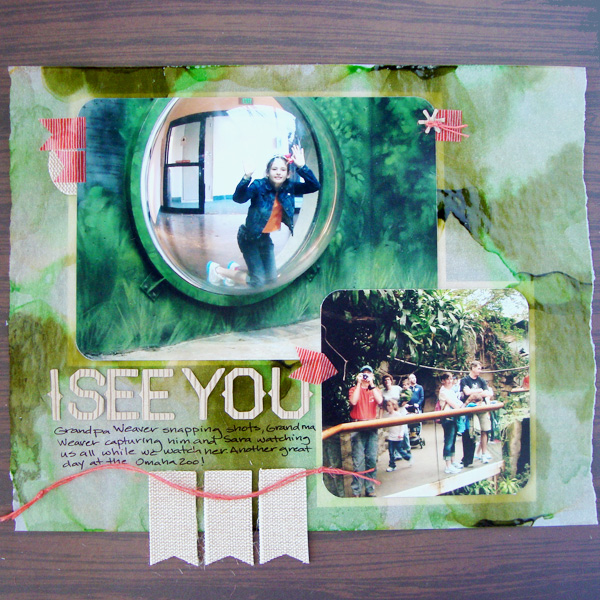
I See You by Michelle Houghton | Supplies: cardstock; Kraft, patterned paper, twine and sticker letters; American Crafts, burlap elements; Little Yellow Bicycle, ink; Copic and Sharpie, Washi tape; Scotch, other; tracing paper
Michelle Houghton says, “This page is about an amazing day at the Omaha zoo. We have hundreds of zoo photos from over the years, and I do not see them stopping any time soon. Each time I scrapbook zoo photos I have tried to become more creative. With the current trendiness of Bokeh prints, I decided to create my own print. I used a sheet of tracing paper and Copic ink. I use greens and yellows to support the jungle foliage in the photos and love the effect of the wood grain showing through in the more transparent areas. See my copic ink tutorial for the details on getting this look yourself.”
DIY Bokeh print with blended photography
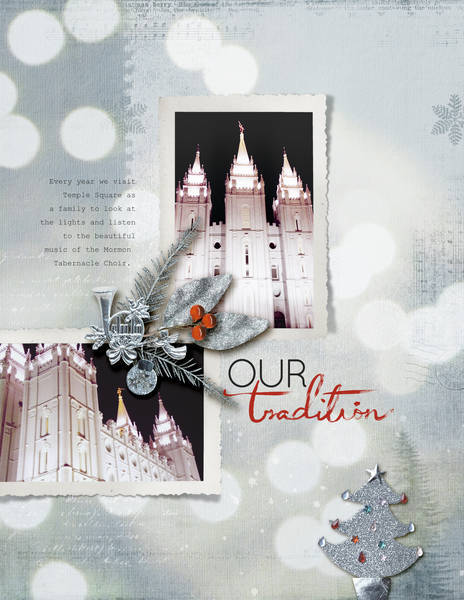
Amy Kingsford says, “This page records our family’s December tradition of visiting Temple Square. I’ve blended a photograph I took of Christmas lights that has a Bokeh effect into a textured digital paper. I love the soft dimension that the Bokeh’s texture brings to my page and I thought it reinforced my holiday theme nicely.”

