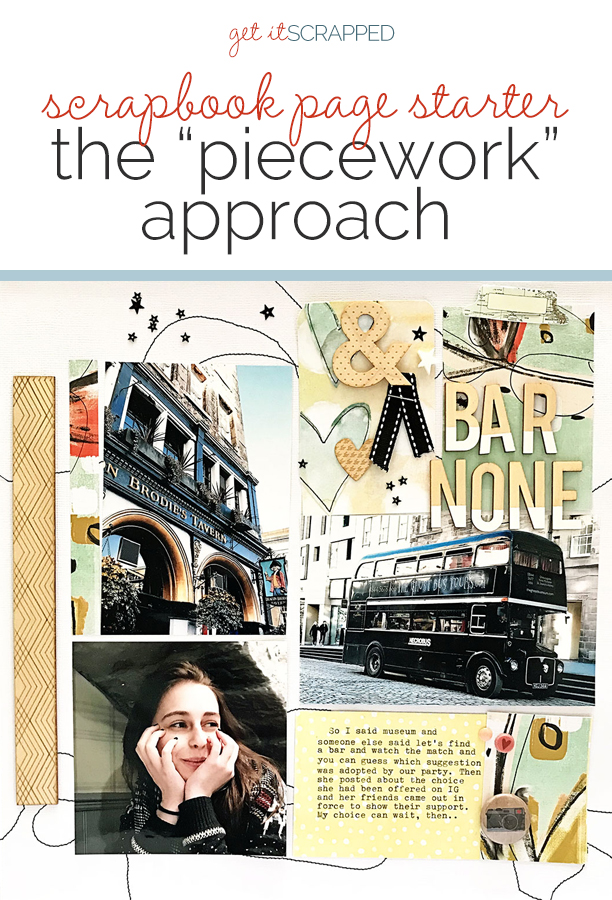
 We like to share “go-to” designs that give you a starting place for your scrapbook page design. The best “go-tos” are arrangements that ensure there’s a spot for key page parts in a design that has balance and appeal.
The “piecework” design is one that’s a little like a pieced quilt, with blocks of various sizes holding key pieces and filling all or part of the canvas. It’s a great starting point when you’ve got a few photos of differing sizes and orientations because you can place them and then build around.
There’s a whole class on this design over in the Get It Scrapped Membership (Scrapbook Coach #3 Piecework), and our team members are giving you a look at how they’ve used those lessons to make their own pieced pages.
Shanna Hystad says, “This page is about being so excited for spring that we went on a family bike ride on one of the first sunny days. As you can see from the photos, there was still snow all around and it was very cold.”
“I pieced my blocks in two columns. I don’t use this design often but what a great way to use up scraps of paper.”
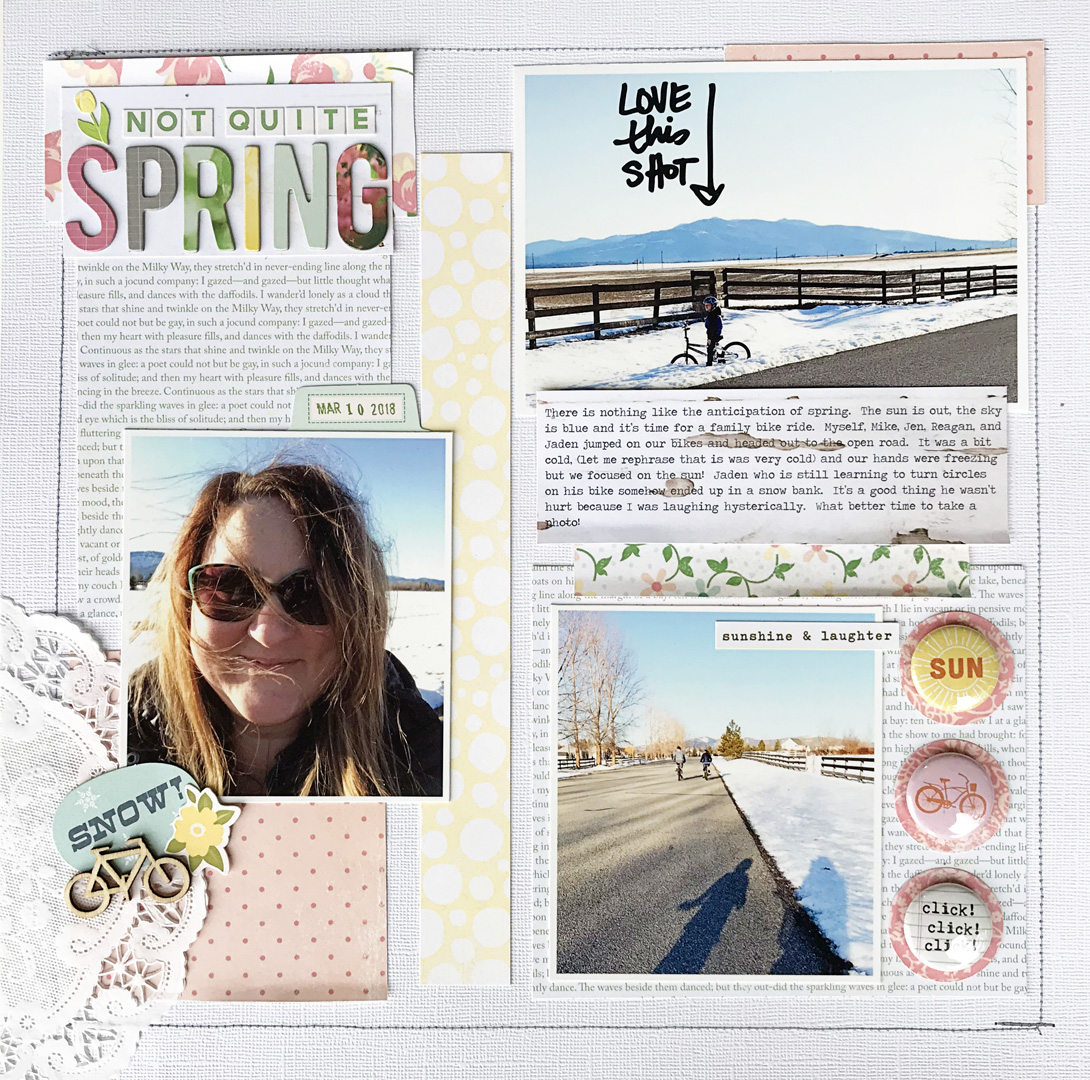
Not Quite Summer by Shanna Hystad| Supplies: Paper: Making Memories, October Afternoon, Alphas: Thickers (Petals), October Afternoon, Flair: October Afternoon, Word Sticker: Simple Stories, Digital Stamp: Ali Edwards, Wood Veneer Bicycle: Studio Calico
Lynnette Wilkins says, “This page documents a trip to Arches National Park, and our hike to Delicate Arch.”
“I pieced my blocks in three columns with white space as my guide. Setting my photos in columns and then filling in with paper pieces made the design process simple, and the page came together really quickly.”
“This is a foundation I would use over and over because there are so many ways to customize it. It works with many or few photos, a little or a lot of embellishment – so many variations you could do using this one foundation.”
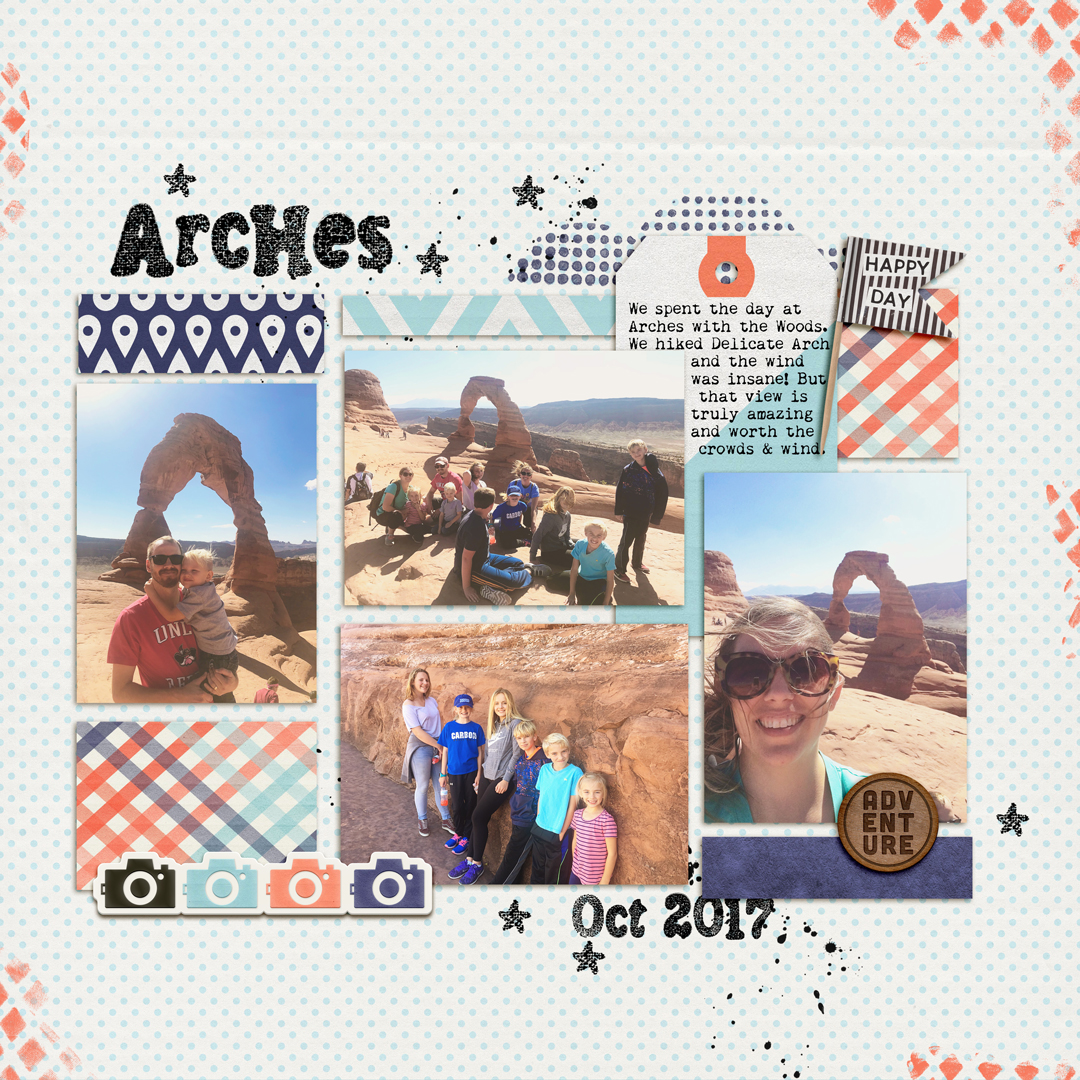
AvariationsLynnette Wilkins | Supplies: Storyteller Dakota – Digital Scrapbook Kit Collection by Just Jaimee
Christy Strickler says, “The story of dying Easter Eggs is one I tell every year.”
“I created my pieced blocks in two columns. The foundation worked well for several reasons:
- It let me show a process (egg dying) from start to finish.
- It came together quickly and feels polished.
- It enabled me use up 6″x6″ paper pads in my stash–those pads make it easy to make a coordinated series of blocks within the columns.”
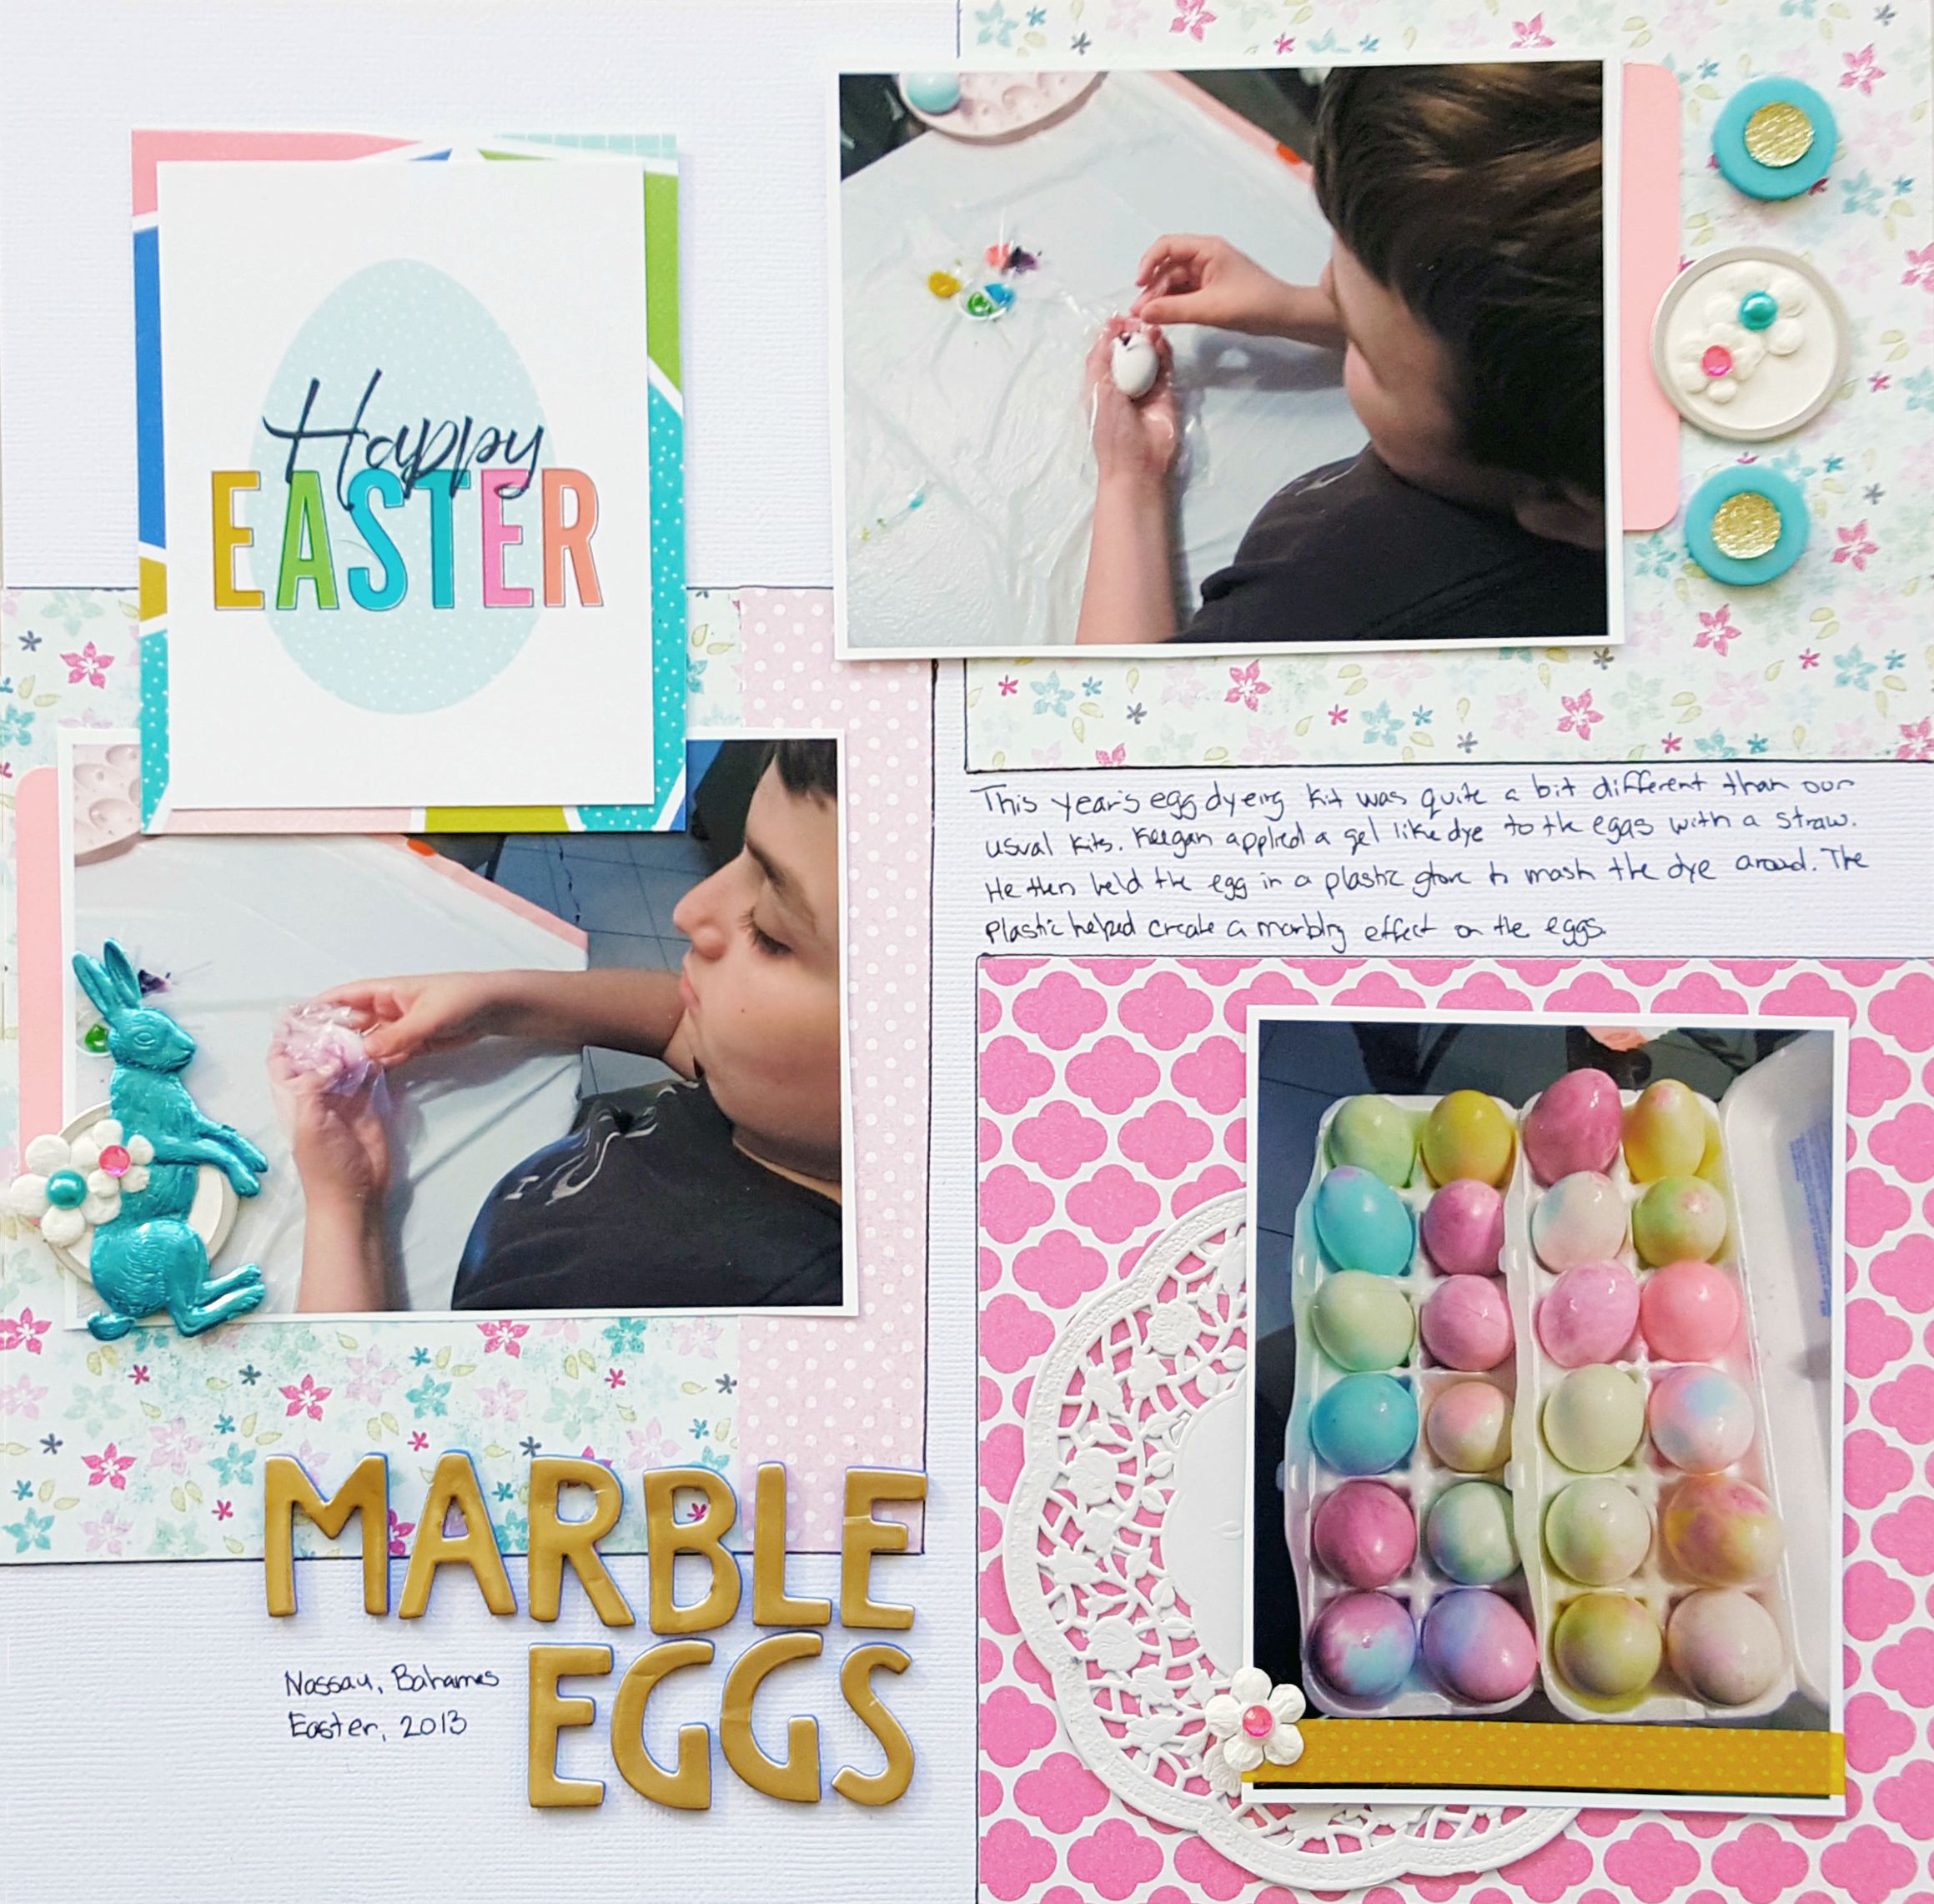
Marble Eggs by Christy Strickler |Supplies Patterned Paper: My Mind’s Eye; Cardstock: Bazzill; Pocket Page Card: Cocoa Daisy; Letters: American Crafts; Flowers: Recollections; Foil Rabbit: JBS Mercantile; Buttons: Basic Grey; Other: Doily, Tag, enamel dots, jewels
Kelly Prang says, “I recorded the memory of watching the sunset on our beach getaway on this page.”
“I pieced a block of elements and started by placing my photos and first blocks on either side of a vertical axis: so there are vertical alignments running down the page. With that in place, I didn’t worry about horizontal alignments.”
“This foundation made adding three photos along with small pieces of paper to the page make sense and still feel clean and somewhat graphic. I have not used this foundation before, but I liked the way it turned out and I plan to use it again!”
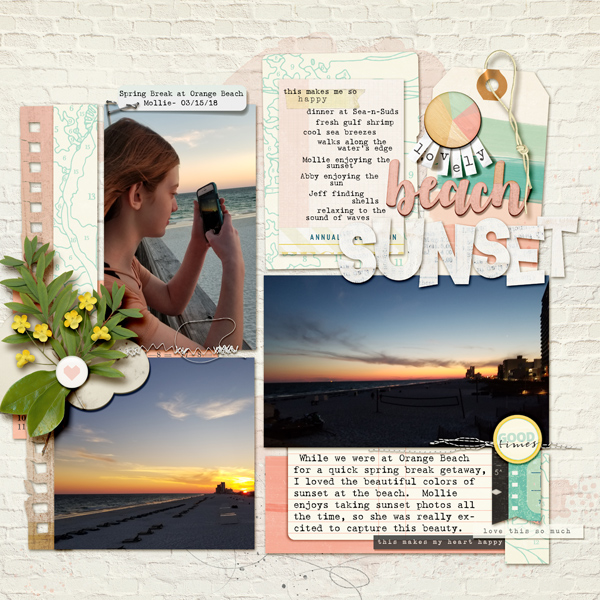
Lovely Beach Sunset by Kelly Prang | Supplies: Bare Necessities by Creashens; Garden Cafe by American Crafts; Stitched by Anna Brown, Word Label Templates by Anna Aspnes; ATC Sunshine by Tangie Baxter; Color Study Brown Flair, Flashcard Halloween, Basic Paper Alpha Orange by Katie Pertiet; Whimsy Borderlines by Andrea Victoria; Alphabits by Karla Dudley; Amore Mio Envelopes by Paula Kesselring; Bohemian Typewriter font
Sian Fair says, “This is a travel page about a trip to Edinburgh and the choices we made about the things we would do. It was a tourist-y day which suited everyone in the family! The best holidays are pulled together with the help of everyone’s contributions.”
“The pieces here are initially aligned around a vertical axis–just as on Kelly’s page above.”
“I use variations of this approach quite often, although I really need to start adding more photos to my piecework pages because I love how this turned out. I added extra dimension to my background with random black machine stitching to echo the black lines on the patterned paper.”
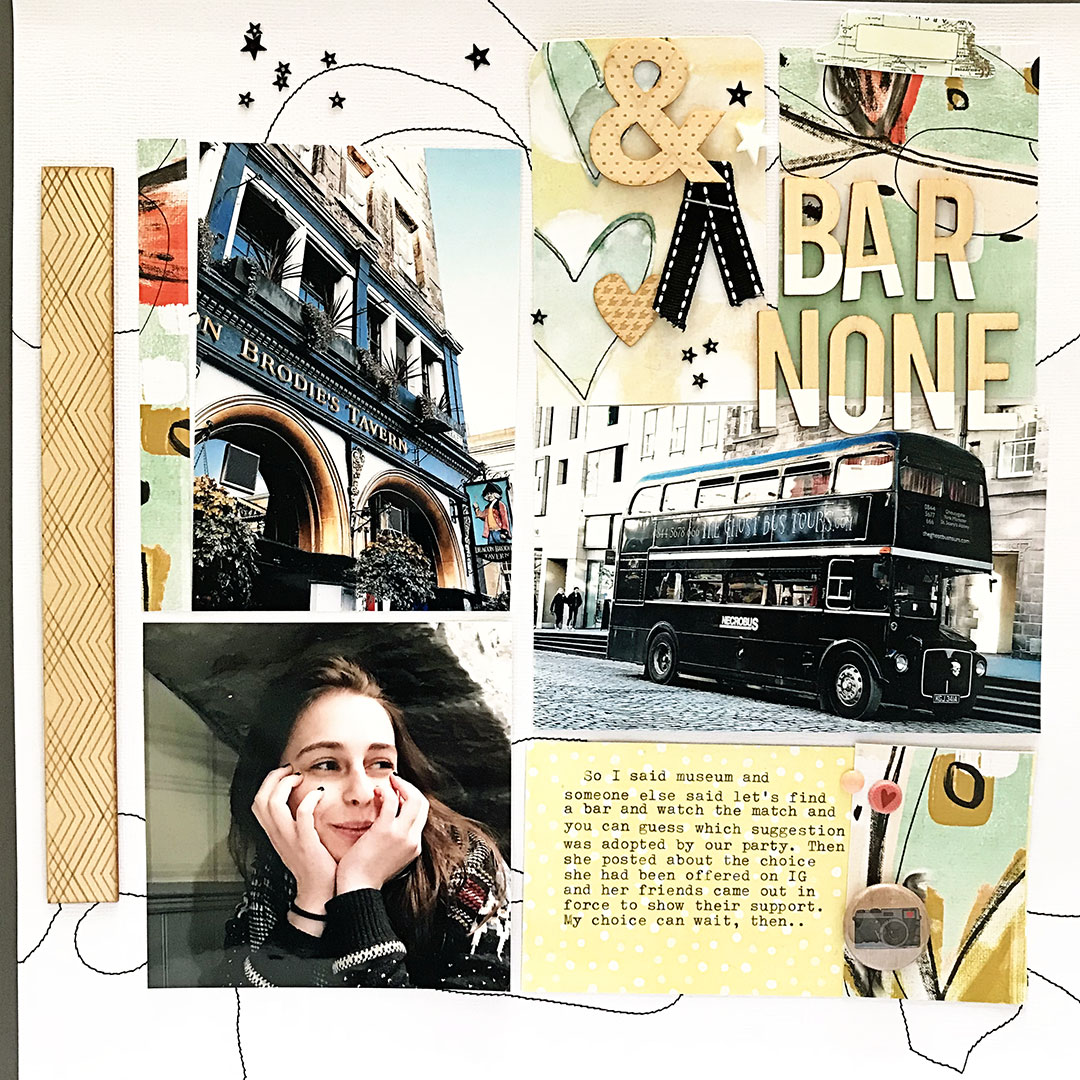
And Bar None by Sian Fair | Supplies: Patterned Paper: Cocoa Daisy, Felicity Jane; Alphas: Felicity Jane; Flair: A Flair for Buttons; Ribbon and Wood Veneer from stash
Dawn Farias says, “This story is about a yearly community service project that my family participates in with our church youth group.”
“Placing elements around a vertical axis to get started is great with photos of different sizes and orientations. I can see myself turning to this foundation often because it creates focus on the photos first and then it’s easy to fill in the other parts compartments of the piecework design once the photos are set.”
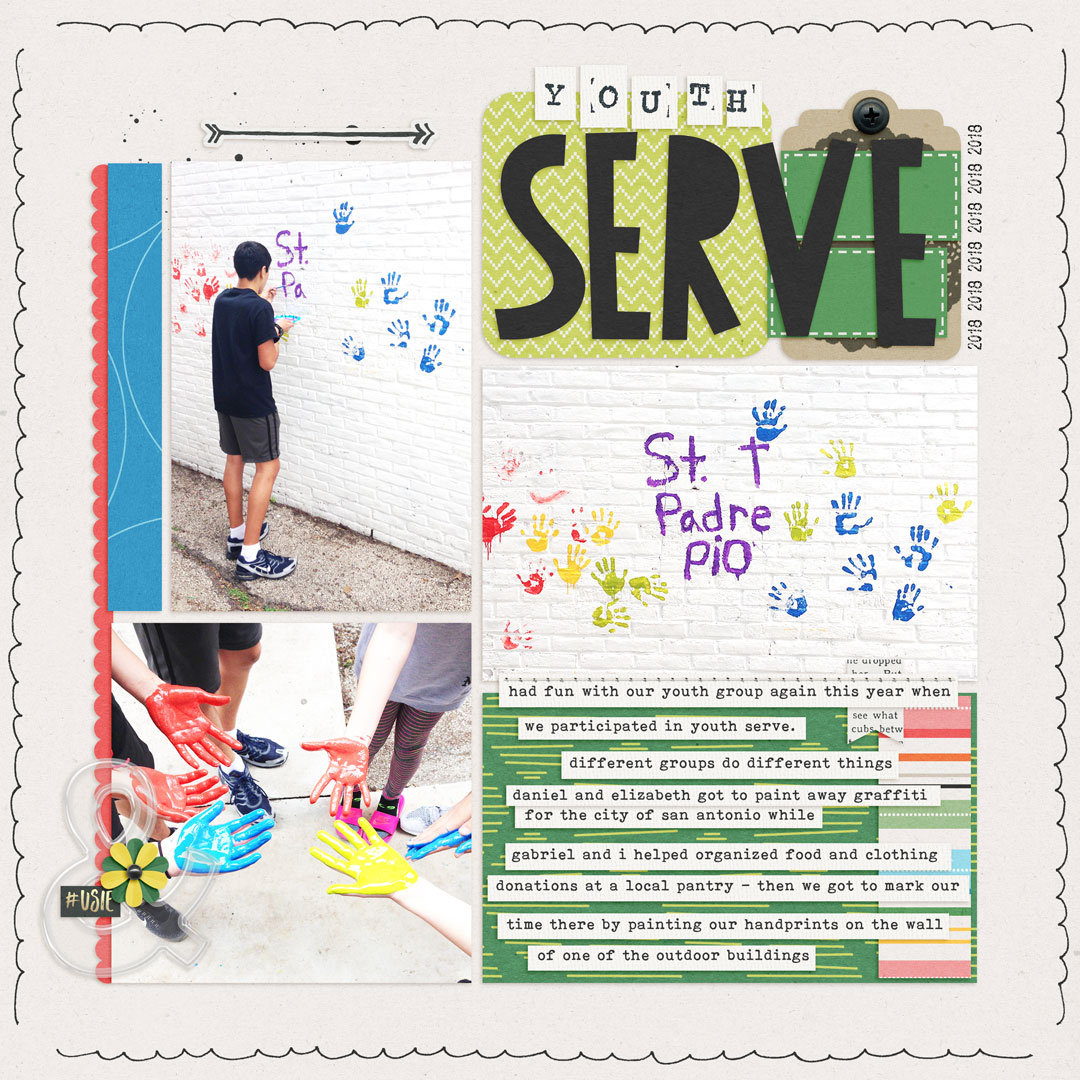
Youth Serve by Dawn Farias | Supplies: Bohemian Typewriter font from dafont.com; Before Stitches by Creashens at The Digital Press; Looking Sharp papers and journal card, Tropicana full kit, Better Together tag, Block Out Alpha, Date Stamps, Cork It alpha (clipped with black paper) all from Dawn by Design at The Digital Press
Debbie Hodge says, “Here’s one more example of beginning a piecework design by placing photos around a vertical axis. This page is about my friend’s book party and readying, and I used three photos and a screen capture from the Facebook invite.”
“I filled in around the photos with journaling, patterned paper, and title.”
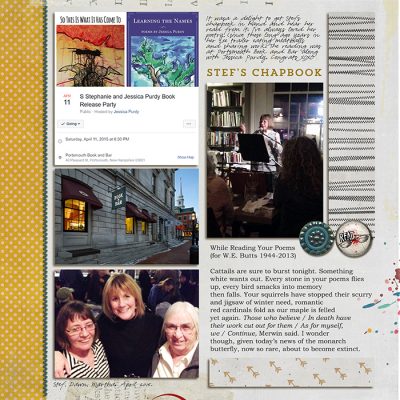
Stef’s Chapbook by Debbie Hodge | Supplies: You’re Weird I Like You, Sprinkles 9 by Valerie Wibbens. Artplay Palette ExLibris, Stiched by Anna Lime by Anna Aspnes; Trend Rough Slab, Pea Olson, Bookman Old fonts

