 Each month Michelle Houghton takes a look at an artistic technique or supply you could add to your scrapbook layouts. She shows you the steps to get this product or technique onto your pages now.
Stencils are one of the current hot trends in Scrapbooking. They are one of the many artistic techniques people are bringing from art journaling onto their scrapbook layouts.
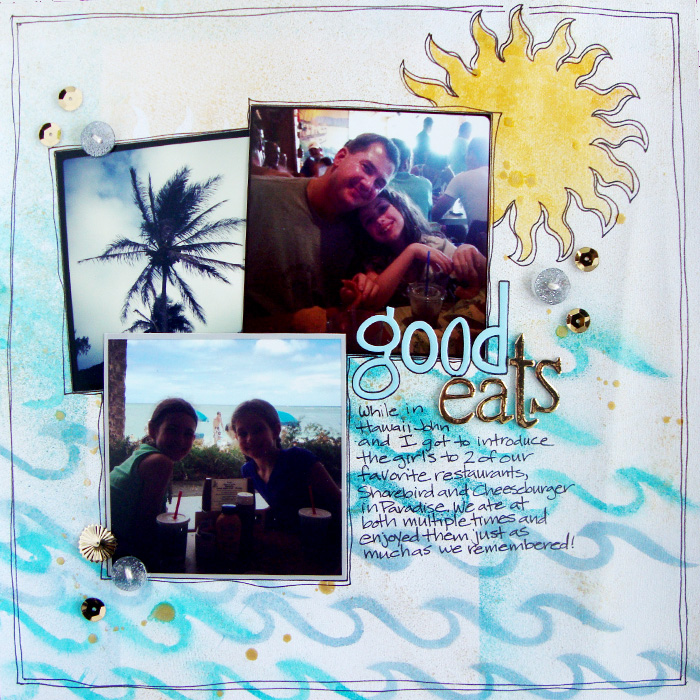
Good Eats by Michelle Houghton | Supplies: cardstock; Colorbok, spray ink; Ranger, Tattered Angel and Heidi Swapp, sequins; Jenni Bowlin, buttons and gold letters; American Crafts, blue letters; Bella Blvd
Maybe you do not want to invest money in stencils that you may only use once or twice. Or maybe you are concerned that the trend will just not be a good fit for your srapbooking style. You might already be in love with stencils and just want specific designs that you can not find. Whatever your reasoning, why not make some stencils yourself you can create them out of supplies you most likely already have in your stash.
The process itself is fairly simple once you answer some basic questions:
Q: Would you like to be able to use your stencil more than once?
This is going to determine what materials you will want to use for your stencil.
- If this a one time trial, even a simple cardstock weight paper will work. It’s easy to cut and easy to clean up–just put it in the trash after one or two uses.
- You would like to be able to use the stencil at least 5-10 times and experiment with different mediums. Now you will need something heavier like chipboard. Chipboard will hold up under most mediums and can be used multiple times before breaking down. No chipboard in your scrapbooking supplies? I bet you have an old cereal box in your cupboard that will work just as perfectly!
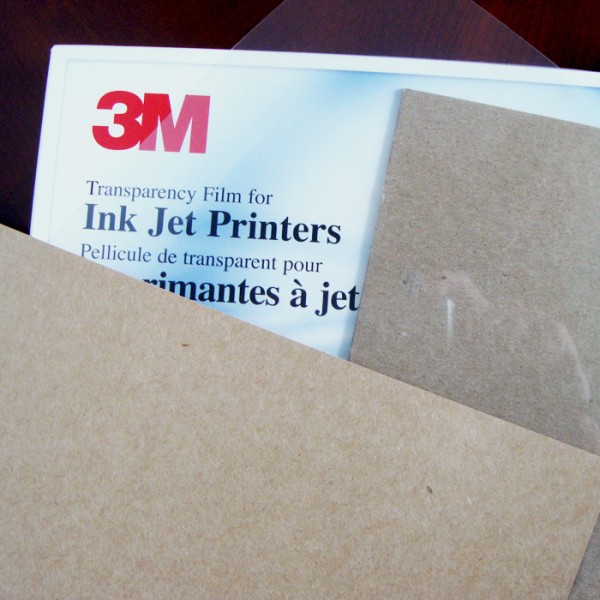
- You know you have a great design and want to hold on to it long term for multiple uses and multiple mediums. For this you might want to step it up to a clear plastic acetate or even a stencil material you can purchase at a craft store. Even transparency sheets work wonderfully and can be considerably less expensive then actual stencil plastics.
Q: Is the design you would like to try simple or complex?
This might effect the cutting tools that will work the most effectively on your stencil.
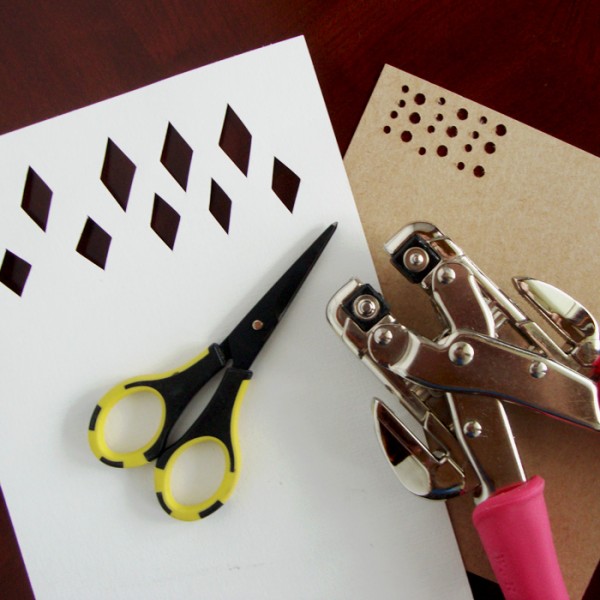
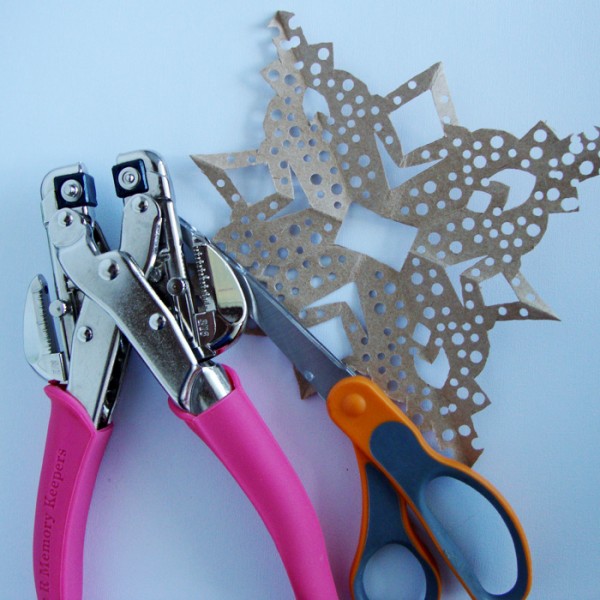
- A simple design could be as easy as a hole punch and/or scissors.
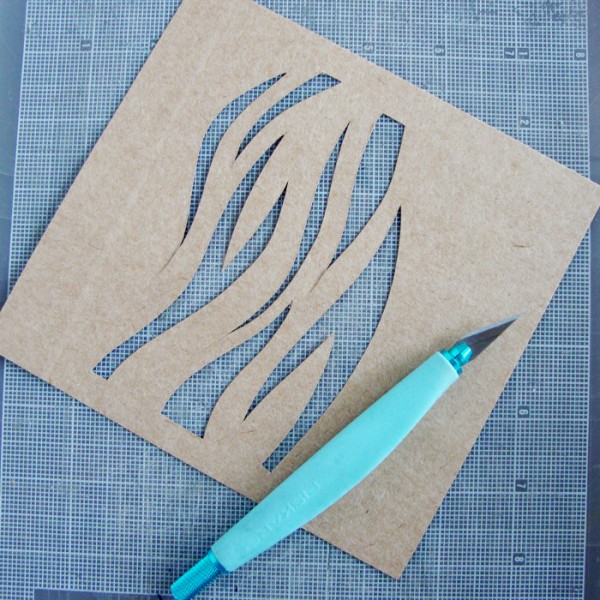
- A more complex design might need a craft knife and cutting matte.
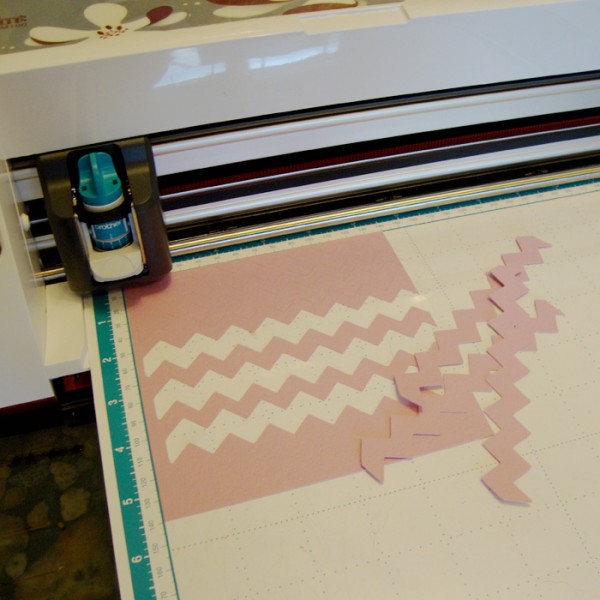
- If you are lucky enough to own one a die cut machine, either manual or digital can be used to make quick easy stencils with even the most intricate designs.
Q: Are you wanting a stencil or a mask? Or would you love to end up with both?
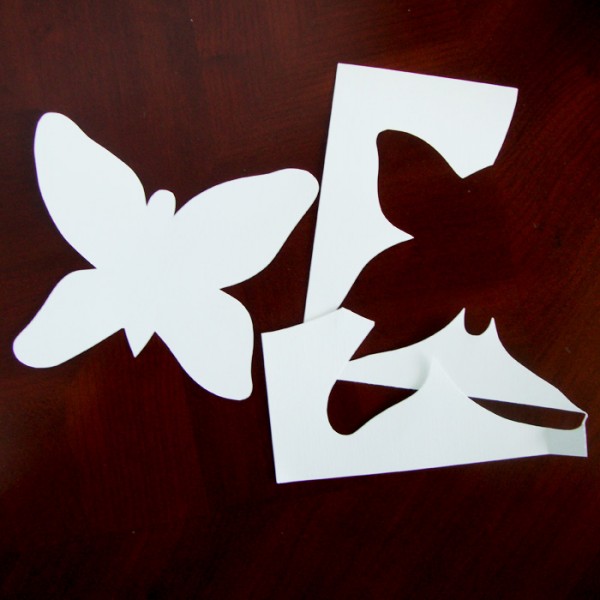
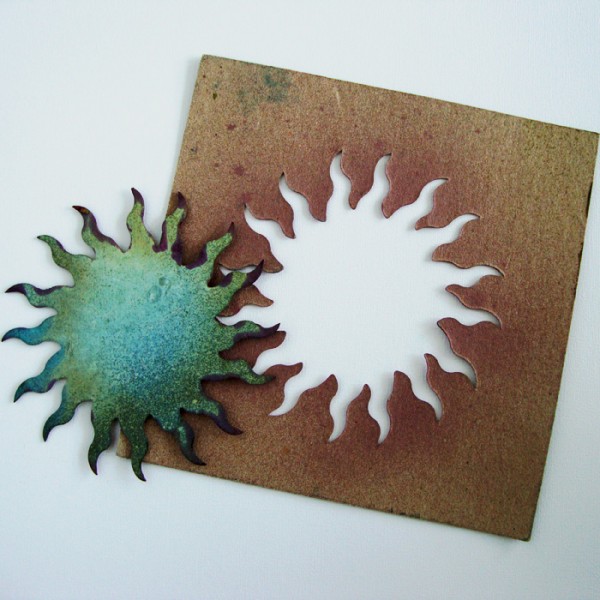
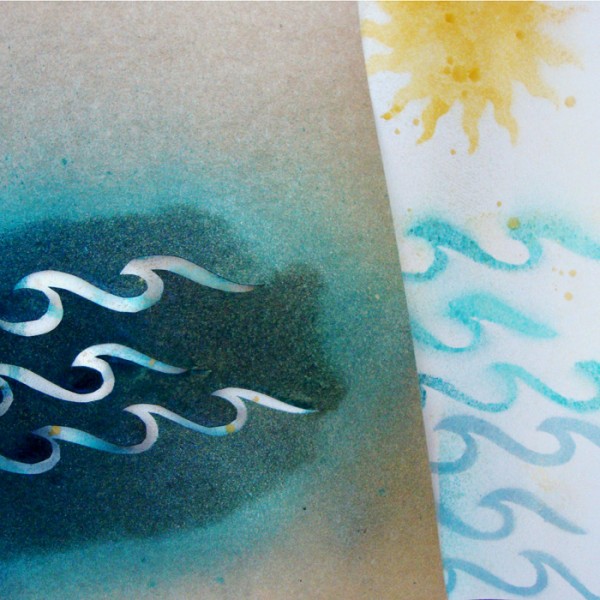
A stencil is a sheet with a design cut from it. It is used with mediums like paint and ink to transfer that design onto your art. A mask is a shape or design that is laid on top of your art, the medium is applied over it and then you are left with a negative image of the design you cut out.
- If you want a stencil you have to cut out the interior of your sheet leaving elements connected, like the center whole of a letter, and the outer edge of your sheet intact.
- If you are wanting a mask you can cut away the outer portion of your materials and not worry about how many pieces it falls away in.
- If you would like both a stencil and a mask out of the same sheet you just need to be able to cut right along your design lines without extra cuts to the interior or exterior of your work.
When you have answered these three questions you are most likely ready to cut your stencil. Here are some ways you might make your very own stencil.
[hr]
Using punches or die cuts to make your own stencils
Step #1 – Choose your materials and the design you want to create. You can punch holes with a hole punch, use shaped punches even a die cut machine to cut into your sheet. That is it, your stencil is ready to use!
[hr]
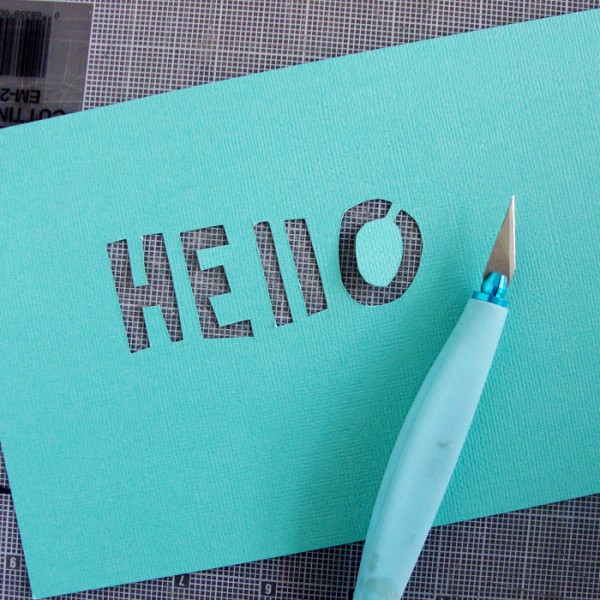
Using a craft knife or scissors to create a design uniquely yours
Step #1 – Sketch your design directly onto your materials, or on paper and transfer then your design onto your materials.
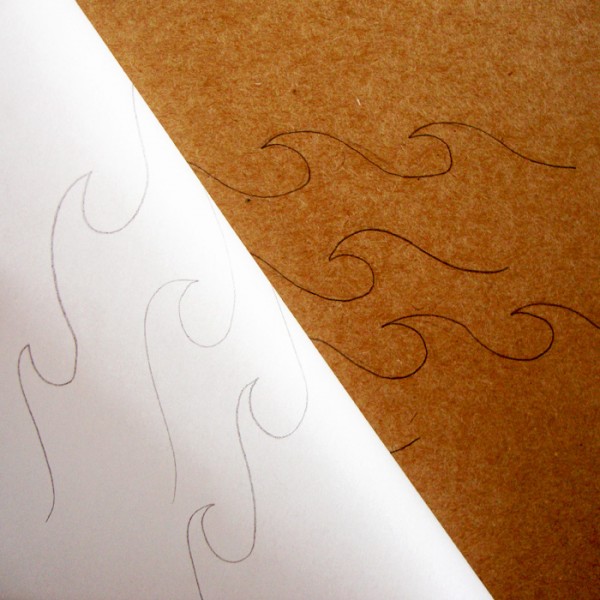
Step #2 – Use a craft knife or scissors to cut out your design. That is it your stencil is ready to create beautiful art.
[hr]
Using items that are already stencils around your home
There are a lot of items you might have in your home already that require no cutting on your part to become stencils.
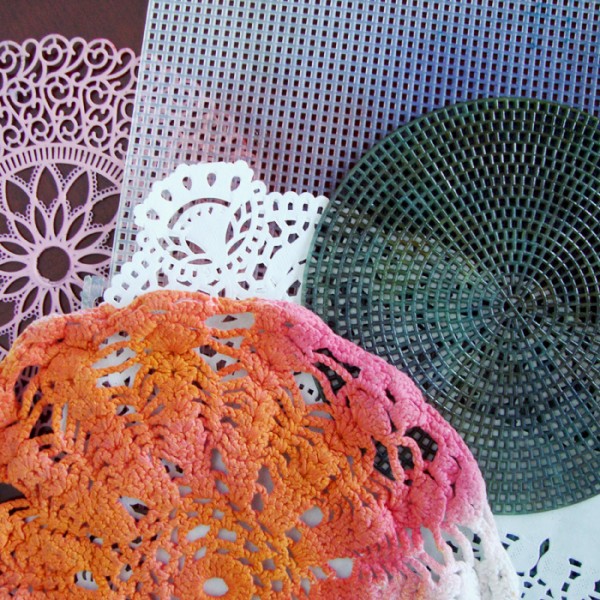
Paper and lace doilies make gorgeous stencils. Mesh or needlepoint plastic, the chipboard you punched letters out of or game pieces make great unique background stencils. Just make sure the items you choose are expendable, many of the mediums you are using on them could make them un-usable for their original purposes.
[hr]
Stencils and Your Scrapbook Pages
The only question now is how are you going to use your homemade stencils…? Here is some beautiful inspiration from the Creative Team. They all created their own stencils to use on their layouts to share with you.
Kiki Kougioumtzi wanted an urban background paper but didn’t have one that she liked. So she decided to make her own.
Here is Kiki’s process: I found a cityscape photograph at a magazine and I used it as my stencil. Because the magazine paper wouldn’t stand all the mediums I wanted to use, I traced the cityscape on cardstock and cut it.
For the “windows” of the buildings normally I would cut square openings, but to give it a more playful look I made round openings (with crop-a-dile). I prepared my paper with gesso, stamped some clouds on the top part and then started layering my stencil design. I layered top to bottom, with acrylic paints and a sponge, softer colors to brighter to give depth and dimension. When the colors dried I traced with a black pen main parts of the stenciled designs to define them better.
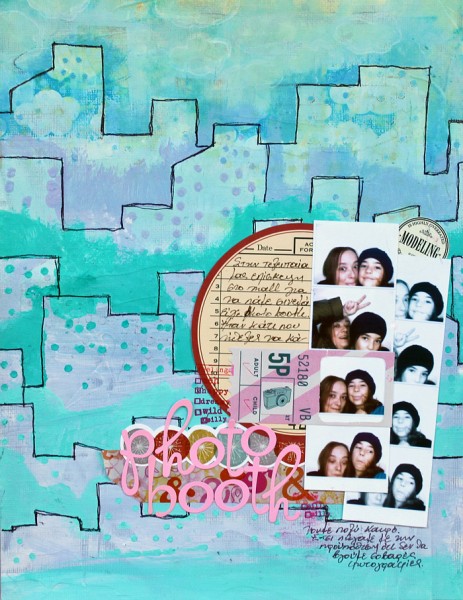
Photo booth by Kiki Kougioumtzi | Supplies: Cardstock: Bazzill; Acrylic paints: Liquitex, Ranger; Label: Jenni Bowlin; Alphas: Doodlebug; Stickers: Basic Grey, 7Gypsies; Stamp, Ink, Washi tape: Studio Calico.
Marcia Fortunato designed a stencil with the Silhouette Designer software using the word “May” and placing it in several spots around the page. She cut it out of plain cardstock and used spray mist to stencil the words on a subtly patterned paper, then placed her photo and other elements on top, arranging them so that as many words as possible would show. She also used one of the cutout words as her title and placed it on top of my photo.
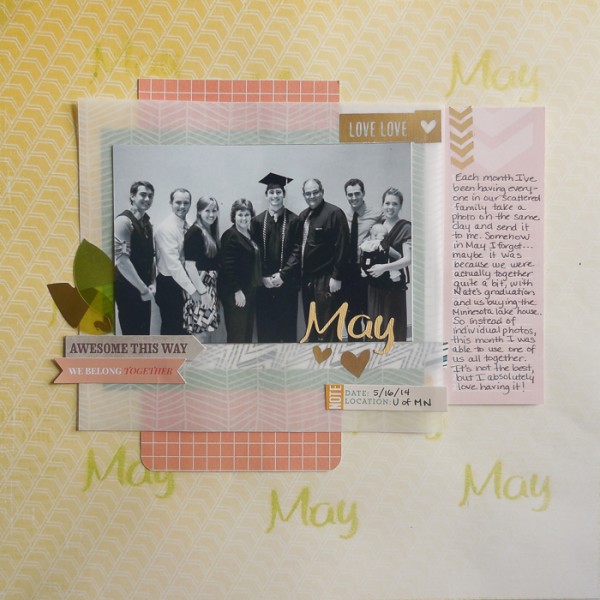
May by Marcia Fortunato | Supplies: Patterned paper: Pink Paislee, Cocoa Daisy; Vellum: Studio Calico; Letters: cut from American Crafts cardstock (font: LD Demure); Embellishments: My Mind’s Eye (word stickers), American Crafts Dear Lizzy (rub-ons), Cocoa Daisy (leaves); Spray Mist: Heidi Swapp; Pen: Sharpie, Staedtler; Other: Silhouette Cameo.
Here is what Christy Strickler says about her layout: I made my own stencil using dies and a plastic lid.I then used modeling cream with the star stencil to add some diagonal flow to my layout.
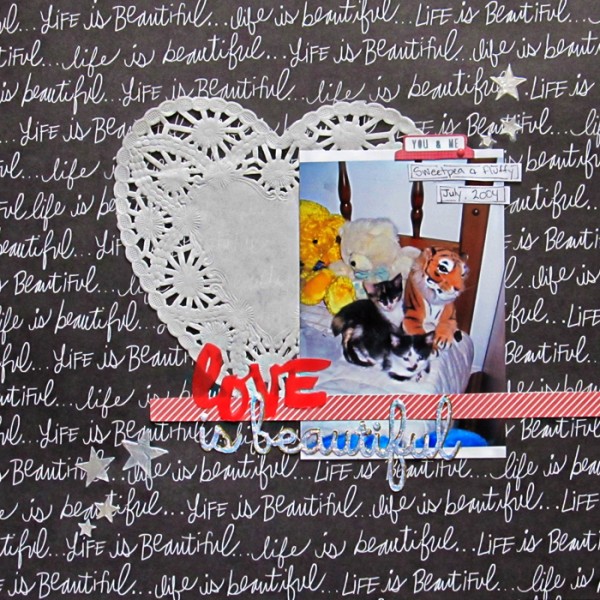
Love is Beautiful by Christy Strickler |Supplies Patterned Paper: Studio Calico; Die Cut: Amy Tangerine; Font: SW Perfect Susan; Glitter Glue: Ranger; Modeling Cream: Viva Decor; Other: Doily, Tab
Finding a new use for an old supply, Gretchen Henninger used magic mesh as a stencil, along with modeling past colored with acrylic paints. She also used a die to cut a banner from vellum. She used the negative space as a stencil, to paint the banner directly onto the background with gold paint. She then layered the vellum banner over top.
Gretchen also did a process video for this. It’s currently only available with the link: http://youtu.be/ZxeGZCEMU2M
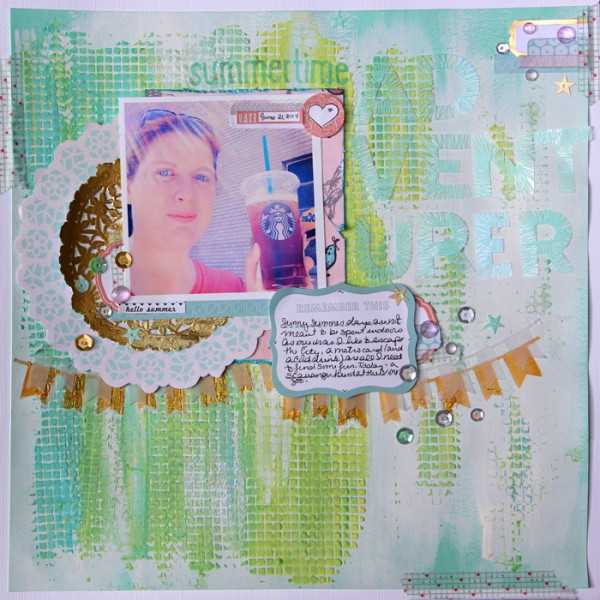
Summer Adventurer by Gretchen Henninger | Supplies: Paper: Bazzill Cardstock, Crate (Styleboard); Alphas, Gems and Stickers: Studio Calico; Paint: Studio Calico (Something Blue, Sunny Day), Liquitex (Gold); Die and Washi: Simon Says Stamp; Other: magic mesh, modeling paste
The Get It Scrapped Creative Team has looked at using stencils and masks in previous articles as well.
For more inspiration check out:
- Scrapbooking Ideas for Using Full Page Die Cuts and Stencils
- Stencils and Paint and Scrapbook Page Ideas
- Scrapbooking with Stencils and Masks: The Positive and the Negative
- Scrapbooking Ideas for Layered Stencilwork
[mhoughton]

