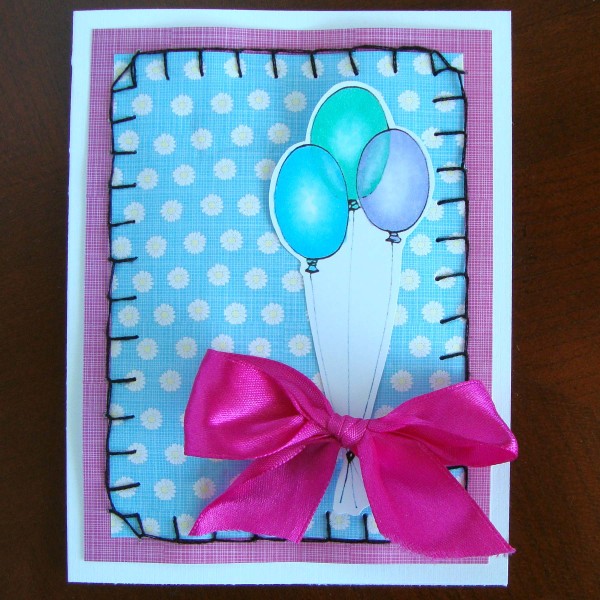
 This lesson teaches the basics of coloring a transparent object.
The image is a simple one, as is the coloring, but the results are amazing.
When coloring these, I want to make the balloons look like you can see through them. I used 3 lighter colors and my colorless blender to complete this image: B02, V01 and BG13.
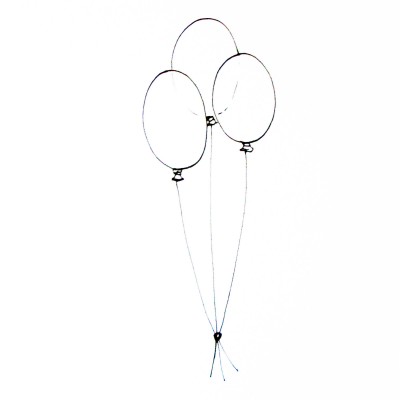
If you would like to color along, print off your own set of balloons and grab a few markers. You can find tips on printing in some of the early tutorials or you are always welcome to ask questions!
Click Here to Download Free Printable
Step #1
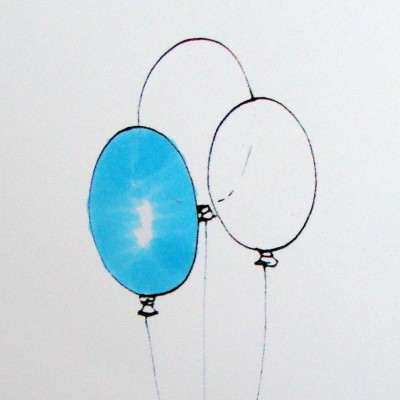
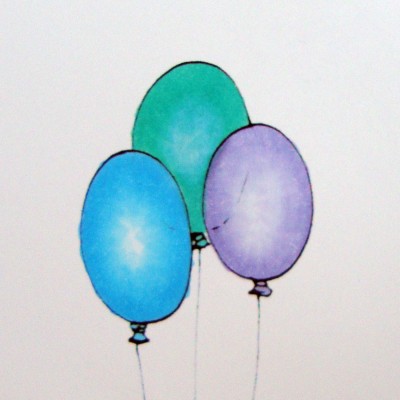
Using a feather or flicking stroke, work around the edge of one of the front balloons.
Step #2
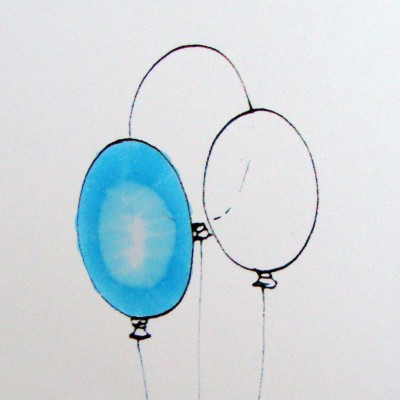
Using your colorless blender, draw circles in the center of your balloon. Depending on how quickly you work and how light your starting color, this might blend smoothly or it might leave a distinct water mark as the blender solution pushes your color outward.
NOTE: Sometimes it is easier to start by filling the entire balloon in with your colorless blender before step 1. This gives you a base coat and often makes blending to white considerably easier.
Step #3
Repeat steps 1 and 2 on your first balloon until you achieve a smooth blend.
Fill in your second front-most balloon using the same technique.
Fill in the ties at the bottoms of both of your colored balloons.
Step #4
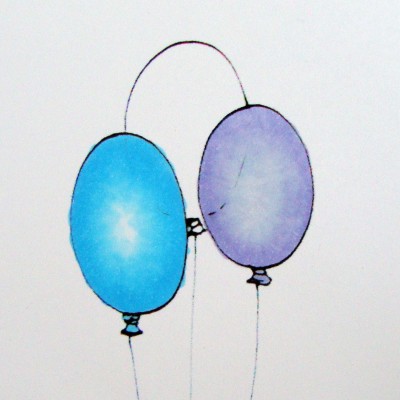
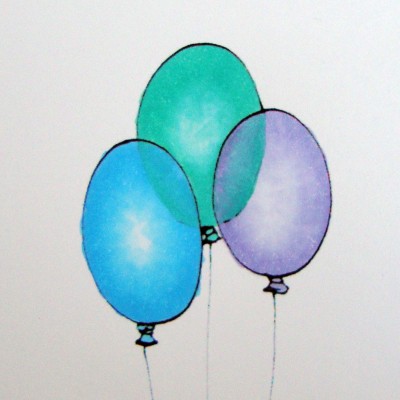
On your back balloon, start with steps 1 and 2 on the section that is showing in between and above the other 2 balloons. Also fill in the tie at the base of this balloon.
Step #5
Continue to use this third color, and very lightly feather from the edge inward on the sections of the third balloon that are behind the other 2 balloons.
Step #6
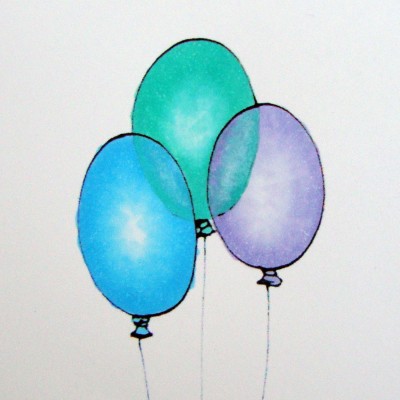
If you are pleased with your image you can stop there. I am adding one more step to mine. I used my colorless blender and made some very small circles in the center of the two sections where the balloons overlap.
[mhoughton]

