by Doris Sander
I heard on the radio last week that there was snow on the ground in 49 of the 50 states!
We had plenty of the white stuff in our little corner of the world and enjoyed several days home from school to play in it. Of course, I took many, many snow photos and felt the urge to scrap them right away–with snowflakes!
a little bit about snowflakes
- Snowflakes are really ice crystals formed in the clouds by water vapor.
- No two snowflakes share exactly the same number of water, oxygen or hydrogen molecules.
- The largest snowflake was recorded at Fort Keogh, Montana and was 15 inches wide and 8 inches thick.
- All snowflakes have six sides due to the hexagonal plates formed at temperatures below freezing.
- Not all snowflakes are white. In industrial areas where there are high concentrations of soot and smog in the air, snowflakes can be a grayish or brown color. And in areas where red clay is prevalent they can appear pink.
- Snowflakes fall at a speed of approximately 3 mph and become larger and more complex as they fall.
ideas for using snowflakes on your scrapbook pages
1. Use your punches to make simple, yet perfect, snowflakes.
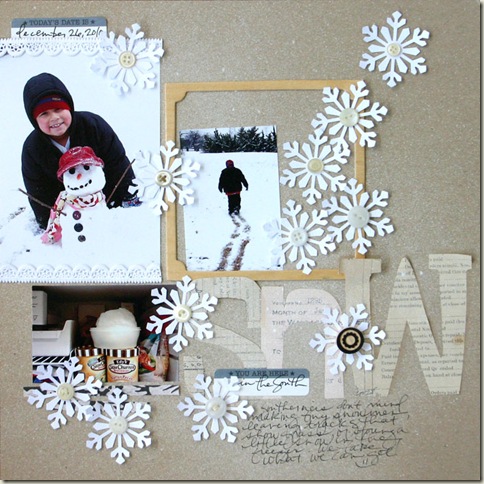
The layout above is my most recent snowbird layout. I always feel that a snow page isn’t complete without a few snowflakes. For me, snowflakes are the perfect embellishment. I love adding circular elements to my designs. Not only is the snowflake circular, but it’s inherently designed to float effortlessly down the page. My go-to snowflake of choice is the punched one using one of my Martha Stewart snowflake punches. She has such a variety!
2. Use colored mists on your snowflakes to add flair.
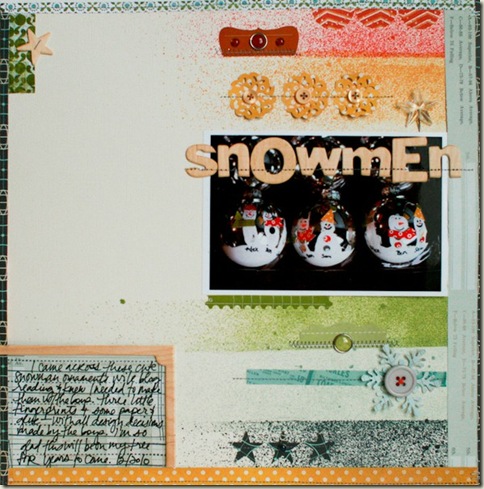
Lisa used the same snowflake punch that I used above–PLUS a doily punch by EK Martha Stewart.
Instead of leaving her snowflakes white, however, she gave them a vibrant look with misting. So fun and it lends a charming childlike quality to the layout that perfectly matches those snowmen ornaments her boys made.
3. Layer your snowflakes to add dimension and interest.
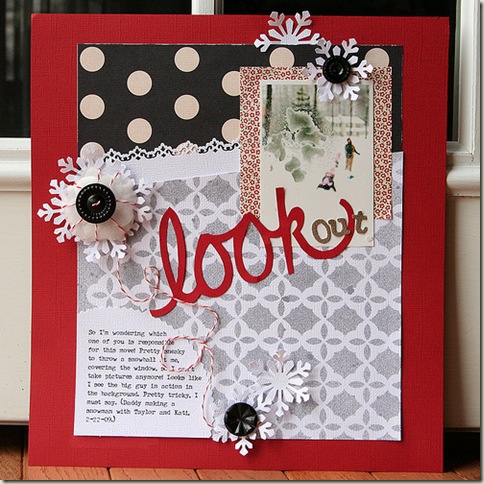
Danielle also used the same snowflake punch and even kept to the white cardstock. She took her snowflakes up a notch by layering. Hers have a button center tied with Baker’s Twine. The focal snowflake next to her title is dressed up even more with a white chiffon flower wrapped with more Baker’s Twine. Fabulous!
4. Punch your snowflakes from metallic paper or foil and watch them sparkle.
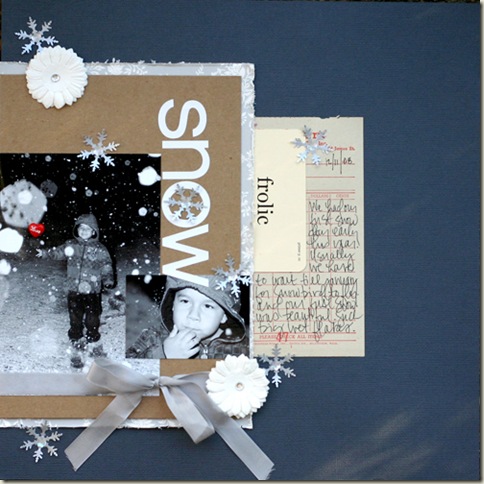
Here is another snow layout I made using a smaller snowflake punch. This time I punched the snowflakes from silver paper; it gives me all sorts of ideas for using different products with my punches. The first two ideas that come to mind are adding a bit of silver embossing powder to the edges of my white snowflakes and punching snowflakes out of old book print. I must try those ideas soon! Maybe even on the same layout! I also used a couple white flowers on this one. They remind me an awful lot of snowballs! Remember to look for substitute snowflakes!
5. Try out a stamped snowflake pattern in your background to set the scene.
Looking for more variations on product for making snowflakes I found another great one by Lisa. This one uses tiny stamped snowflakes and mixes in a few stars as well. Both great ideas!
6. Don’t forget the old-fashioned hand-cut snowflakes!
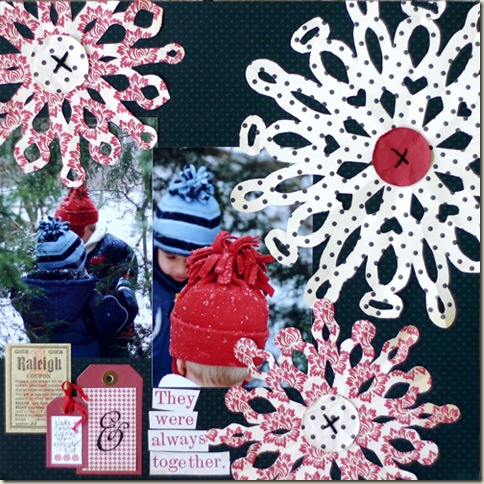
How about hand-cut snowflakes? These are super fun to make and each one turns out a little bit different. No two snowflakes are alike! Also notice how I used patterned paper this time. I think the color adds a cozy homespun charm.
7. Use your snowflake masks to create a misty snowflake for your foundation.
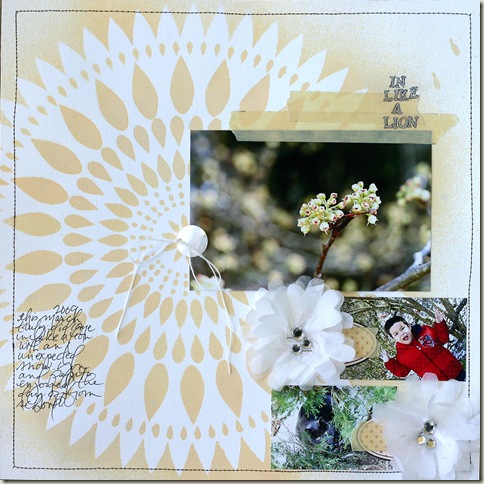
On this layout I made one big snowflake for my background using a circular stencil by Crafter’s Workshop. I think it really sets the tone for the layout. Also notice I made a couple smaller snowflakes from tissue papers and rhinestones. You can find a tutorial for making these tissue paper “snowflake flowers” on the JBS Mercantile blog.
8. Use beautifully stitched snowflakes to bring charm to your layouts.
I love to add stitching on my layouts, so I wanted to be sure to find some stitching samples. Here is a machine stitched one from Lisa. I also love how she added a little sparkle to her snowy background with rhinestones and brads in the centers of her snowflakes.
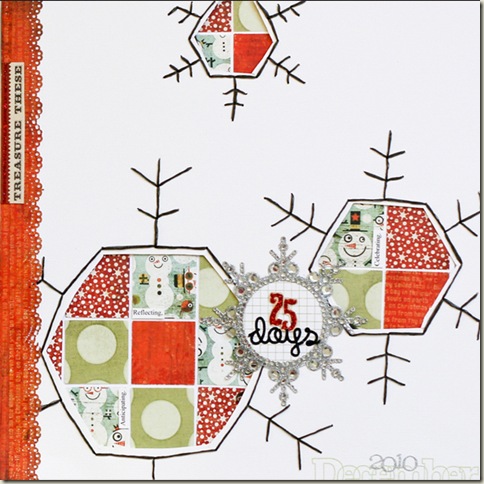
9. Bring an“crafty” look to your layouts with some fun hand-stitched snowflakes.
Another stitched layout, this time hand-stitched by Nic Samuels. Simply sketch a simple design and stitch over it with embroidery floss. What a super clever idea to leave the snowflake interiors open to add patterned paper! or how about some photos?!
10. Design your own patterned paper using your punches and your mist.
Finally, I realized I needed a snowflake patterned paper sample for my little collection and here’s what I found: an awesome tutorial for making your own snowflake patterned paper using my beloved Martha Stewart snowflake punch and mists! Too cool!
So which snowflake idea will you try first? I hope you’ll share your snowy projects with us here!
[dsander]

