 Grab some spare prints of your photos, patterned paper with design you love, a good craft knife, cutting mat, and a great pair of scissors–and get ready to do a little cutting. I’ve got how-tos and ideas for cutting your papers and photos for cool effects on your scrapbook pages.
supplies
craft knife
Make sure your craft knife or X-Acto blade fits your hand as well as it can. Detailed cutting takes pressure which is hard on the hands. There are many nice knives made these days that are easier on your fingers than others. Most importantly, however, is to make sure you have a sharp blade. Almost all craft knives have disposable blades, and if you have not changed yours recently—or if you didn’t know it could be changed—now is the time to do it! You will be amazed at how quickly a blade wears down and how much easier it is to cut with a fresh blade!
cutting mat
You will need a mat to cut on top of. If you do not have one yet, look for a self-healing mat, which can be used over and over and not get all lumpy-bumpy from your cuts. The size of your mat is personal preference. I like my 12” x 12” mat because I do not have to continually adjust my project to stay on top of it. Smaller ones work just fine for most projects.
scissors
I have two pairs of scissors. I have standard Fiskars paper sheers that have blades about 4” long. For most of the cutting I will be talking about in this lesson, however, I use a smaller pair of Honey Bee micro scissors by EK Success. I procrastinated buying these. I didn’t get why everyone had them! I cut everything with my X-Acto for years, and, as my hands become more and tired, I knew I had to try something different. I love the control and the detail I can get with these little scissors. I cut as much as I can with them, and then I only get my X-Acto knife out for tight corners and interior shapes.
1) adding paper to chipboard alphas and embellishments
This basic technique might be one that a lot of you are already using, but it’s always fun to see how someone else does things and learn any of their tricks that make the cutting easier or different looking.
I love chipboard. It seems I say that a lot. I think I just love scrapping! I love chipboard though. I love the dimension it adds to the page, and I love the variety of shapes and styles that are available. I buy both naked and covered chipboard and use them both regularly.
If my chipboard is naked, however, there is the dilemma of what to dress it up in. Should I go for some ink, paint, or leave it bare? For today let’s look at dressing it up with paper.
- Pick out chipboard and paper to cover it with.
- I frequently ink or paint the edges of my chipboard to jazz it up a little bit. It doesn’t matter if you cover onto the front or the back, the paper will cover the front and no one will see the back.
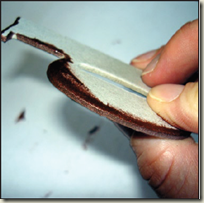
- Do a double check to determine which side needs to face up on both your chipboard and your paper. Nothing ruins a day like gluing your chipboard to the side of paper you want facing up! I use a tacky glue and smooth it across the entire top of my chipboard. I then adhere the chipboard to the back of the patterned paper, adding pressure for a few seconds so it gets a nice even bond. Now you need to let it dry. Yes, I know, patience required.
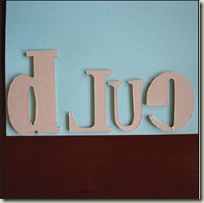
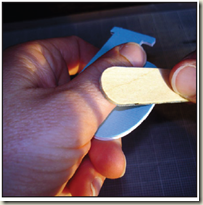
- Using your scissors start cutting around your chipboard. Move your chipboard not your scissors. For the most part your scissors should stay pointing straight out from you while you move the chipboard into them. Make slow, continuous cuts—especially around the curves.
- When you cannot reach any more with your scissors get out your X-Acto blade and cutting mat. Watch the hand that is holding the chipboard steady and be sure you are not cutting directly toward it. Cutting often takes pressure, and, if you slip, it’s better not to slip in the direction of your fingers. (Speaking from experience.)
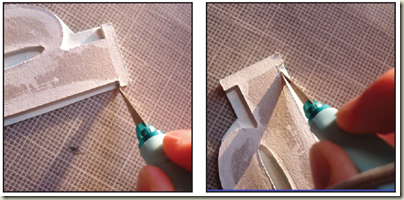 Go through and get all of your corner and interior shapes with your blade. Cut the corners from the peak out in both directions to get the cleanest cuts. Think of it in terms of making two cuts instead of trying to curve your blade into and back out of a tight corner. Start the blade in the corner and pull it out and away from the corner. Then go back into the corner and pull out to the other direction.
 - To finish, I use a file or sandpaper to smooth over the edges of the paper, rounding it over the chipboard. It cleans up the edge and makes it look like you bought it this way.
2) pop-up photos
Many of us started scrapbooking this way many moons ago, chopping into our precious photos, cutting them into shapes, using decorative scissors to round the edges, and cutting out the people and places we were capturing on film. Of course, most of us did not have digital photos then and are regretting cutting into our precious prints. (This is me regretting, not necessarily you. I’m pretending I’m not the only one, so play along.)
In the meantime, the scrapping world has gone in the opposite direction. Many of us are barely cropping photos let alone cutting into them with an X-Acto. Gasp! Today we are going to learn two fun techniques for cutting photos. If you’re worried at all about cutting into a shot, make sure it is one that can be replaced. I think you’ll find the results fun and worthwhile.
- You need two copies of the exact same photo. Print two yourself or order a duplicate when you order prints–they must be identical.
- Choose which portion of your shot you are going to pop up. Typically this will be the main subject–perhaps a person, flower, or your pet Fife. Begin cutting tightly around your subject with small scissors. We want to cut as closely to the image as possible. You might cut off the flyaway hair or a wrinkle in the clothing. Just get as close as you can and go slow!
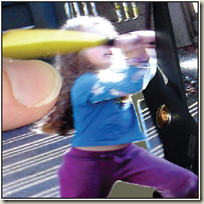
- Remember when cutting a detailed item like this to hold your scissors steady in your right hand pointing away from you, and then hold your photo in your left, moving and turning it into your scissors. Keep nice slow even pressure going on your scissors so they keep cutting as you turn your image. You will find you have a lot more control this way.When you have gotten everything you can with your scissors, go back in with your X-Acto knife. Get the details, and get the interior spaces that need to be cut out. Remember to start from the corners and work out.
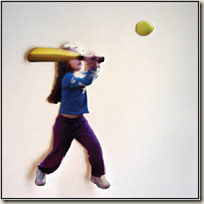
- Use several pop dots to back your newly cut image and place it carefully right above the exact same image on the second photo. It will look like your person, flower, or Fife is jumping right out of the shot.
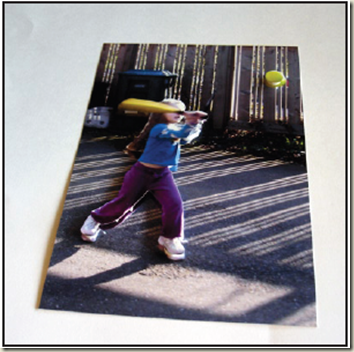
Another option is to use a single print and just pop the cut-out portion right off the layout. Use steps 2 and 3 and then attach it to your page.
3) creative collage for a photo series
In this technique I use several photos that I am trying to blend or merge together. If I was better on the computer I am sure there are many ways I could do this in Photoshop, but I am not, so I work with my hard copies.
- Find 2 or more photos you would like to overlap. Successful ones usually have similar backgrounds or groups of people or panoramic landscapes: they flow together in some way.
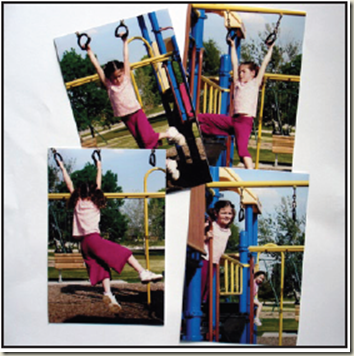
- Figure out how you want to overlap your photos. Lay them out and start shuffling them around on the page. Make sure they are going to fit on your layout and make sense.
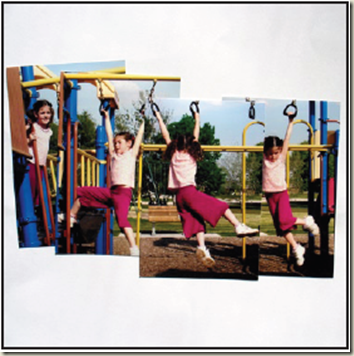
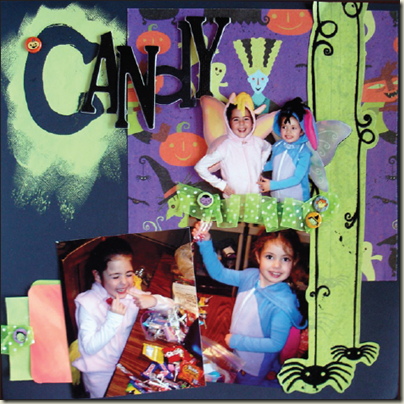
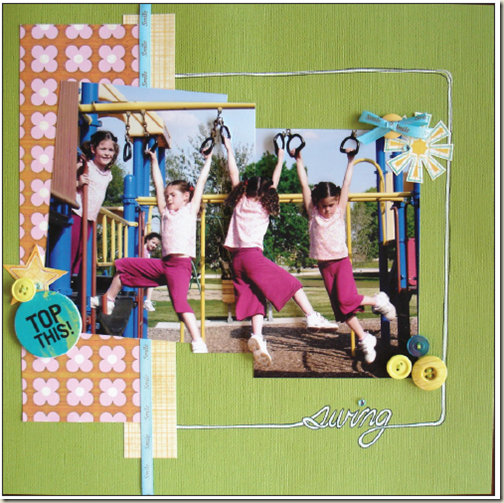
- One by one start cutting into the photos to be trimmed. There might be several at the bottom level that do not get touched. Start at the top layer and work your way down cutting away the portions you want to eliminate from your photos. Use the same cutting method as above working from the bigger chunks with your scissors and then into the details and interior cuts with your X-Acto.
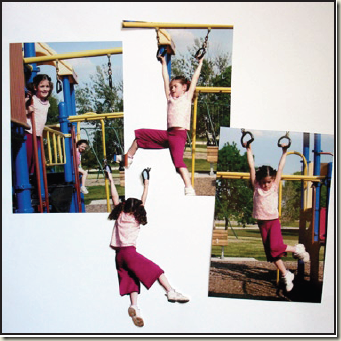
- If the rest of your layout is ready to go adhere your images to your page. Don’t forget to start with the bottom layer first and work your way up.
4) cutting patterned paper
The other thing I love to cut into is patterned paper. I love patterned paper that has big swirls or patterns on it but then sometimes have a hard time covering it up with my photos.
My solution is to cut out the portion of the paper that I like and layer it over parts of my photos. There really is not a whole lot of “how to” here. We have talked about how to do intricate cutting with your scissors and X-Actos so here are two examples of cutting into patterned paper and layering it over elements on my page.
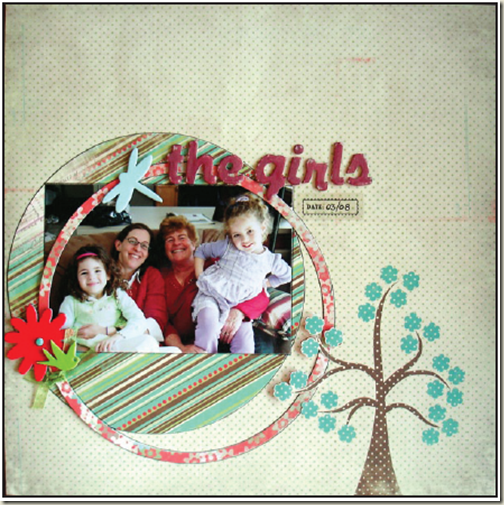
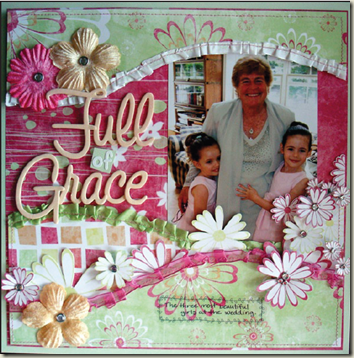
On the layout “The Girls,” I only wanted a small portion of my page to lift over my images so I used my X-Acto to cut around the branches and flower on the one side of the tree. I backed my paper with cardstock so you wouldn’t see a hole underneath the raised branches and then I used pop dots to lift the branch and blossoms up and over the ring.
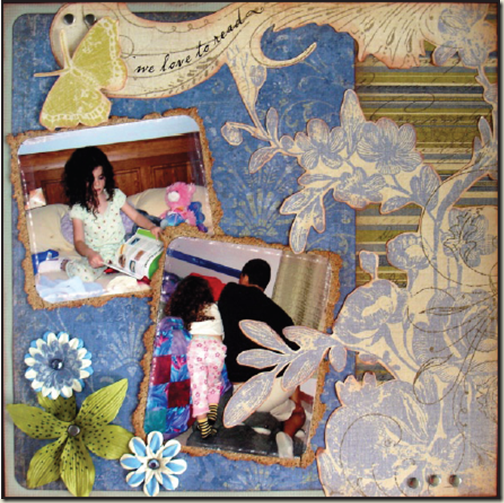
On “We Love to Read,” I cut around the floral image to the right and layered it on top of several elements on the page. Notice that unlike the technique of cutting out photos, this is much looser cutting. I am not trying to go right up along the edges of the image. I also cut out the large butterfly at the upper left hand side of the layout from the same sheet of patterned paper. Again, I popped it up, lifting it over several elements on the page. I inked the edges on both the butterfly and the floral print to define their edges before adhering them to the page.
[mhoughton]
[designclass]

