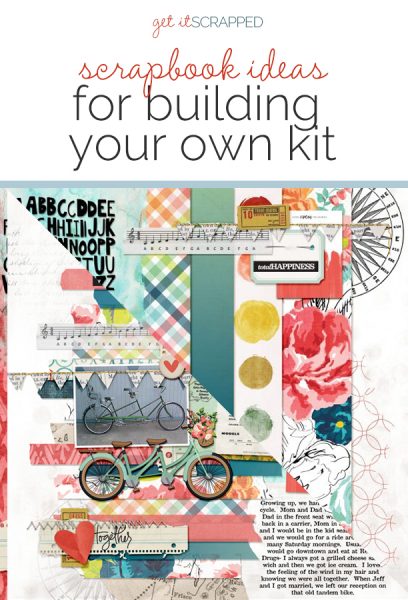
 Working from a kit makes the scrapbooking process more efficient and adds limits that can yield creative outcomes.
It’s also a great way to use your stash and have resources that work for your style.
See the kits our creative team made–and the pages they created with those kits.
[hr]
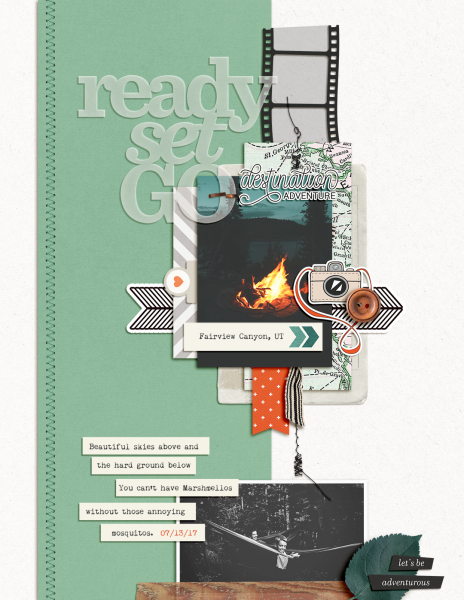
Amy Kingsford says, “This page records a few of my favorite photos from a recent camping trip and my family’s overall philosophy of embracing adventure.”
“Since most of my pages these days are travel-based I knew from the start that I wanted to make a travel-themed kit. I started with the map paper and the camera sticker and then built my color scheme from there. Once I had an idea of the colors I wanted to work with I filled in the gaps with patterns and elements that I was inspired by in those colors. I did have to venture outside of my kit for a few basic items that I forgot to include like stitching and a staple. But other than that I was able to stick to the contents of my kit. When building your own kit I would suggest starting with one or two products that you are inspired by and letting them shape the theme and/or colors that will round out your kit. And try not to overlook those basic items that you use on every page!”
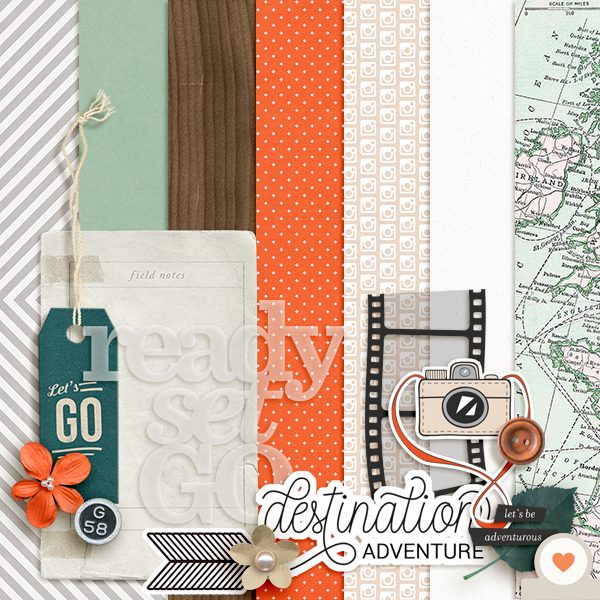
In the Kit: One Little Bird: Irvine Park: Woodgrain PP, Orange Cross PP Orange flower; Ready, Set, Go: Bingo Piece, Vellum Word Art, Kraft Flower and Heart Tab; Woodridge: Gey Cevron PP, Sage Cardstock, Leaf, Field Note Label; Sahin Designs: Around the World: Camera PP, Map PP, White Cardstock, Destination Adventure Word Art, Camera Sticker, Chevron Sticker, Film Strip, Button; Deena Rutter: No Limits: Let’s Go Tag.
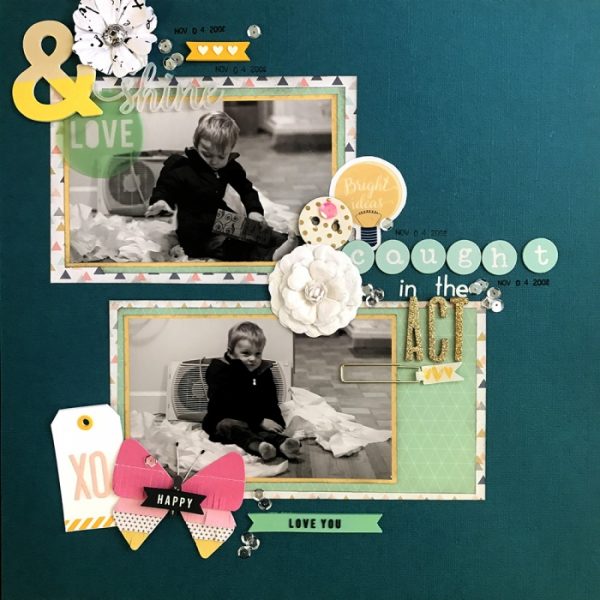
Megan Blethen says, “I love these two photos I took of my middle son about 8 years ago. We had just moved into a new house and were unpacking. He must’ve been totally bored and without toys because he resorted to playing with the tissue box and pulling them all out.”
“My kit didn’t dictate the story I told–and it usually doesn’t. I scrapbook what I feel at that moment. I decided to start my kit with the cute Fringe Butterflies from a recent Maggie Holmes collection. I just bought them and was so excited to use them. I found it really easy to use this kit. The only thing I had to pull that wasn’t in it was a smaller alpha to fit in the title.”
“My best piece of advice is to pick a starting piece, whether it’s an embellishment, a paper or a moodboard. Pick something to get you going and it will hopefully flow from there. Also, don’t be afraid to make it a big kit. I added a lot more embellishments then I was ever going to use on one layout, but it’s better to have more to chose from, otherwise you’ll find yourself not having enough.”
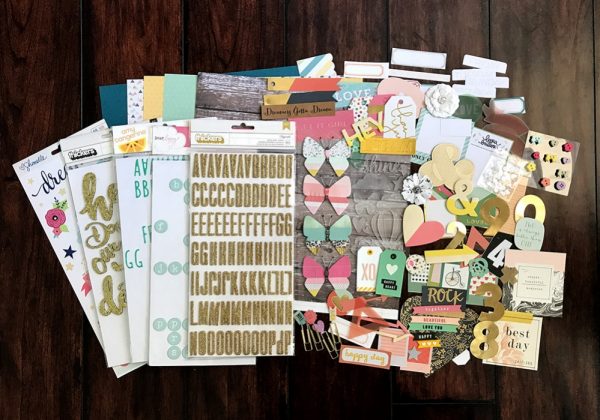
In the Kit | Papers; Bazzill Premium Cardstock ‘Blue Calypso’, Fancy Pants Golden Days ‘Hazy Days’, Simple Stories Easter ‘Some Bunny Loves You’, Simple Stories Domestic Bliss ‘Domestic Diva’/ Embellishments; AC ‘Fitzgerald’ Thickers, Dear Lizzy Thickers ‘Yo-Yo’, Recollections Glitter Stickers White Alpha,Crate Paper ‘Chasing Dreams’ Fringe Butterflies,American Crafts ‘Starshine’ Acrylic Shapes, Crate Paper ‘Bloom’ Rubber Charms, Pink Paislee ‘Take Me Away’ Paper Clips,American Crafts ‘Starshine’ stickers
Kelly Prang says, “I was inspired by a chipboard bike element to tell the story of the tandem bike my family had when I was a child. We would all four get on it for rides around our small town on weekends.”
“I started my kit with the large floral print (from Heidi Swapp- September Skies), and then pulled colors from that paper to help pick a plaid, some tone-on-tone patterns, solids as well as a map paper and grid/newsprint. After paper, I picked elements for the kit, and when I found the bike chipboard I added more circle elements to help tie in the circular wheels. I made sure to pick two alphas, a banner, flair and some interesting ephemera pieces as well as washi tape as I tend to use those often on pages that I make.”
“I found it pretty easy to stick with the kit, as I had picked items based upon what I know I will use. My tip when building your own kits is to figure out HOW you scrap first. I tend to be inspired by color and shape, so started from there when building my kit. Also, I used a new paper which I was really excited about and chose papers that coordinated with that floral.”
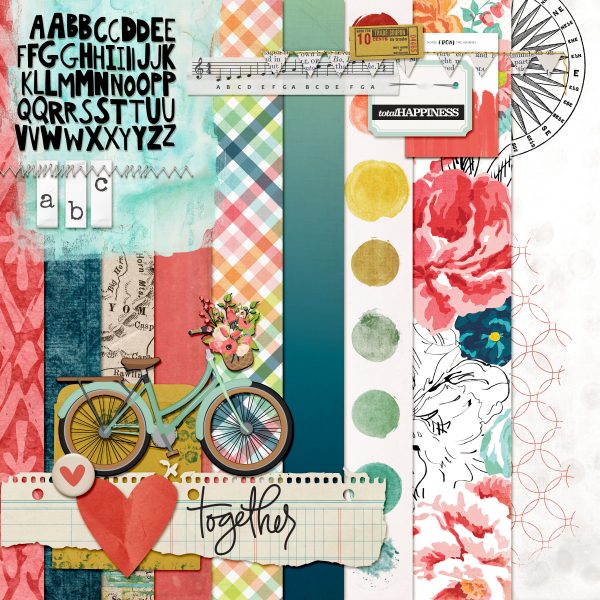
In the Kit | Papers:American Crafts- Heidi Swapp- September Skies- Floral, stripes (I turned the stripe into plaid by duplication, rotation and making the top layer blending mode set to multiply); Carta Bella- Birthday Song- Blue Ombre paper; Just Jaimee- Storyteller August 2016- polka dot (multi-colored) Storyteller June 2016- white paper; Vickie Stegall- Felicity- Coral solid paper; WT- Grandma’s Junk Drawer- Map Paper; Mye De Groot- Winter Wonderland- blue grunge paper; Krystal Hartley- April Showers- coral/red patterned paper. Elements: Studio Calico- Written in the Stars- word art; Blagovesta Gasheba- Captured kit- flair, paper heart, torn paper; Persnickety Prints- Freebie Spring 2015- bike; Allison Pennington- Well Read- banner; Forever Joy- Mixtape- washi tape (music scale); One Little Bird- Take Root- label; Sahin Designs- jaunt card; Just Jaimee- Storyteller August 2016- Alpha; Ashley Calder- alpha cut files; Erica Zane- Smart Alec- stitching
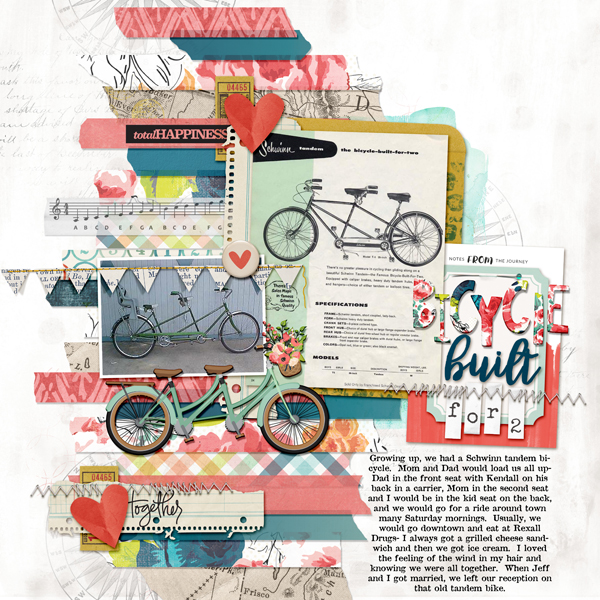
Bicycle Built for 2 by Kelly Prang | Additional Supplies: Get it Scrapped Template- Product Play- Corrie Jones; Fonts: Bromello (built) and AA Typewriter- journaling
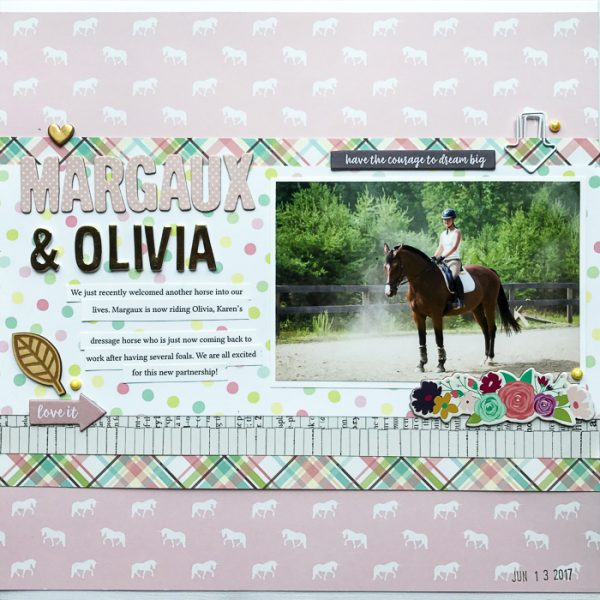
Kelly Sroka says, “I LOVE using kits to scrapbook. I find that setting creative limits for myself helps me be a better scrapbooker and enjoy the creative process much more. I created this kit by starting with a favorite patterned paper (the polka-dot one) and gathering coordinating papers and embellishments in the same color scheme and mood of my original paper. The kit has a light, girly, fairy-tale feel, so I chose to tell the story of my daughter’s new horse. I used only supplies from my kit to make this page–the only product I added was a piece of white cardstock.”
If you are interested in building your own kit, here are my tips to get you started:
- choose a favorite piece of patterned paper or embellishment that has two or more colors;
- find coordinating papers in the same color scheme that also match the mood or theme of your original paper or embellishment;
- choose additional embellishments that coordinate with your papers;
- make sure to include a variety of types of embellishments.
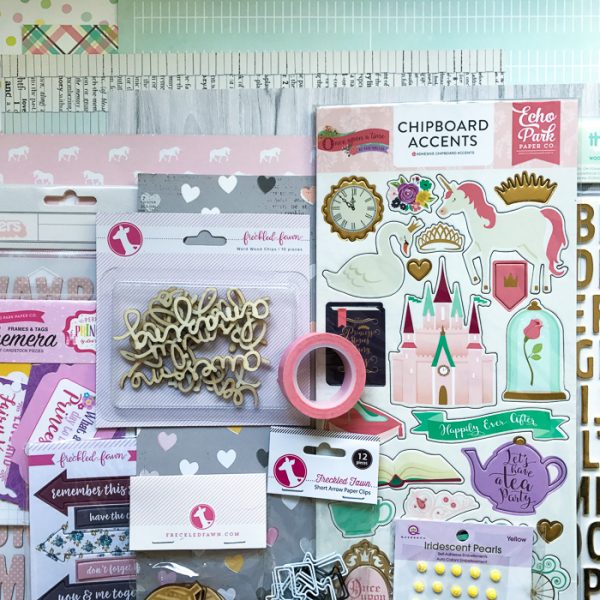
In the Kit | Patterned Paper: Pink Paislee, Echo Park, Crate Paper, Simple Stories, Photo Play; Chipboard die cuts: Echo Park; Letter Stickers: Thickers; Arrows, wood veneer pieces, and chipboard arrows: Freckled Fawn; Pearls: Queen & Co; Washi tape: Doodlebug Designs; Cardstock die cuts: Echo Park
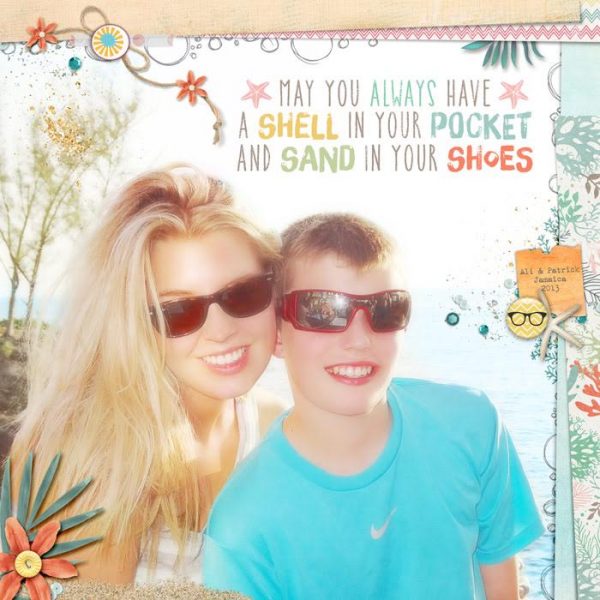
Deborah Wagner says, “This is my niece and nephew on our family vacation in Jamaica.”
“I love scrapping beach photos, and it was enjoyable putting together my favorite beachy papers and elements to make a kit. Having a theme, and a color palette is helpful when making your own kit.”
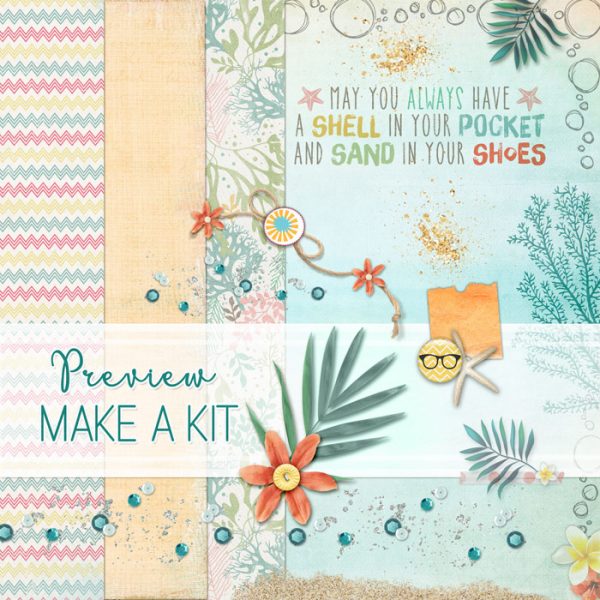
In the Kit | KimB – Simple Pleasures, Fish On; Studio Flergs – Beachy Keen; Dawn Inskip – Artful Edges; NBK – Tropical Fusion Sprinkles; Lynn Grieveson – Summer Sunset, East Bourne, Raspberry Sundae; Katie Pertiet – Delmar Shores, Sequins Scatters Sky, Whimsy Wings; Amy Wolff – Pixie Dust; Anna Aspnes – Art Play Palette Serenity; Sugarplum Paperie – Birds of A Feather

