 Do you ever make scrapbook page backgrounds ahead of time without know what you’ll be scrapbooking? Perhaps you make misted and painted backgrounds. Maybe you block out patterned paper bases. Or you could even use a sketch and create a base with spots for photos and title already identified.
This kind of work gives you the opportunity to play with technique, use up your paper scraps, and speed your scrapbooking process. See how the creative team at Get It Scrapped pre-makes bases and the pages they create from them.
[hr]
collage a rainbow of patterned paper strips
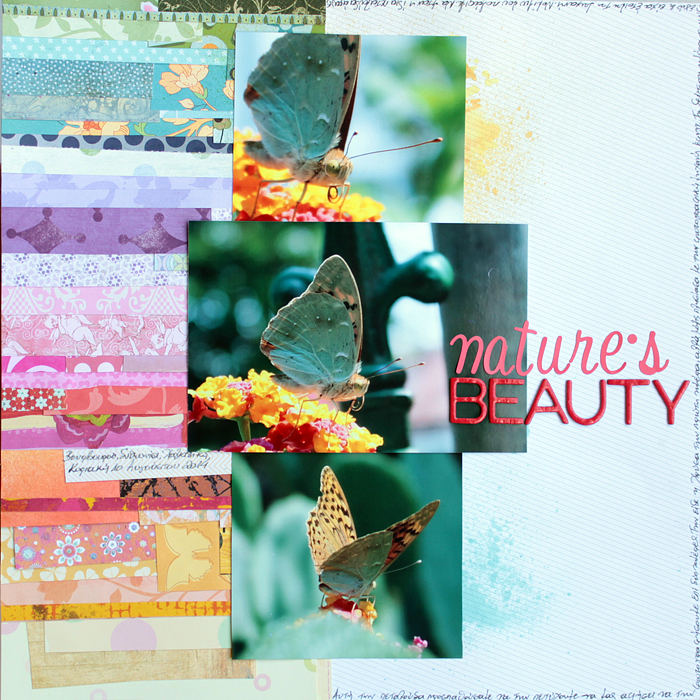
Nature’s beauty by Kiki Kougioumtzi | Supplies: Alphas: American Crafts, Webster’s Pages; Tattered Angels: glimmer mist; Other: various pattern papers.
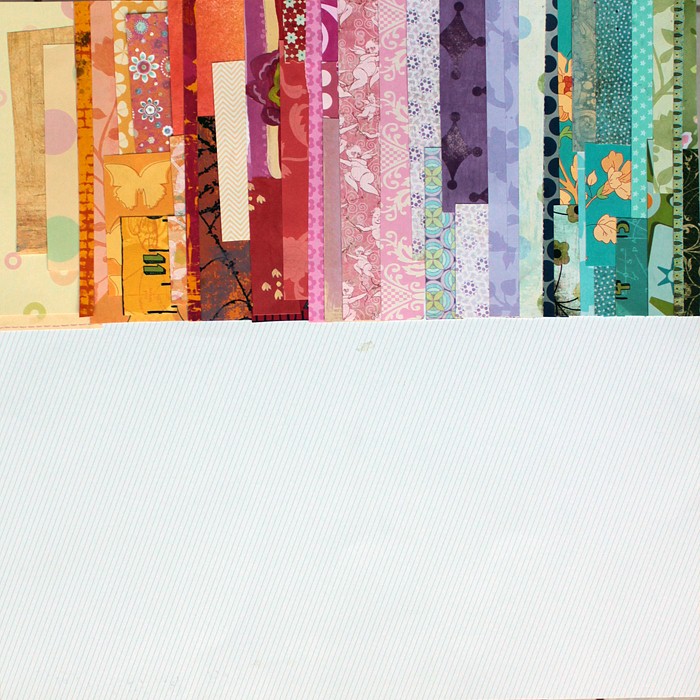
Kiki Kougioumtzi says, “I keep scraps of paper in colors and patterns that I especially like in an accordion folder divided by color. The smaller scraps are all mixed in a box. When I make page backgrounds, I usually use a monochromatic or a rainbow color combination. I leave blocks with usable white space.”
“Here, I made a rainbow block that covers about one third of the page. It was built horizontally, but I rotated it 90 degrees for the page. The many patterns and layers of the base made the perfect match for our butterfly-hunting story, with its many funny incidents: we chased butterflies for two days in order to get a good close up photo. I think that the rainbow effect shows the photos off well.”
[hr]
use a sketch to create the base and save for the right photos
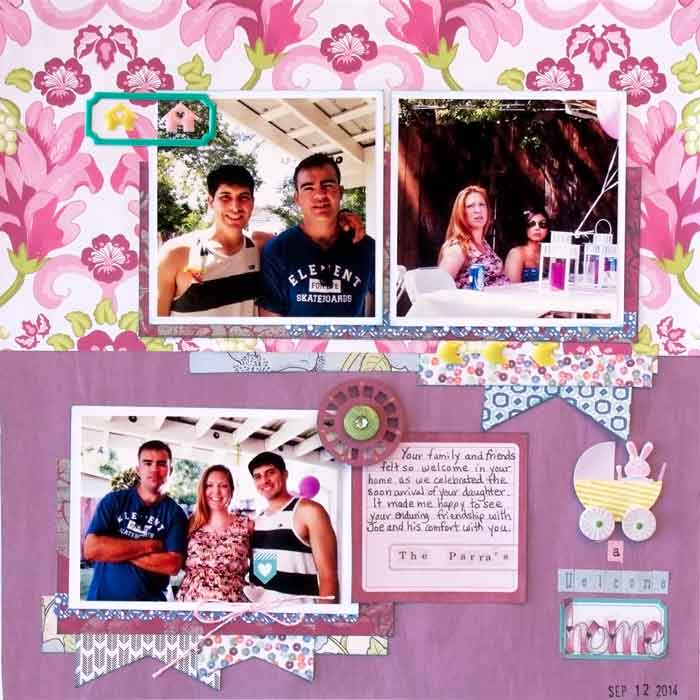
Welcome Home by Karen Poirier-Brode | Supplies: Wildflower Carta Bella paper, Marcella by K dimensional sticker, Ranger Tim Holtz Distress Marker, Copic marker, letter stickers stickopotamous stick brush letters EK Success, Cosmo Cricket Tiny Type storytime, Glitz Teeny Alpha pink woodgrain, Basic Grey mint julep, Pink Fresh enamel elements, stash wood veneer, bakers twine, journal card , paper, button
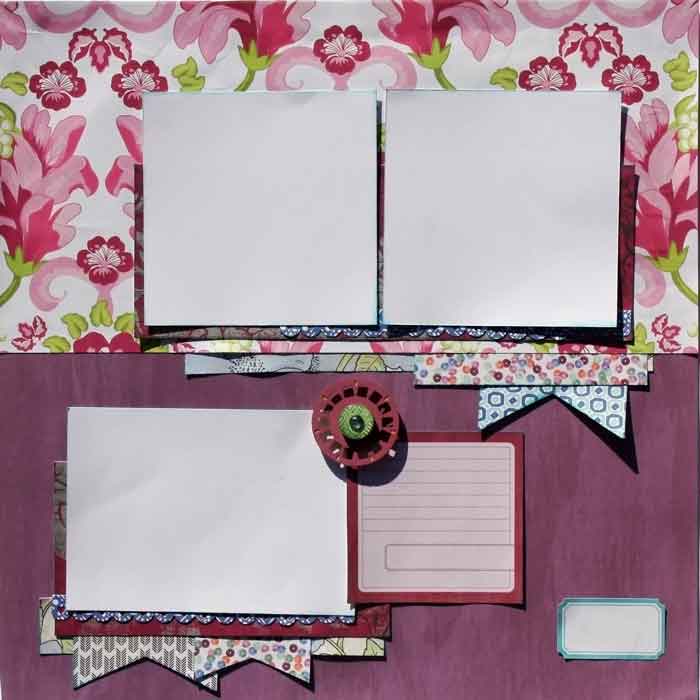
Karen Poirier-Brode says, “This base started at a crop with some of my scrappy friends. I often make naked pages at crops, because I can play with product and carry on conversations at the same time. Sketches give me more time to concentrate on what’s being said and less worry about the page. This is a GIS sketch from Debbie’s Scrapbook Coach class Half and Half lesson 4. The large papers were some I found at Tuesday Morning and shared in kits at the crop. One of my crop friends gave me the Wildflower mini paper pad that day and it tied all the papers together. Serendipity! I found the label, journal spot, button and veneer in the supplies I had in my bag and used a marker to color the veneer.”
“When I got home I looked through my photos and found these of my son and friends that fit my color scheme. The page is about friends of my son who hosted a baby shower at their home. The family is very open and welcoming and I love that my son is so accepted there and feels comfortable. With photos and story matched to the foundation, I then searched for final embellishments, and it all came together. The color scheme and Debbie’s great design idea make it a solid page.”
[hr]
start with stencil work and paper layers to build your own “sketch”
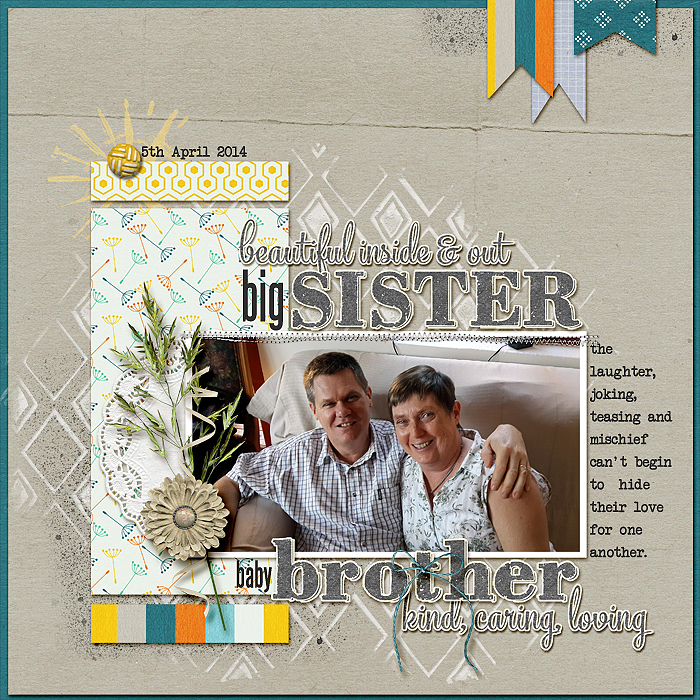
Big sister, baby brother by Stefanie Semple. Supplies: Mye De Leon : Dandelion Wishes (kit); Mye De Leon :Beautiful mess: Gesso Stencils (stencils); Kimeric Kreations : Motherhood (alpha and embellies)
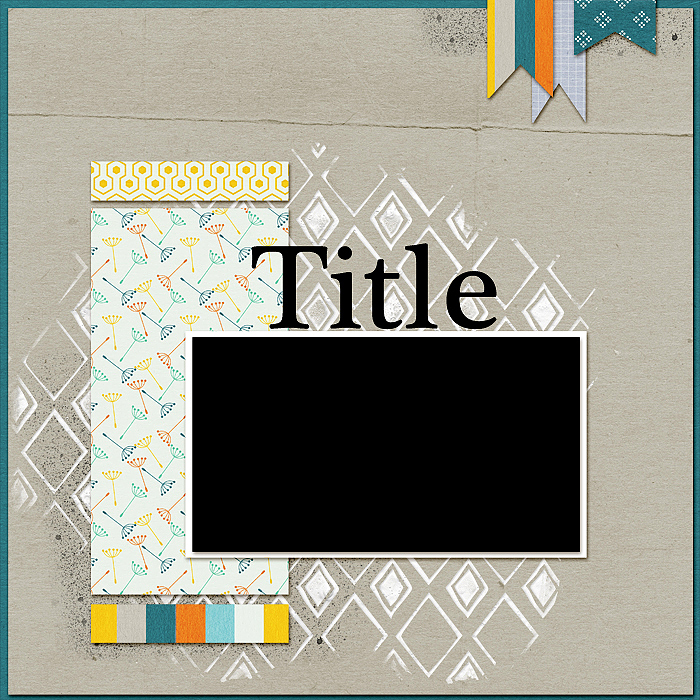
Stefanie Semple says, “As a digital scrapbooker I shy away from using paint and stencils but, inspired by the Get It Scrapped membership class Product Play, I used digital stencils by Mye De Leon to create a foundation. I loved the texture the stencil work created and then added background paper layers and paper pieces all from a coordinated kit.”
“The diamond shapes make me think of a fence and, in a way, I am looking through the fence and into the lives of my husband and his sister and their close relationship here. I want to show their delight and joy with each other, even though they have lost their mother and my husband’s sister has faced and beaten cancer. The kraft background could be gloomy and dull, but with the addition of bright, fun colors and a sun-type cluster it conveys a happy ending.”
[hr]
make a tilted foundation with room for a photo series and titlework
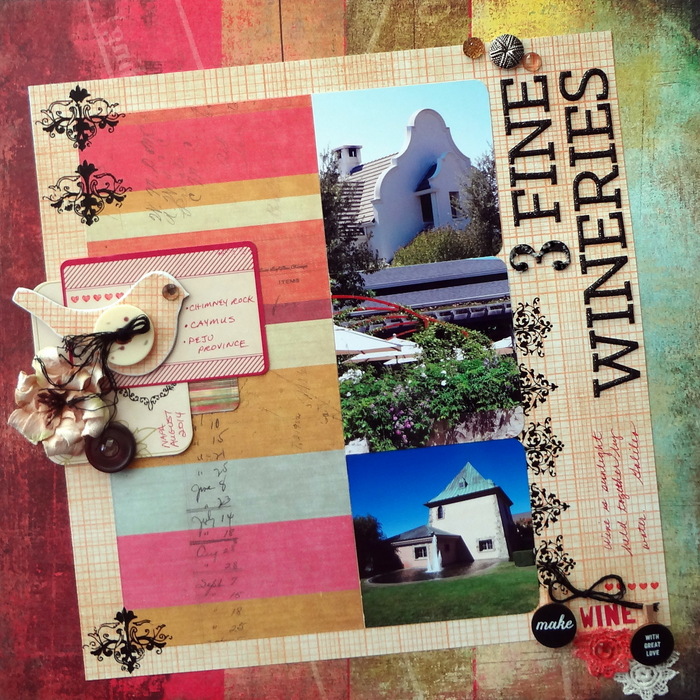
3 Fine Wineries by Susanne Brauer | Supplies: Patterned paper, Basic Grey and Sassafras Lass; Alphabets, Paislee Press & Basic Grey; Die-cut cards and rub-ons, American Crafts; Flowers and gems, Prima; Buttons, Papertrey; Chipboard, Maya Road, Wooden pins, Life Love Paper.
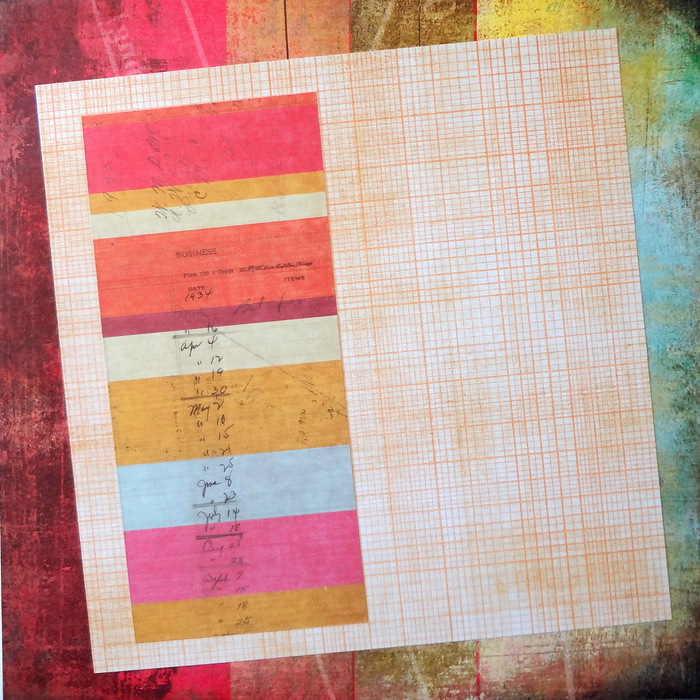
Susanne Brauer says, “The base composition here plays with a tilted foundation. It’s a band of striped paper on a piece of ledger that leaves room for a series of photos and titlework.”
“The papers were perfect for scrapbooking our visit to Napa Valley Wine Country, because of their rich colors–like those of wine–and the wood print which reminded me of wooden wine barrels. I choose photos of three wineries that had appearances as distinctive and memorable as their wines. I added these photos and title to the simple tilted foundation and then layered rich embellishments to create a more complex page.”
[hr]
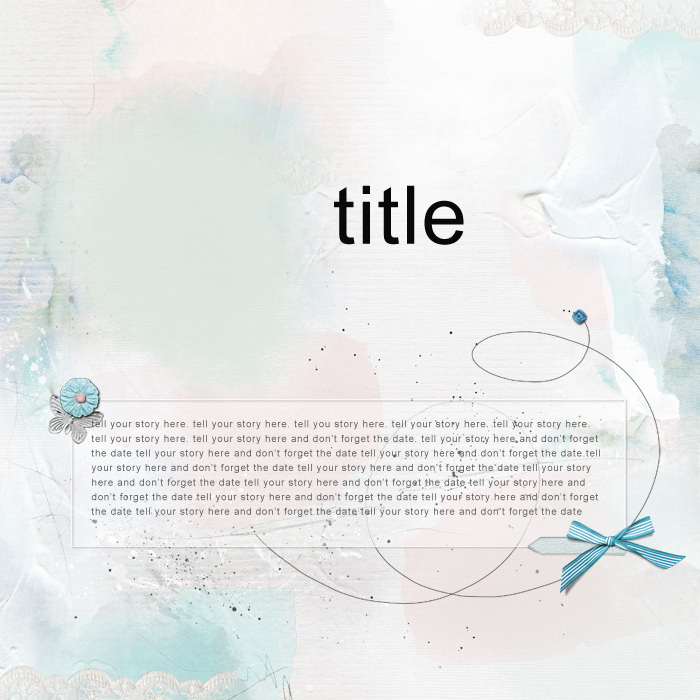
use digital blending and soft colors for a page that can hold lots of journaling
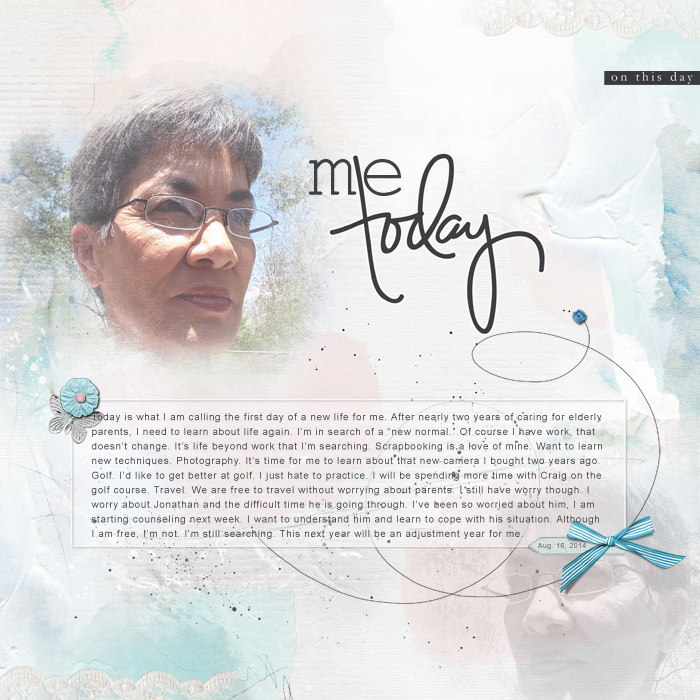
Me Today created by Terry Billman| Supplies: Anna Aspnes: Art Play Palette Beautiful Day, Abstract FotoBlendz 2, Art Play Palette 2, Word Label 2; One Little Bird: Busy Week
Terry Billman says, “I created this background with the idea of documenting my life an all about me album. I envisioned a page with one photo, little embellishing, and ample space for journaling. Because I will be including lots of journaling in this album, I wanted colorful yet subdued backgrounds. Besides working well for all about me pages, this background will work well with photos of grandchildren, special events, and everyday events where journaling is the main focus.”
“I used the foundation for a page is about my thoughts and feelings of searching for a new normal as I transition from caring for elderly parents to life without them.”
[hr]
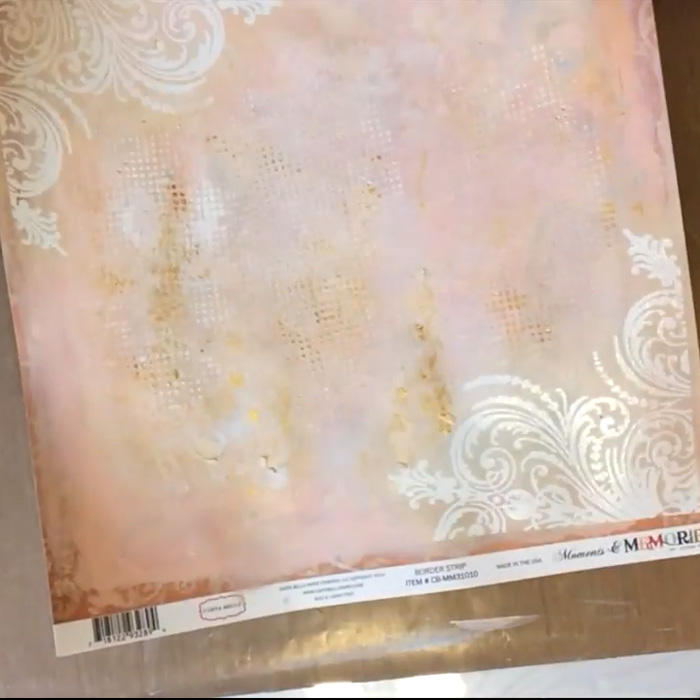
try out a new or much-loved technique on your page base
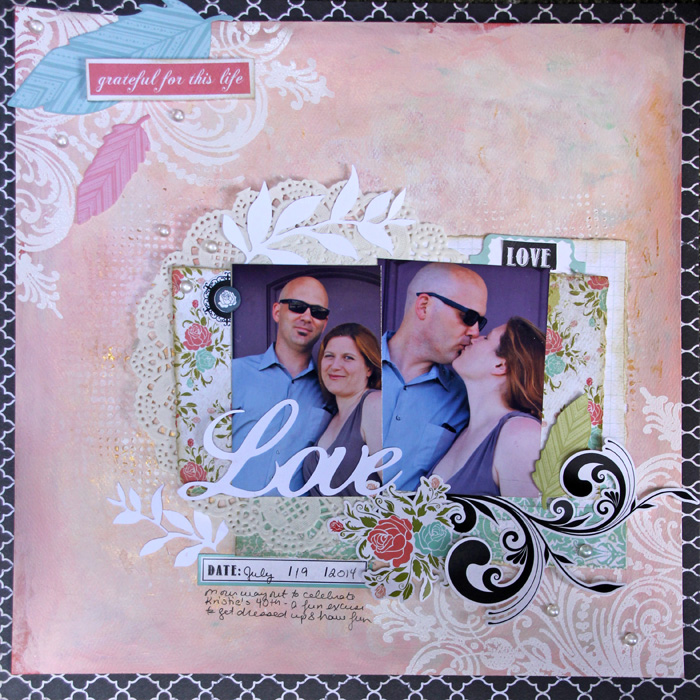
Grateful for this Life by Gretchen Henninger / Supplies: Paper and Stickers: Carta Bella (Momento & Memories); Die Cuts: Kaisercraft (Collectables), Slice (Paper Reverie); Paint: Liquitex (white, gold), Studio Calico Color Theory; Spray Ink: Lindy’s Stamp Gang Glitz Spritz (blazing sun); Stamp: Fancy Pants; Ink: Versamark, Tim Holtz Distress Ink (tattered rose, worn lipstick, antique linen); Pearls: Dew Drops; Doily: Bo Bunny; Other: white detail embossing powder; gesso
Getchen Henninger says, “This base started with a card I was making for a wedding using a white embossed flourish. I wanted to use the same technique on a layout. The soft, romantic background I created worked well with pictures I had of me with my husband, and so I made a page that expresses my love for my husband.”
[hr]
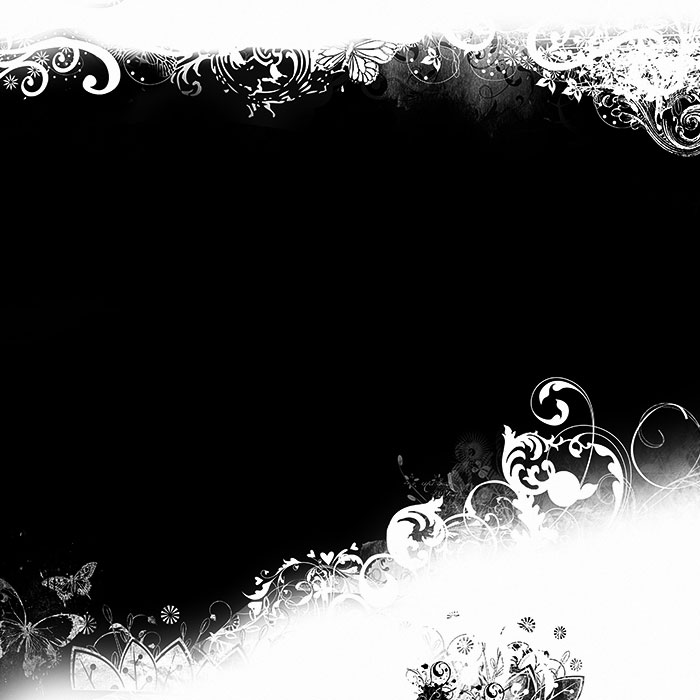
make your own digital border mask with a variety of combined brushes
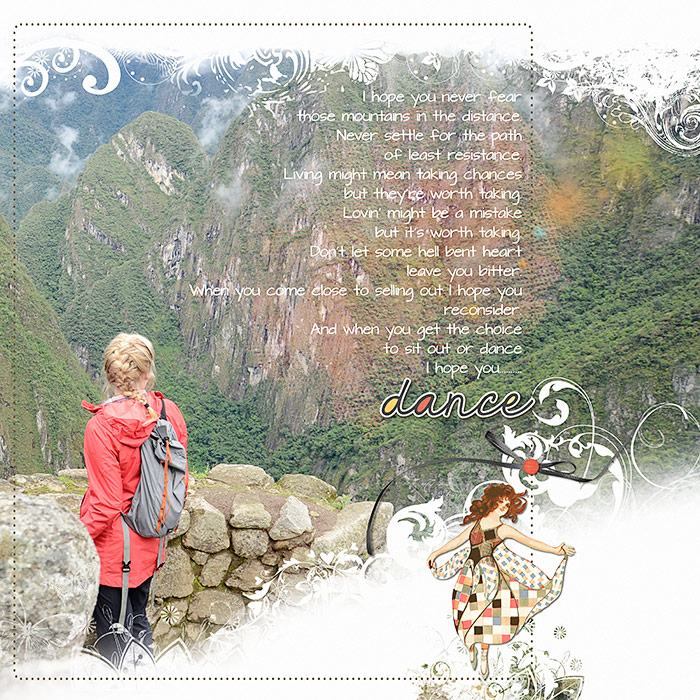
Dance by Deborah Wagner|Supplies: Vicki Robbins – Choices; Katie Pertiet – Fabulous Fall Flourishes, Flourished Clusters, Flourished Love No. 3, Lens Flares Colored, On The Edge Flourishes No. 1, Made With Wings; Jesse Edwards – On The Breeze, Simple Flourishes; Laura Passage – Loving Life, Cathy Zielske – Dotted & Dashed Frames; Gennifer Bursett – My Tribe; One Little Bird – Guppy
Deborah Wagner says, “I have always admired flourished masks, and thought it would be interesting to create my own using an assortment of digital brushes. To start, I added a layer on top of my back ground layer and filled this with black. I added a layer mask, and used many brushes to create my mask. Once I was satisfied, I right clicked on the thumbnail of the layer mask; and selected “Apply Layer Mask” from the drop down menu.”
I used the base with a photo that was well suited to enlarging and that had a lot of white space so the page–I didn’t want the page to feel busy. The flourished mask frames the photo. I added lyrics from Lee Ann Womak, and a few elements: super easy page, but lots of fun to create.”
[hr]
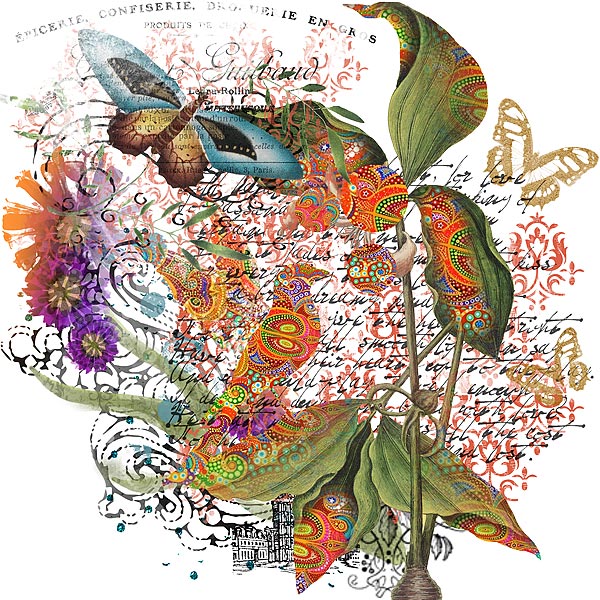
make a foundation that creates a mood with colorful digital brushes and transfers
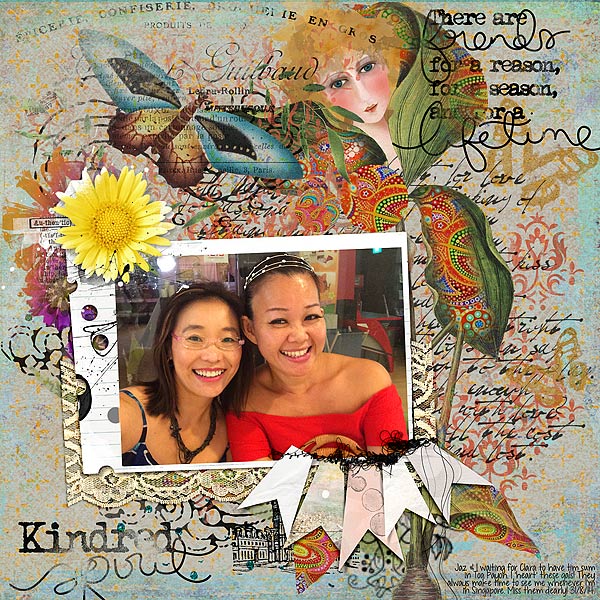
Kindred Spirit by Audrey Tan | Supplies: Anna Aspnes: Multi Media Flowers No2, Multi Media Banners No1, Friends Word Art No3, Punched Frames No1; Julianna Kniepp: Keep The Faith; Rebecca McMeen: Em; Font: KG Drops Of Jupiter
Audrey Tan says, “I love playing with art journaling brushes and when I saw these particular images from a new kit that I had bought, I knew I wanted to play with them. I did play and created a vibrant background.”
“The photo I scrapbooked on this background is of me with a good friend I usually meet when I’m in Singapore. The images in the background are symbolic, since time usually flitters away too quickly when I’m with my best friends. Also, I always have such a good time with them, and the hence the vibrancy of the colors in the background evokes a joyful feeling.”

