 The Silhouette die cutter is a great tool for making your own custom holiday decorations. See what the Get It Scrapped Creative Team has done.
[hr]
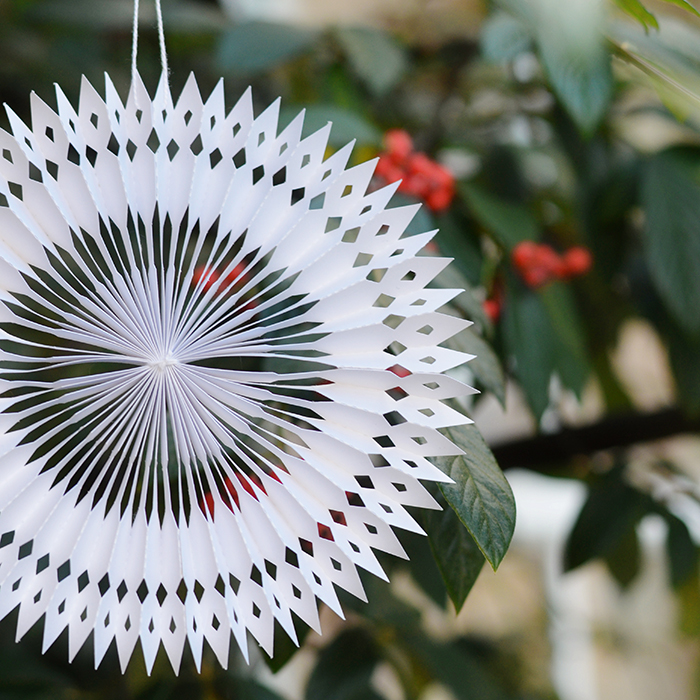
Vicki Hibbins says, “I used 2 sheets of white cardstock and my Silhouette to make a snowflake. I designed it myself and the cut file and assembly instructions are available on my blog: click here. It measures 7.5″ across and can be cut with either the Silhouette Cameo or Portrait. I kept mine plain and simple but glitter could be added to give a little extra sparkle.”
[hr]
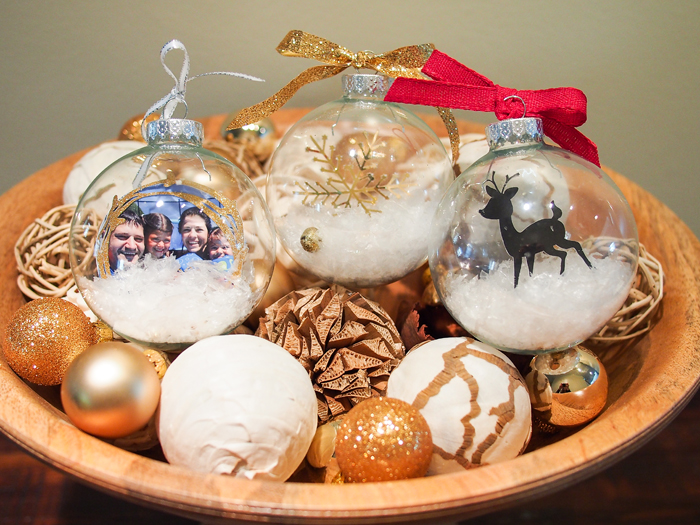
Marie-Pierre Capistran says, “I used my Silhouette Cameo to create die cuts that I inserted in some empty glass ornaments. Although they all look completely different, I used a similar approach for each of them: First I rolled up the shapes/photos and inserted them, then I added fake snow, a few tiny jingle bells and a ribbon on top of each ornament.”
“There are hundreds of snowflake designs to choose from in the Silhouette Design Store and the baby deer can be found here. For my photo ornament I framed a recent photo of my family with a die cut by iHeart Studio (Wilna Furstenberg). I cut each of these die cuts from a different type of cardstock including a gold foil, simple black and a gold glittered one.”
“To make inserting the die cuts into the ornaments a bit easier I mounted them on transparent plastic that I cut from a Ziploc plastic bag. This allowed the die cut to spring back to its original shape after it was inserted.”

Glass ornaments by Marie-Pierre Capistran | Products: Silhouette Cameo; Gold Foil cardstock, Black Cardstock and Gold Glitter Cardstock found at Michael’s; Fake snow: Buffalo; Ribbon: Celebrate It; Glass ornament: Celebrate It; jingle bells: Art minds.
[hr]
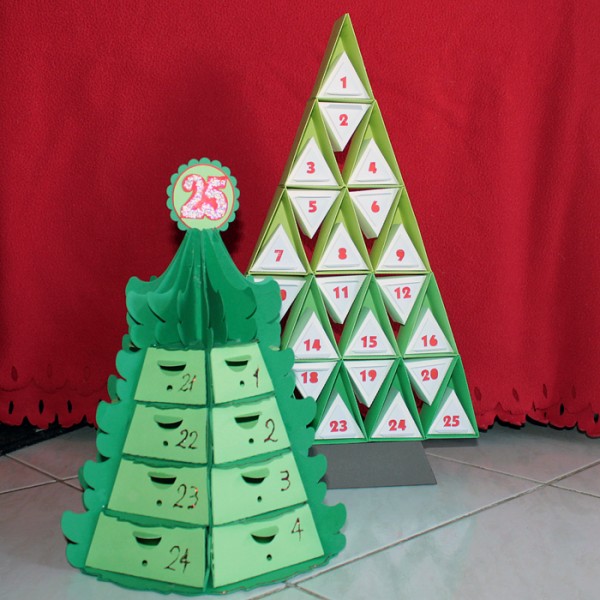
Kiki Kougioumtzi says, “I made two different advent calendars, one to keep, and one to gift, because I couldn’t decide which pattern I liked better. Advent calendars are not a usual tradition in Greece, but I really like them and they are part of our holiday decorations every year. I used lots and lots of cardstock and glue to make these and the 3D Advent Calendar Tree Cut File by Marji Roy and the 3D Christmas Tree Drawer Stacker by Snapdragon Snippets. These are not patterns I would use if I didn’t have my Silhouette to cut them. And luckily both came with step-by-step instructions for constructing them.”
“My advice would be to first cut all the necessary parts and read the tutorials before you start assembling it. Use a glue that holds well and dries clear and fast. Wait for the glue to dry completely before proceeding to the next step.”

Advent calendars by Kiki Kougioumtzi | Supplies: Cardstock: American Crafts, Canson, Bazzill Basics; Other: PVA glue, Ranger glitter glue, Silhouette Cameo.
[hr]
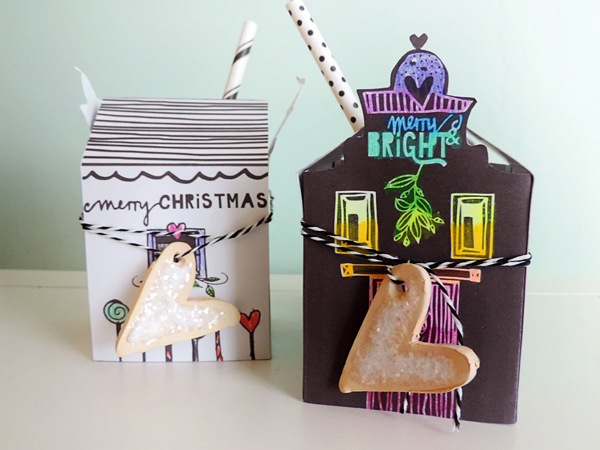
Amy Kingsford, “My son and I are making these adorable little cookie boxes to give to the kids in his 1st grade class. The printable, cut file, and step-by-step video tutorial for this project are included in Wilna Furstenberg’s Heartfelt Christmas Workshop. I paired the print and cut house with this simple 3d box cut file from Lori Whitlock so they would be able to hold a small bag of cookies.”
“To make these boxes, all we needed was our printer, cardstock, my Silhouette, twistable crayons, twine, paper straws and a little bit of creativity. This turned out to be the perfect project to do with my young boys–they did most of the coloring and I did the folding and adhering and then we made the adorable cookie tags from clay and baked and decorated them to look just like real cookies!”

Cookie Boxes by Amy Kingsford | Supplies: Printables, cut file and tutorial for Cook Box Houses by Wilna Furstenberg of iHeart Studio; 3d Box Cut File by Lori Whitlock; Other: Cardstock, Glitter, Crayola Twistable Crayons, Tacky Glue, Twine, Paper Straws, Oven Bake Clay.
[hr]


