 Each month Michelle Houghton examines an artistic technique or supply to add to your scrapbook layouts. She shows you the steps to get this product or technique onto your pages now.
This month Michelle dug out her Geli plate that was gifted to her, and finally begin playing with it. Read on for 3 easy ways to use a geli plate to create mono-printed backgrounds for your layouts. Next month Michelle will explore more ways to use this fun printmaking tool.
what is mono-printing?
Mono-printing can be done with multiple mediums and using multiple surfaces. The technique involves adding color onto one surface and lifting it off onto another surface by direct contact. The Geli plate becomes the surface that you apply your paint or medium onto to start. This month we are going to look at this process in it’s very simplest form. Next month we will add bells and whistles.

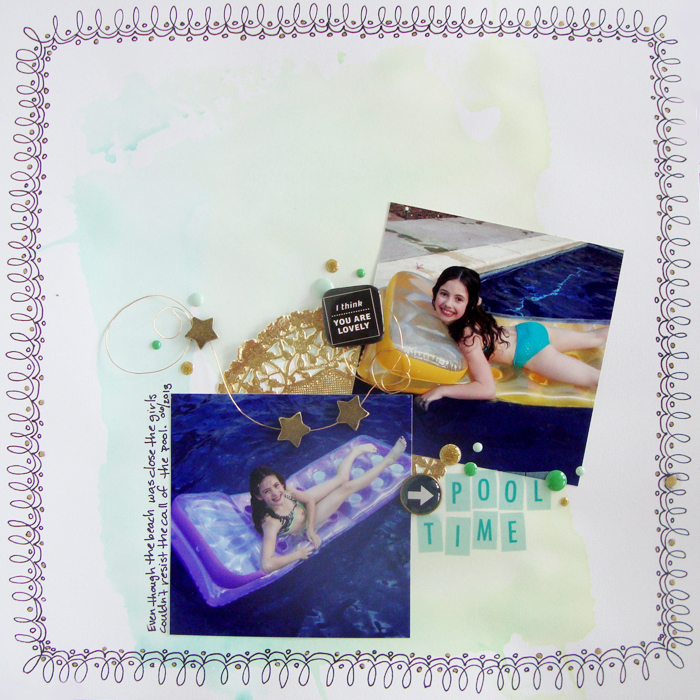
Pool Time by Michelle Houghton | supplies: cardstock; Colorbok, wire; Darice, stars, dots, brad, letters, doily and flair; Freckled Fawn, watercolor; Pentel
[hr]
mono-printing with watercolor
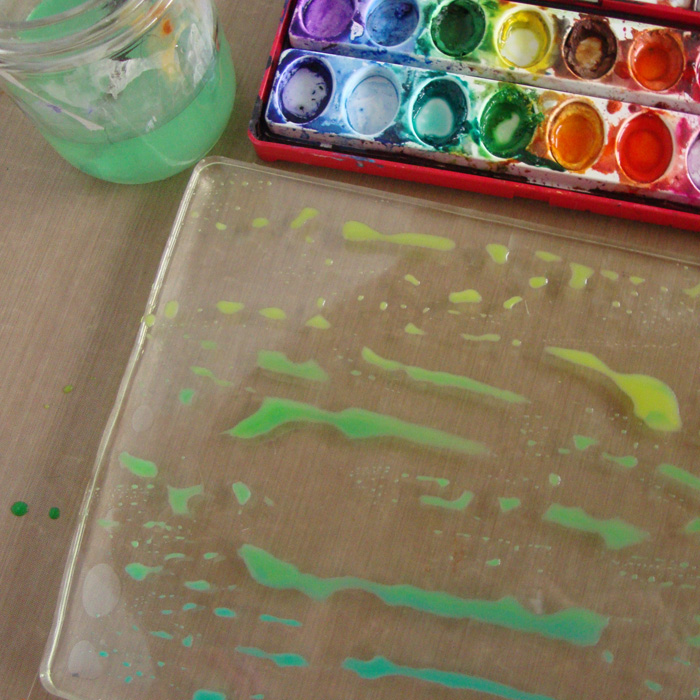
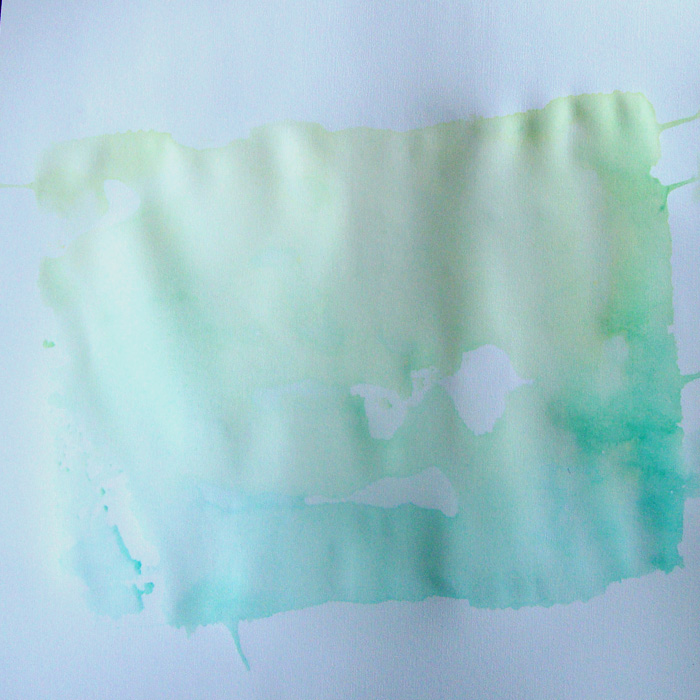
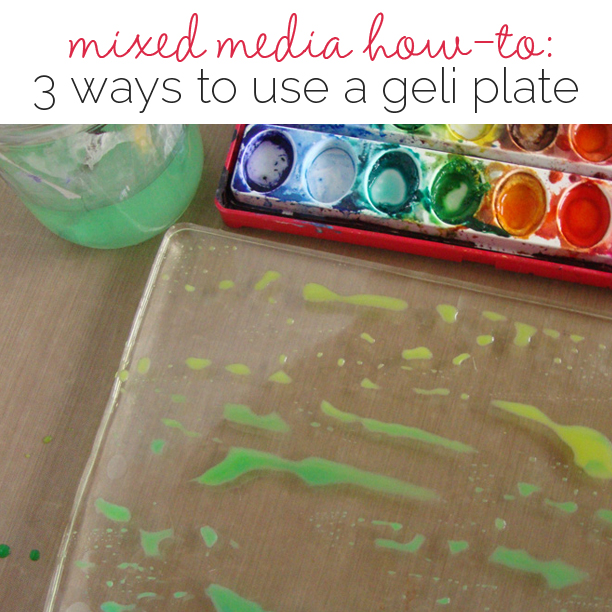
Water color beads up on this gel surface so it is extremely unpredictable. Also depending on the paper you are printing onto, you will see varying amounts of transfer, some paper just will not “lift”the watercolor up.
Step #1 – Paint water color directly onto the geli plate. You can use multiple colors or just one. There is not a lot of control here. I was aiming for broad washes of color.
Step #2 – Lay your paper face down on top of the geli plate and rub over the entire back.
Step#3 – Peel up your paper starting at one corner to reveal the printed color. Be aware that with water color you are likely to get dripping as you pull the paper up adding to the look of the print.
[hr]
mono-printing with acrylic
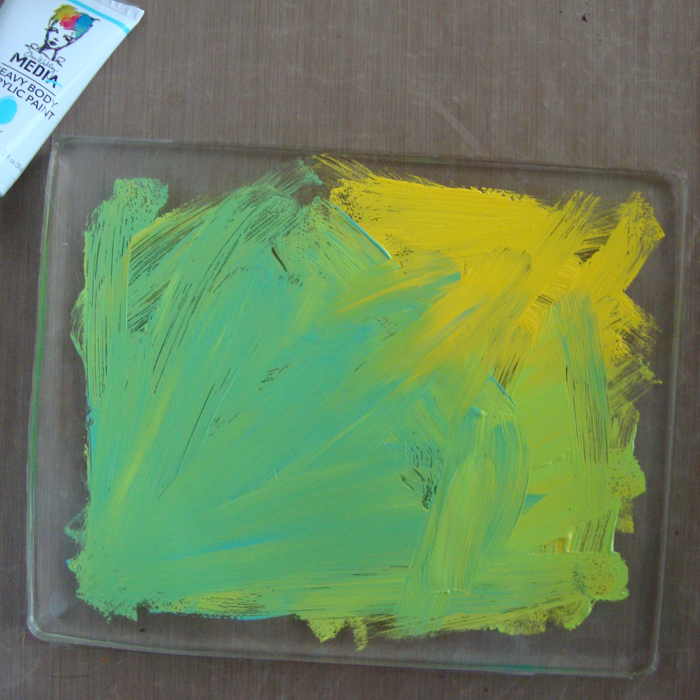
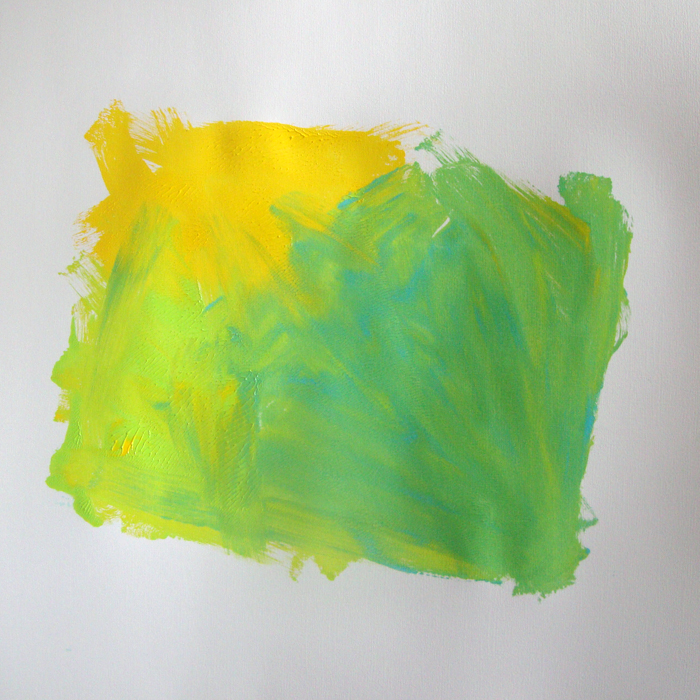
Most artists are using acrylic paint or even oil paint to work on their Geli plates. The paint sticks where you place it, can be worked into and layered and cleans up easily.
Step #1 – Again paint directly onto your Geli plate with one color or multiple shades.
Step #2 – Lay your paper directly on the paint and rub the back.
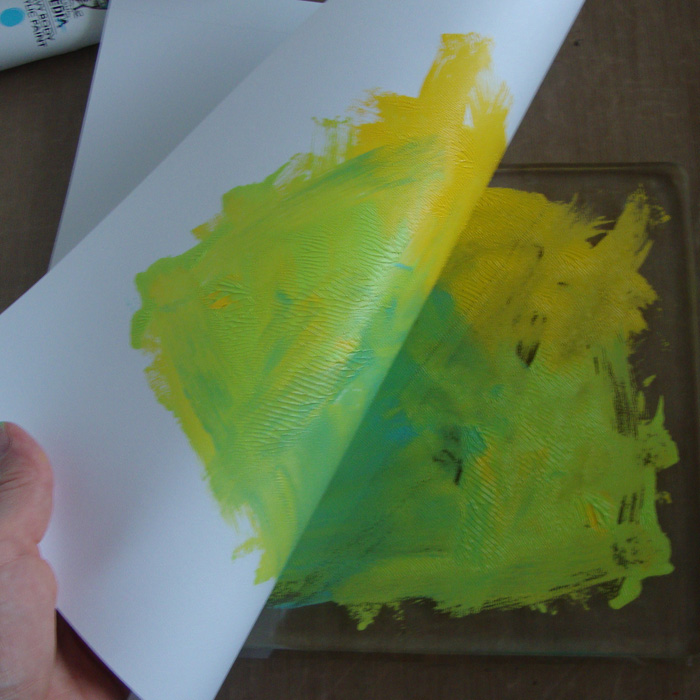
Step #3 – Peel up your paper from one corner.
Notice that the paint on the paper is now a mirror image of the paint that I added to my plate. This will come into play more as you add more complicated layers or designs.
[hr]
mono-printing with acrylic and doodles
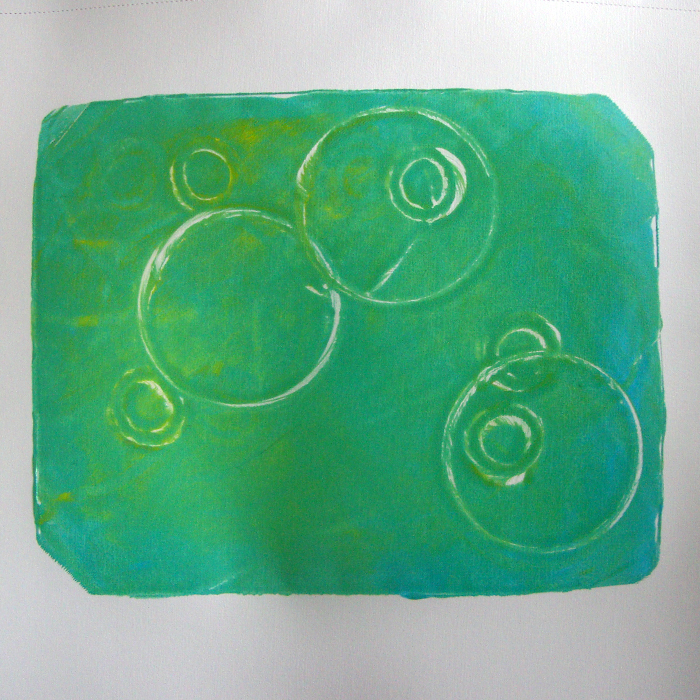
This technique starts like the one above with some slight variations. This is truly one of those tools that can be used in hundreds of ways. Today I am showing the very tip of the iceberg to get you thinking.
Step #1 – Instead of painting acrylic on the geli plate use a brayer to roll it out. This creates a smoother work surface. I even left the paints on from the print before and just blended a little more in.
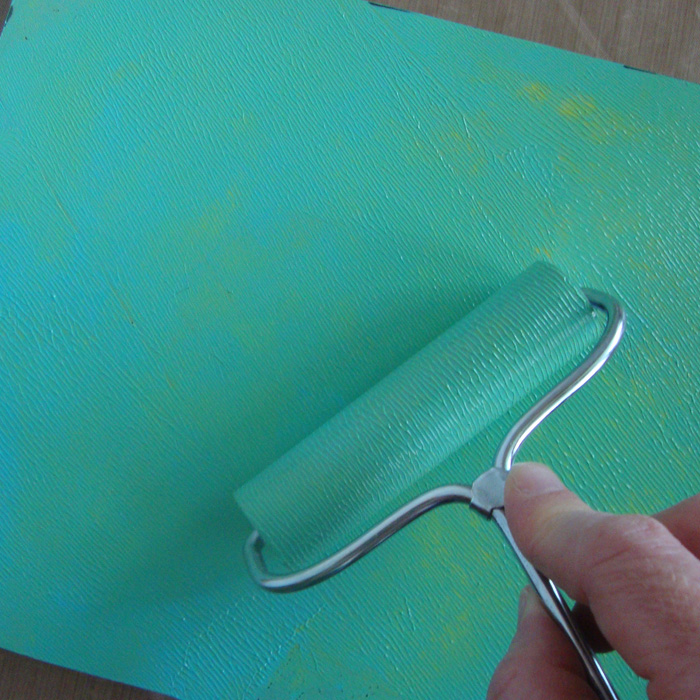
Step #2 – Use a finger, cardboard tool, comb or end of a paint brush to lightly scrape into your paint. This takes very little pressure.
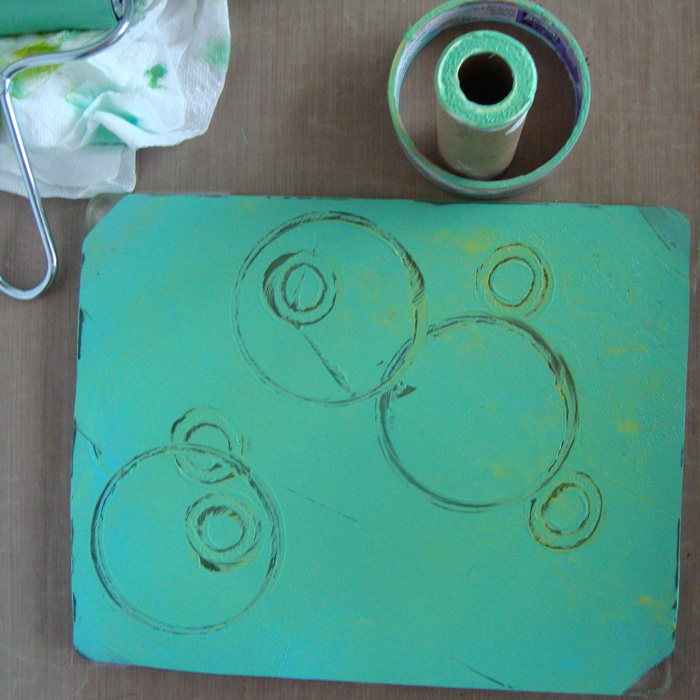
Step #3 – Lay your paper face down on the plate and rub across the entire back with your hand.
Step #4 – Peel your paper up from one corner to reveal your new print.
[hr]
mono-printing and your scrapbook pages
Geli prints are just one more way to add custom, hand creations to your layouts and art work.
And it is just one more way to preserve a little bit of you in this hobby you love.
Hula by Michelle Houghton | supplies: cardstock; Colorbok, wood veneer, stars, hearts, paper clip and banner; Freckled Fawn, letters; American Crafts, ink; Sharpie, acrylic; Ranger
[mhoughton]

