 The full-width and full-height photo sizes is a great format for scrapbook page storytelling. The popularity of “Pocket Page” and “Project Life” scrapbooking has gotten scrapbookers working certain photo sizes over and over. First it was the 3″x4″ format. More recently, the 6″ x 12″ pocket size has gotten us working “full-height” and “full-width” photo formats. Read on for ideas to put it to work on your own scrapbook layouts.
use Content Aware fill to extend a photo to full-width
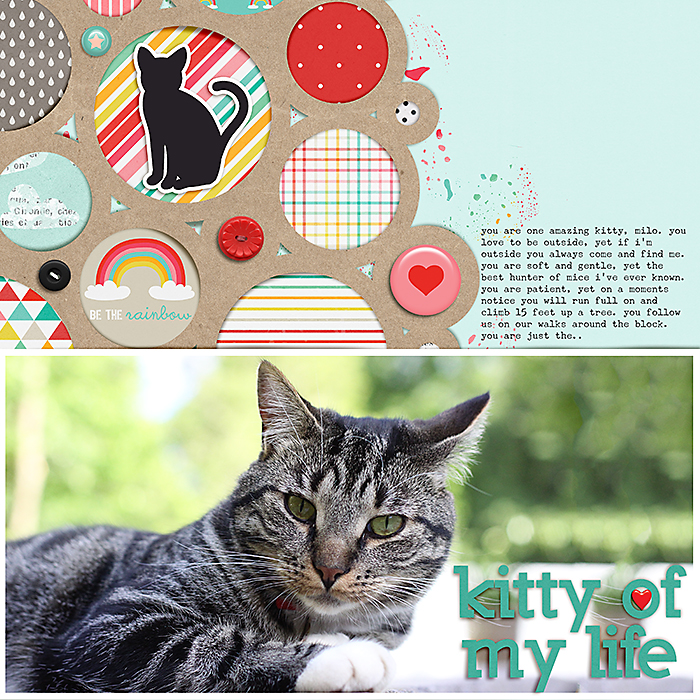
kitty of my life by Celeste Smith | Supplies:Little Butterfly Wings: All Cats Go to Heaven; Lauren Grier: Be Someone Else’s Rainbow; Karla Dudley: Life 265; Miss Mint: Chainlink Mats 1; Font: Underwood Champion, Nilland Black.
Celeste Smith says, “Milo is an amazing cat, constantly surprising us!”
“I started with my photo on top of the page, but it made the page really heavy. Then I tried a page with my photo on the bottom and my title above. I’m not a fan of titles above the photo. I finally settled on using the space in my photo to place my title.”
“The proportions of my photo didn’t work to make the photo 6″x12”. I used the Content Aware Fill Tool in Photoshop and extended the right edge of my photo so it would fill the space. I placed my title over the top of that to hide some of the seam.
no 12″ printer? collage smaller photos to make the whole
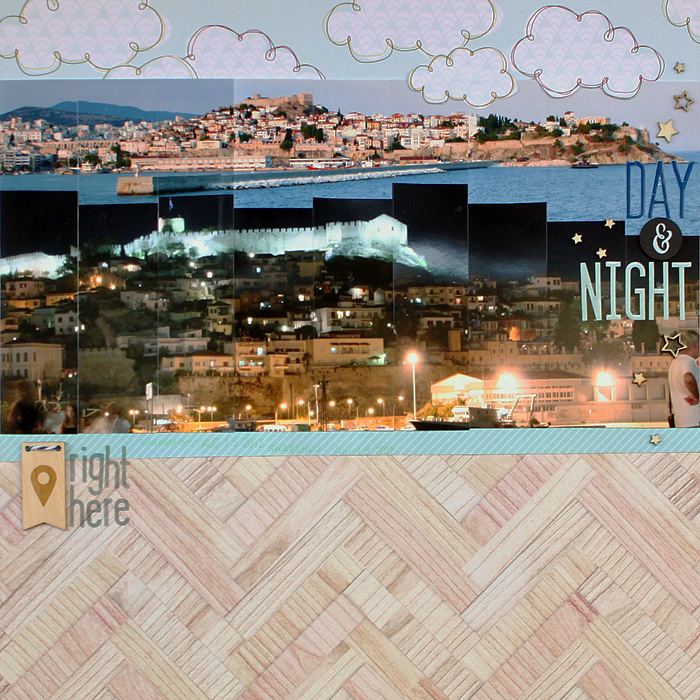
Day & Night by Kiki Kougioumtzi |Supplies: Patterned paper: Studio Calico, American Crafts; Alphas: Studio Calico, Heidi Swapp; Stamp: America Crafts; Wood veneer, Ink: Studio Calico.
Kiki Kougioumtzi says, “This is a layout about my hometown by day and by night.”
“I wanted to use a panoramic photo but I don’t have a printer that prints 12 inches. I created 2 photographs (one with day view and one with night) in Photoshop Elements with the dimensions I wanted (12×6) and then printed each of them as 3 4×6 photos. Then I cut each photo into thirds so that it was not obvious that I wasn’t working with a 12″ x 6″ print and composed the collage on my layout.”
make a two-pager and echo the full-width format on the facing page
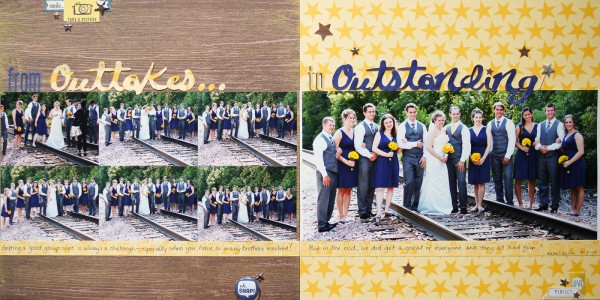
From Outtakes to Outstanding by Marcia Fortunato | Supplies: Patterned Papers: Studio Calico (Weathered), Bella Blvd (Lucky Starz); Letters: Jillibean Soup, Silhouette cuts (LD Jasper Hand font); Labels and stickers: American Crafts (Amy Tangerine – Plus One), My Mind’s Eye, Studio Calico; Flair button: October Afternoon; Stars: Studio Calico, Basic Grey; Pen: Sharpie.
Marcia Fortunato says, “While the photographers for my son’s wedding were taking shots of the wedding party, I was taking some of my own. This layout shows the behind-the-scenes story of how challenging, but fun, group photos can be.”
“Because a wedding party photo tends to be very wide but not so tall, the 6” x 12” proportions worked perfectly. I reserved that same sized space on the facing page, but this time filled it with six smaller, less important but supporting photos, creating one long band across the two-page spread. This allowed me to use lots of pictures but still showcase one large stand-out photo.”
clip your full-height photo to a mask for softer edges
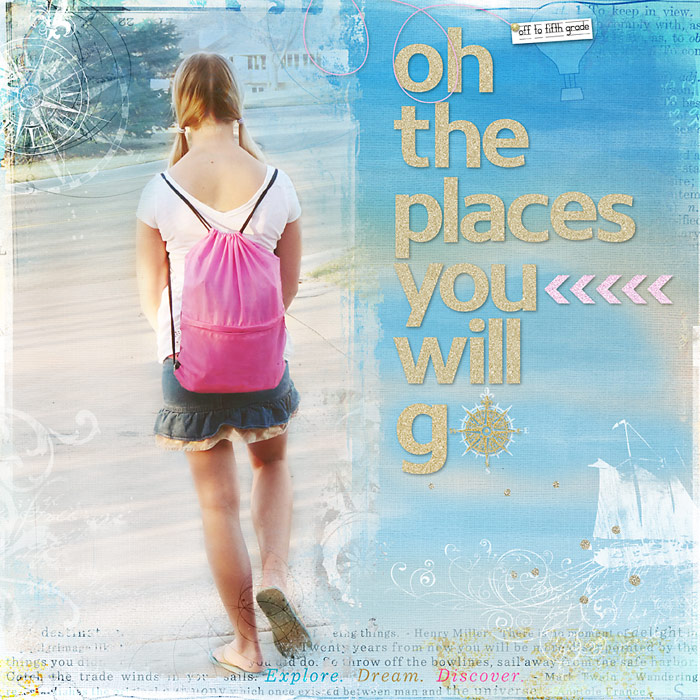
Oh The Places You Will Go by Deborah Wagner| Supplies: Jana Morton – Glitter Alpha, Little Masterpieces, Liberty, Fifties Medley Kit, Anna Aspnes – ArtPlay Palette Find My Way, FotoBlendz Clipping Masks No. 12; Katie Pertiet – Anchors Away, Travel Clusters Brushes and Stamps No. 3; Crafty Button Designs – Oh Deer Me; One Little Bird – Going Places; Ange Designs – Fly Away; Anita Designs – Travel Time
Deborah Wagner says, “This shows my daughter leaving for the first day of fifth grade. This photo’s orientation was perfect to fill half a 12″ x 12″ page. I clipped the photo to a large mask to soften the edges. To blur the distracting background of the photo, I added several overlays and brush work, and used a layer mask and a soft brush to erase any parts of the overlays over my daughter. To balance the large photo, I used a long title with a flashy glitter alpha.”
pair a full-height photo with a meaningful quote
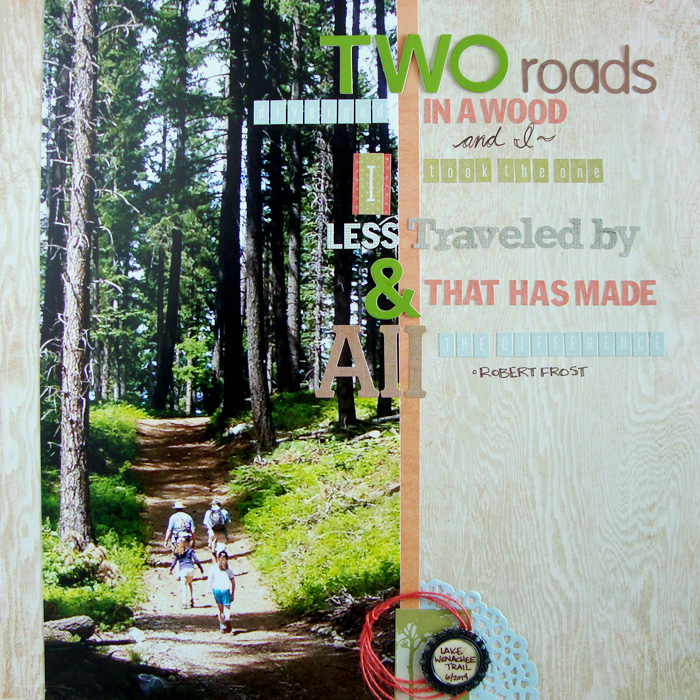
Lake Wenatchee Trail by Michelle Houghton | Supplies: wood grain paper and sticker letters; Basic Grey, orange patterned paper, green tag and doily; SEI, chipboard letters; Jilly Bean Soup, twine; American Crafts, ink; Zig and Ranger, metal charm; unknown
Michelle Houghton says “I captured this photo as my girls, husband, and dad walked through the Lake Wenatchee Trail this summer. I love how the tall trees framed my family and decided to push the look further with a photo enlargement. By keeping the photo narrow I had a lot of white space to play with and instead of lots of embellishments decided to add a favorite quote with a variety of dots. The words echo the feel of the day and leave the large photo front and center.”
show the bigger context of your story with a full-height photo and the details with smaller photos
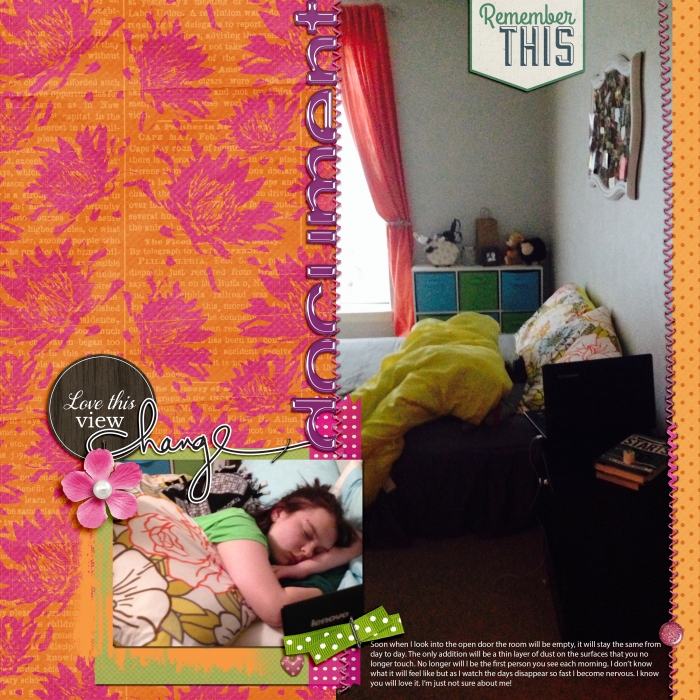
Change by Ronnie Crowley | Supplies: Anna Aspnes – Art Play Palette Tangier; Allison Pennington – I am who I am; Cathy Zielske – Document the Journey; Robyn Meierotto – Fatherhood; Kim Jensen – Garden Pop; Meta Wulandri – Connected; Anita Designs – Travel Time; Audry Neal – Juicy; Chelle Creations – Pearly Whites, Stitch Me Up; Karla Dudley – Change; Amy Martin – They Once Were
Ronnie Crowley says, “This page is about how I’m going to miss my daughter when she leaves for college in August–I’m not ready for this change in my life although she’d go tomorrow if she could!”
“The large photo provides a glimpse into her room as if I was walking by. I used it as one side of the bracket design. I have two brackets in the layout. One of pictures and then another with words/title.”
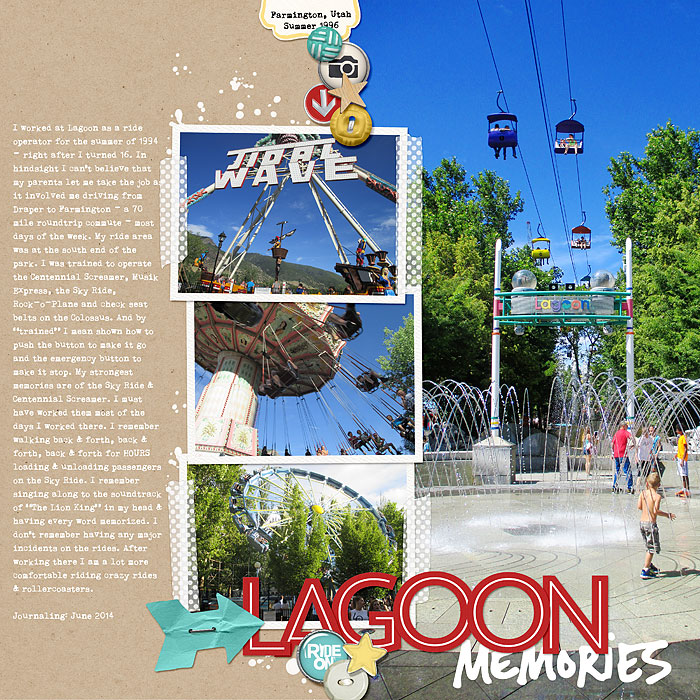
Lagoon Memories by Heather Awsumb | Supplies: Washi Tapes White No 1, Little Layette Element Pack, Merry and Bright Element Pack, Sweet Rose Element Pack, Almost There Element Pack, Symbology Enamel Brads No 1, Hadleigh Element Pack by Katie Pertiet; Evergreen, Star Gazer by One Little Bird; Enamel Stars by Patti Knox; Worth a Thousand Words by Sahlin Studio; Embracing the Everyday Brushes by Ali Edwards
Heather Awsumb says, “This page is about a summer job I held at the local amusement park when I was 16 years old and what I remember about it. I used a 6″ x 12” photo that shows the entire scene as a part of the page background and then layered dimensional elements with more detailed photos and my title on top of it.[hr]
show a detailed scene with a black-and-white full-width photo
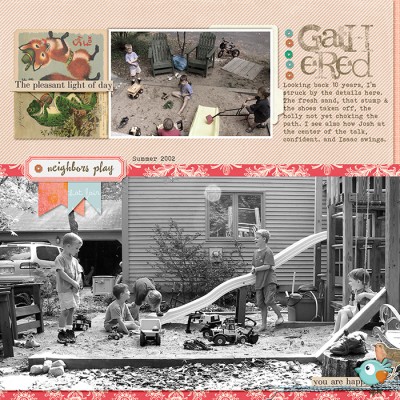
Gathered by Debbie Hodge | Supplies: Parade Day by Jenni Bowlin; Jane, Sam by Rebecca Wagler; Stitched by Ann Baby Blue by Anna Aspnes; Pilllowtalk by Creashens; Collageables 2, Little Layette by Katie Pertiet; Happies by Laurie Ann; A Simple Mixup Alpha by Lisa Sisneros; Sassy Pants by Amy Wolff; Bohemian Typewriter, Pastiche fonts.
Debbie Hodge says, “When I recently came across this older photo of my sons playing in our yard with neighbors, I loved all the details it showed–from the toys, and bare feet to the relationships indicated by the boys’ poses. I found the best way to present this detailed scene was with a 6″ x 12″ enlargement rendered in black and white. I presented it with soft colors and a muted detail shot.”
use your full-height photo to house tite, journaling, and embellishments
Kim Watson made “Serendipity” for the Process Play class that’s part of the Get It Scrapped membership. She used open space on a dramatic photo for engaging titlework, embellishing, and journaling.
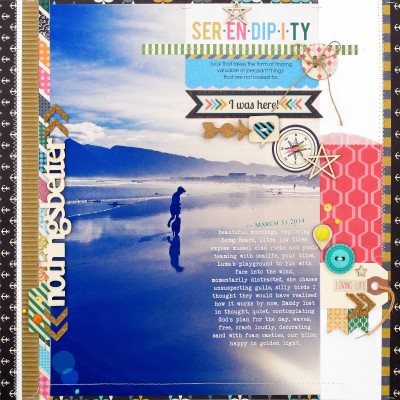
Serendipity by Kim Watson | Supplies: Cardstock by Stampin’Up; Patterned paper, Corrugated card, Die cuts, Stickers, Buttons, Cork arrow, Chipboard, Decorative bag by Fancy Pants Designs, Wood veneer, Enamel dots, Sequins, Cork chevrons by Studio Calico, Adhesive by Tombow, Thermo web & 3L, Sewing machine, Font: Veteran Typewriter

