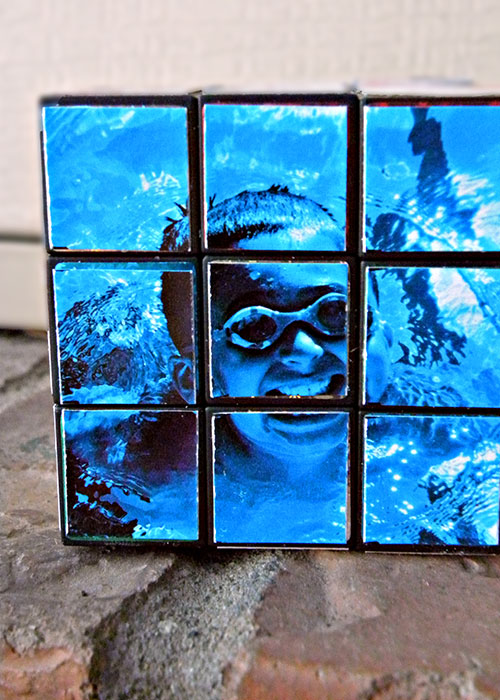
Trust me…dad is going to love this idea for putting new twist on an old game with your papercrafting supplies! Whether it ends up being a method of stress relief on Dad’s desk or a conversation piece on your living room coffee table, your father will love this extra special personalized gift. Read on for the complete how-tos in the tutorial below.

Supply List
-
Rubik’s Cube
-
Adhesive Backed Paper
-
Computer Editing software
-
Paper Trimmer/Scissors
-
Ruler
1. First you need your cube, which you can find at many dollar stores…or I got mine in the dollar bin at Michael’s.
2. Next, choose six photos of the person you are gifting, their family or even some of their favorite things.
3. Then, using your photo editing software, resize your images so that they correspond to the measurements of your Rubik’s cube (they do vary in size!).
4. Apply any editing, re-coloring or other fun techniques to your photos and then print your photos on adhesive backed paper .
5. Measure your squares on the cube and cut your photo into that many properly-sized squares
6. Remove the colored stickers that are currently adhered to your Rubik’s cube, so that you have a clean black cube to work with (use adhesive remover if necessary to remove any sticky residue).
7. Remove the backing from your adhesive paper squares and apply each of the pieces to the cube so that you have one (properly arranged) photo on each of the six squares. Repeat with each of the six photos and you will have a fully functional photo Rubik’s cube!
[akingsford]

