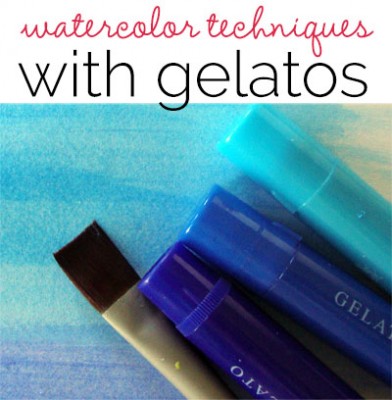
 Faber Castell Gelatos are great for watercolor techniques and Michelle Houghton gives you step-by-step instructions for your own gelatos art creations.
Do you enjoy buying all the new mediums to add to your layouts? Have a basket of them but not quite sure how to use them yet?
Sometimes it’s hard to find the time to search out the “how-tos” for all the new mediums out there. We just want to start playing and get great results right from the start. I am here to help! I LOVE finding out how to use all the new crayons and paints on my layouts and I enjoy sharing short quick how-tos for successful use of them right out of the package.
Each month I will look at a medium and one or more ways to add it to your layout. Other artists from the Creative Team at Get It Scrapped will add inspiration to fuel your imagination and get you scrapbooking.
This month I am playing with Faber Castell Gelatos. These crayon like tubes of color can be used in a large variety of ways, so this month we are going to focus on watercolor techniques and next month we will look at other options.
Use Gelatos with a Color First Technique
Step #1 – Color Gelatos directly onto your page or the paper you want to add color to. I used a series of colors to create a sunset effect.
Step #2 – Using a paint brush or water brush, add water right over the top of your Gelatos. The Gelatos will start to dissolve creating a watercolor look.
Step #3 – Depending on your paper, you can continue blending to smooth out your color, cleaning your brush as needed. Lighter weight papers will start to ball or fall apart if too much water is added, so you might end up with the Gelatos texture from step #1 still showing through.
Use Gelatos with a Mix First Technique
Step #1 – This time color your Gelatos onto a craft matte or pallete. You can also scrape shavings off if you prefer.
Step #2 – With a brush or water, brush mix water into the Gelatos until all the Gelato is liquid.
Step #3 – Use your brush to transfer your Gelato paint onto your paper.
Tip: Mixing first tends to give a smoother more paint-like look.
Use Gelatos with a Dripping and Splattering Technique
Step #1 – Start by coloring or scraping your Gelato onto a craft matte or pallete, and add water to dissolve the Gelato into a watery paint.
Step #2 – Load a brush with a lot of the paint and squeeze or drip a puddle onto your page or paper. Blow it in the direction you want it to spread or tip your page to create movement.
Step #3 – Load up your brush again and tap the side of your brush against your finger over your layout. This will throw or splatter paint onto your page. You can also use a toothbrush loaded with paint and then run a finger over the bristles to add splatter. (Just make sure the tooth brush bristles are pointed down toward your page before you spray the paint)
Let your Gelato art work dry and add it into your layout or even as your background underneath your other elements.

North Shore by Michelle Houghton | Supplies: cardstock and twine; American Crafts, die cut, patterned paper and sticker letters; SEI, flowers; Gueen and CO., Stickles; Ranger, Gelatos; Faber Castell
Now check out the amazing ways the Creative Team used Gelatos as watercolor to add painterly effects to their layouts:
Christy Strickler says, “I used gelatos to stamp a background onto the white cardstock. I then mixed the gelatos on the side and splattered them. I cut letters from the canvas and then, before adhering them to the layout, splattered gelato mixture on them. Before adding my embellishment cluster on the upper left side, I added drips with a black gelato/water mixture and a paint brush.”

Remember to Play by Christy Strickler Supplies| Cardstock: Colorbok; Patterned Paper: Crate Paper, My Mind’s Eye; Letters: Jillibean Soup,Sizzix; Flair: A Flair for Buttons; Flowers,Brads: Freckled Fawn; Stamp: JBS Mercantile; Coloring Medium: Gelatos by Faber Castell;Pen: Sharpie; Other: Vellum, canvas
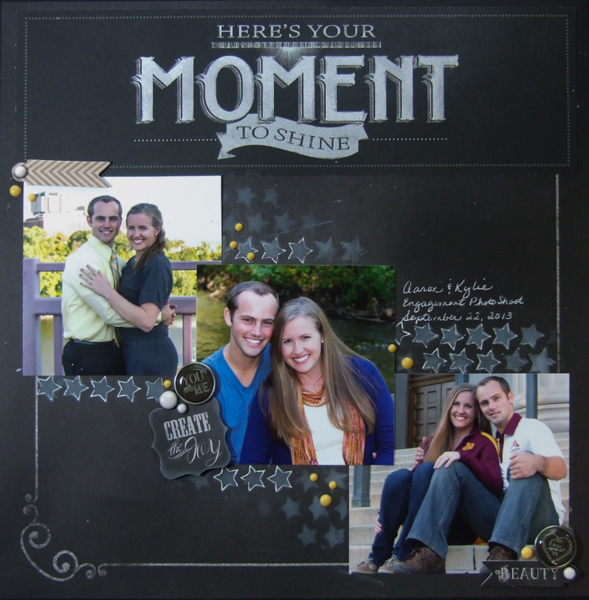
Marcia Fortunato says, “I’d put this layout together, but felt it needed more. So I finally thought to use Gelatos in the background. I used coconut and applied it using a star stencil and a stiff foam applicator (I tried using my finger to apply but couldn’t get a dark enough effect and had trouble with little flecks in random places).Then I outlined some of them with a white gel pen to add further definition. I tried this first on a plain piece of cardstock (slightly textured) and it actually worked better – a great easy way to get that chalkboard look. This paper is very smooth so the effect is much lighter, but I’d already committed to it so just continued. The outlining really helped.

Here’s Your Moment to Shine by Marcia Fortunato Supplies: Patterned paper, banner, and embellishments: My Mind’s Eye; Gelatos: Faber-Castell; Stencil: The Crafter’s Workshop
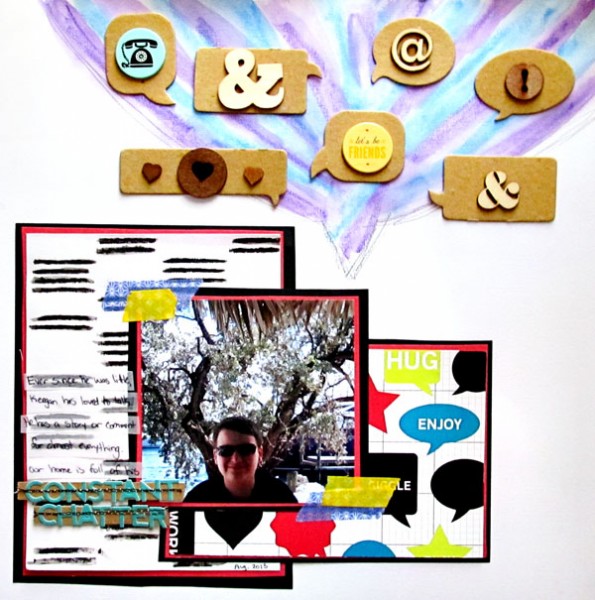
Christy Strickler says, “I wanted to create my own background paper. I colored a stencil with a black gelato. I then came back with a paint brush and water over the stenciled design. I also colored in a hand drawn speech bubble then came back with water to blend the two colors together a bit.”

Constant Chatter by Christy Strickler Supplies| Cardstock: Colorbok; Patterned Paper: JBS Mercantile; Letters: Jillibean Soup; Flair: Freckled Fawn; Wood Venneer: Studio Calico; Chipboard: Pebbles;Coloring Medium: Gelatos by Faber Castell;Stencil: Simon Says Stamp; Other: tape,pencil; layout Inspired by Doris Sander’s He Talks and Talks page featured in the Masterful Scrapbook Design Tension Seminar
[mhoughton]


