by Debbie Hodge
When you’re cropping photos of people you have several decisions to make that will affect the photo’s presentation on the page. Of course, you could make these decisions when you’re taking the photo–but just in case you didn’t, here are some things to think about for after-the-fact cropping. They should give you new ideas for approaching your photo cropping.
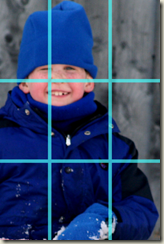
rule of thirds
 The rule of thirds suggests dividing your photo up into three equally-spaced columns and three equally-spaced rows (in other words, imagine a tic-tac-toe board over your photo) and then position your subject at intersecting points on this grid to achieve a more balanced and pleasing picture.
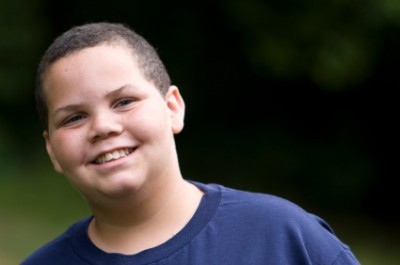
which side?
On which side should you place your subject? In cultures that read text left-to-right, the left side is a stronger point than the right. Generally, it works best to place your subject so that they have something to look into. In other words, place the subject on the side into which they are NOT looking. Placing the subject to one side works well even there is only a slight tilt to your subject’s face.
Every rule is meant to be broken and there are times when you’ve got a powerful shot with great symmetry or a subject looking straight at you that looks great centered.
portrait or landscape?
A portrait orientation is one that is higher than it is wide and a landscape orientation is the opposite. A first impulse with photos of individuals is to make a portrait crop, especially since faces and bodies are more vertical than they are horizontal and thus fit well into the vertical space of a portrait crop.
A portrait crop will give you a more formal photo while a horizontally (or landscape)-cropped photo general has a more casual or informal feel. With the portrait crop the focus will more likely be square on your subject while it’s easier to incorporate background into a landscape crop.
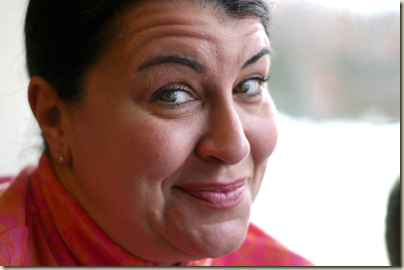
how close?
Will you crop a close facial shot, an upper body shot or farther back to include the background? This will depend upon:
• your intention with the page
• the photos you’re working with
• the photo background and whether it contains important contextual information or simply distracts.
cropping multiple portraits to a uniform size
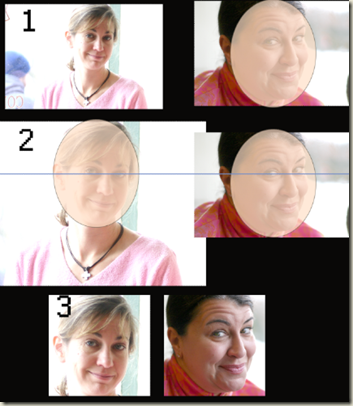
Finally, if you’ve got some basic facility with photo-editing software, here’s a little trick for cropping multiple portraits to a uniform size — i.e., so that their faces generally take up about the same amount of space in each photo and so that their eyes are lined up.
1) Drag your two photos, uncropped, onto a larger canvas. Drag out an ellipse about the size of the larger face, and lower its opacity so that you can see the face through it.
2) Copy the ellipse and drag the copy ellipse over the face of the smaller face. Resize the photo with the smaller figure so that the face fills the ellipse. Drag a horizontal guideline down level with the eyes of one subject. Adjust the other subject so that her eyes also sit even with the line. Delete your guides.
3) Use the rectangular marquee tool. Set it to a fixed size and position over first photo. With this selection active, >Select >Inverse and the press DEL to remove the parts of the photo outside of your selection. Do the same with the second photo.


