layout by Jana Morton
This is the first post in a series that shows you a digital scrapbook page and connects the dots between the elements on the page and the Photoshop techniques that were used to create them.
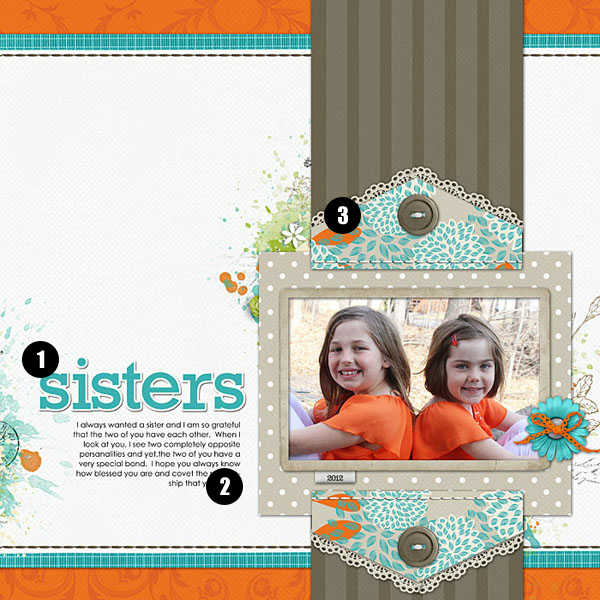
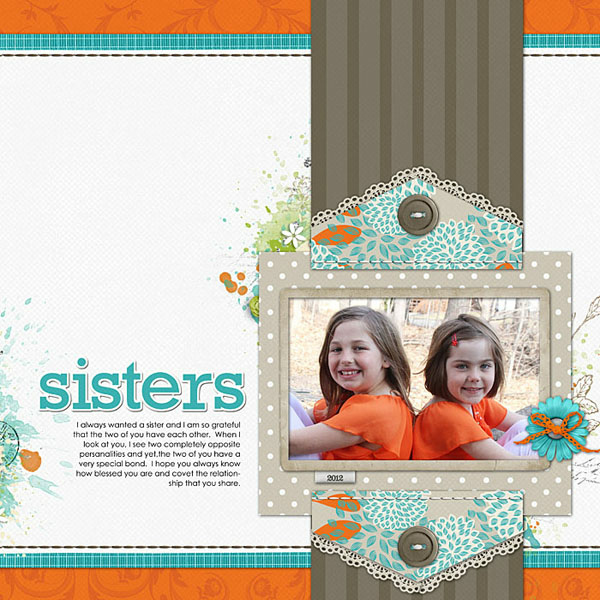
Jana Morton’s “Sisters” is a page that looks a lot like a “traditional” paper scrapbook page. Just how did she do it, though? We’ll look at 3 elements of this page, tell you the basic tools used, and point you to more in-depth tutorials.
1. make a “sticker”-like page title
 While you can purchase digital alphabets, you can also use fonts to make page titles. One way to jazz up a font is to give it a white border that makes it look like a sticker.
There are multiple ways to add the white outline:
Add a “stroke” Layer Style. Type title. Open the Layers Window. Select Stroke option, set stroke color to white, and adjust number of pixels to the width you prefer.
Read more:
Use the “stroke” tool. Select the area your title type fills, and Edit/Stroke, choosing stroke color and width.
Read more:
Add a layer beneath the title that’s slightly larger and fill with white. Select the area the type fills. Expand the selection (try 10 to 20 pixels). Create a new layer beneath the title. Fill with white.
Read more:
- Photoshop Quick Tip #8 Word Art Sticker
- Making a digital sticker in Photoshop
- My Favorite Title Trick

Sisters by Jana Morton | Supplies: Maplebrook Studios: Alison Kit Katie Pertiet: Vintage Charm Kit, Vintage Charm Clusters, Assorted Messy Stitches, Yesteryear Add On Lace, Gingerbread Runaway Kit, Loosely Labeled Dates No. 4
2. add right-aligned, word-wrapped text in Photoshop
 There are two ways to add type in Photoshop.
- Use “Point” type for a single line of journaling (or a title) or for multiple lines when you want to control line breaks. To add point type, select the Type tool and start typing.
- Use “Paragraph” type for word-wrapped type that fills an area you may resize. To add paragraph type, select the Type tool and drag out a box, THEN start typing. To resize the “box” be sure you’re using the Type tool and not the Select (arrow) tool.
- A Comprehensive Introduction to the Type Tool
- How to Insert Text in Adobe Photoshop Elements | eHow.com
- Photoshop: Adjusting text box sizes without adjusting font size
3. make a shape for “clipping” your paper to
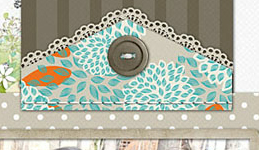
 Jana made the patterned paper “arrows” or pentagon shapes above and below the photo by combining a rectangle shape and a triangle shape. Draw your shapes, simplify (or rasterize), and merge layers. Drag your patterned paper to the layer above your shape and then “clip” the paper to the shape by right-clicking on the patterned paper layer in the Layers Palette and selecting “Creating Clipping Mask.”
Read more:
- Creating Shapes and Using Clipping Masks
- How to combine 2 shape layers in Photoshop
- Photoshop How-To: Combining Shapes
[jmorton]
[learndigi]

