 What is washi tape?
- It’s strong and pretty and a great addition to your scrapbook pages.
- It’s usually made from natural fibers like bamboo, hemp and the bark of trees native to Japan.
- It’s being used on scrapbook pages, cards, and craft projects — ideas for using washi tape are all over the internet.
1. Embellish and anchor with washi tape
Leah Farquharson says, “I loved using the different washi tapes to create a fun and random look, embellishing and anchoring other elements. Leah says, “Our boys can be so, so silly together. I snapped these two photos on completely different occasions, and when I looked back at them, I was so struck by how similar they are!”
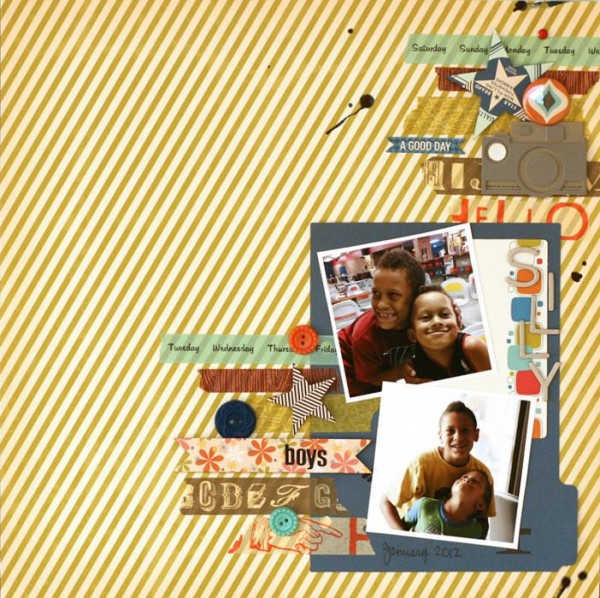
Silly Boys by Leah Farquharson | Supplies: patterned paper, book page, buttons, stickers, brads, flair: October Afternoon.Washi Tapes: October Afternoon, Cosmo Cricket, American Crafts. Black letter stickers: 7Gypsies. Chipboard letters: Studio Calico. Ink: Ranger
2. Make an anchor point with washi tape
Betsy Sammarco emphasized element alignments with a strip of Washi tape running the entire canvas height. Notice that the focal cluster atop the pieced dictionary page is a horizontally symmetrical grouping — and, yet, this grouping is placed asymmetrically on the page. Both the symmetry AND the asymmetry that Betsy presents are emphasized by the vertical strip of tape running the height of the canvas. It is placed BOTH symmetrically (in the center of the focal grouping) AND asymmetrically (to the left of horizontal center on the canvas). By choosing a striped print and running the stripes vertically, Betsy further emphasizes this element and her play with alignments.
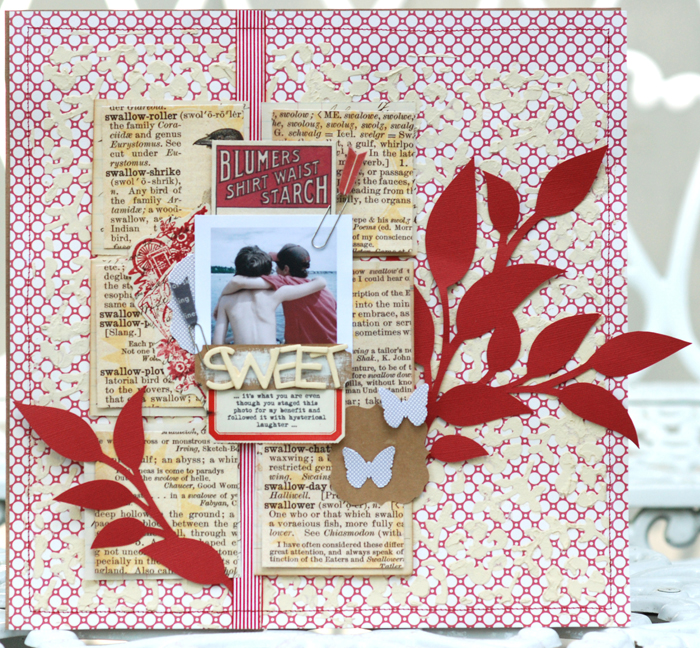
Sweet by Betsy Sammarco | Supplies: All supplies are from a JBS Mercantile kit (June 2012); Patterned paper: all Jenni Bowlin Studio; Stamp, stencil, paint, and ink: all JBS; Chipboard Letters: Studio Calico; Washi tape: Queen and Company; Paper Clips: Studio Calico; Cutting machine: Silhouette Cameo
3. Cover an oversized embellishment with washi tape
Meghann Andrew designed this page about her six-hour trips back and forth between cities during a move around the large ampersand in the title.
Monica says, “Using the outline font option in Microsoft Word, I found a font that I liked and printed it out onto cardstock. I then cut out the ampersand and started layering washi tape on it, trimming the excess from the edges using a craft knife. The result is a large, custom ampersand embellishment!”
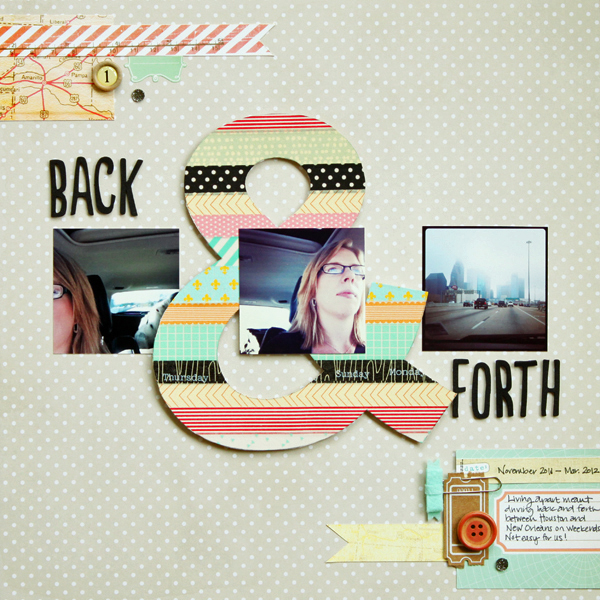
Back & Forth by Meghann Andrew | Supplies: Patterned paper: Tim & Beck for Studio Calico (map & ruler), Studio Calico (teal journaling card), Dear Lizzy for American Crafts (polka dot background); Letter stickers: Amy Tangerine for American Crafts; Date tag: Elle’s Studio; Cardstock ticket: Maya Road; Paperclip: Studio Calico; Buttons: Dear LIzzy for American Crafts; Rhinestone: Queen & Co; Cardstock sticker: Dear Lizzy for American Crafts; Washi tape: Queen & Co. (red stripe & black polka-dot), Freckled Fawn (teal confetti, teal airmail, clear days of the week), 7Gypsies (blue fleur de lis), American Crafts (black woodgrain, yellow/orange, teal dot, teal grid, pink dot & orange stripe)
4. Fill in gaps in a grid or block with washi tape
Marie-Pierre Capistran used washi tap to fill in the gaps of her grid and as an anchor point for elements like the little heart. She used strips of yellow washi tape to tie the grid together.
Marie says, “For added interest I sewed over the washi tape as well as over some other elements of my page. I used a piece of Washi tape to decorate my ticket stub by creating a little flag. Another piece of washi was used as a photo corner on the picture in the right hand side corner. Finally I covered the little chipboard arrow with some washi tape so that it coordinates the rest of my layout. Talk about a fun, quick and easy way to cover up all those naked chipboard pieces I own.”
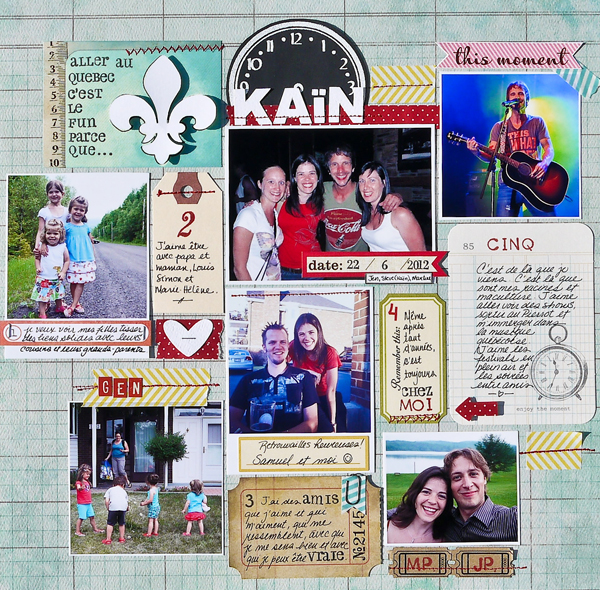
Going to Quebec by Marie-Pierre Capistran | Supplies: So Sophie paper by My Minds Eye; Elle’s Studio die cut; Tim Holz journaling ticket; Maya Road kraft mini tickets strips; My Minds Eye lime twist journaling cards; Becky Higgins Project Life journaling card, Clementine edition;October Afternoon thrift shop stickers, 7 Gypsies mini-tags, Doodlebug Jack & Jill collection; Bella Blvd Washi tapes, SU! chipboard arrow, Tim Holz mini paper-clip; SU! calendar stamp, Hero Arts Basic Uppercase letters stamps, Recollection stamps, Maya Road stamp; White ranger ink with embossing powder in white; my silhouette.
5. Make a chevron pattern with washi tape
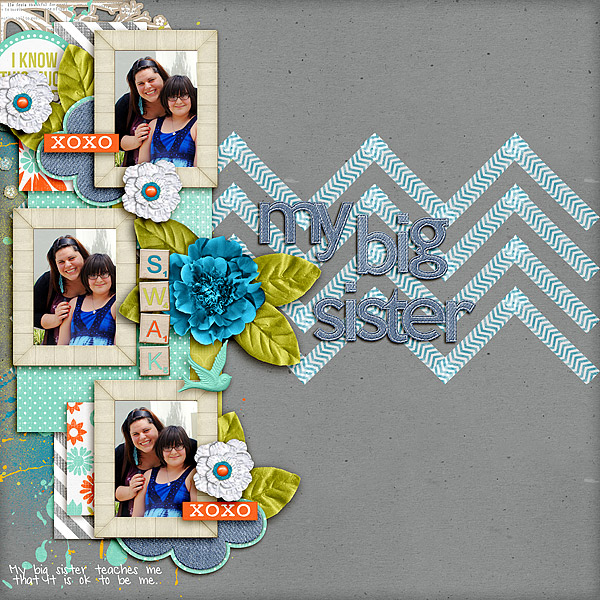
Tanyia Deskins used chevron-print washi tape to define four chevrons spanning her page width.
6. Make a flower from washi tape
Ashley Horton used SMASH tape to make a flower accent placed it on a dowel for a fun page accent.
Ashley says, “Tear 4 to 8 pieces of washi tape to create the ‘petals’ for your flower. I used 4 pieces for this one. Once you have all of your strips, fold them in half. I didn’t press my tape all the way down at the edge that will be showing to create a little more interest for the petals. Once you have your pieces folded, adhere each of them to a circle. Then layer a fussy-cut flower, crocheted flower, die cut flower–whatever you have on hand. You can finish off the center by adding buttons or brads.”
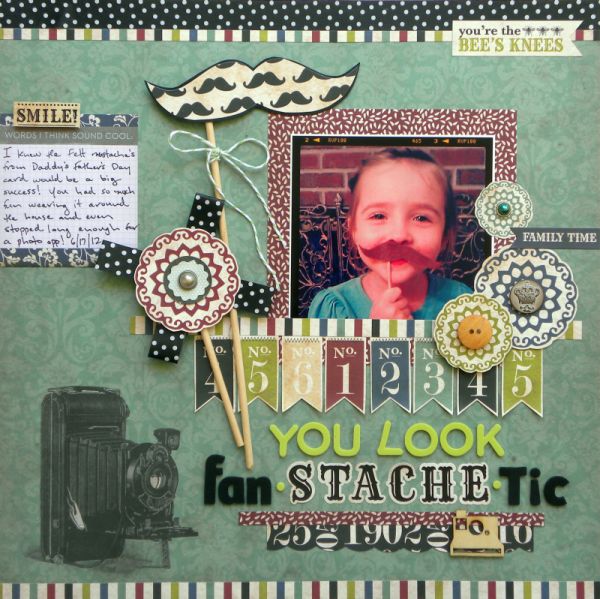
Fan-stache-tic by Ashley Horton | Supplies: Patterned Paper & Stickers: Echo Park; Thickers: American Crafts; Wood Veneer: Studio Calico; SMASH Tape: K&Company; Brads: The Paper Studio & My Mind’s Eye; Button: Dill-Buttons; Baker’s Twine: The Twinery; Other: Dowel
7. Cover seams where papers meet with washi tape
Amy Kingsford used strips of two different kinds of washi tape to accent and break up the strips of patterned paper on the left side of the page.
Amy says, “I thought their subtle patterns and colors coordinated well with the papers I chose and they add to the ‘found’ feel of my page already established by the use of re-purposed materials like the mailbox number, raffia, and sewing patterns.
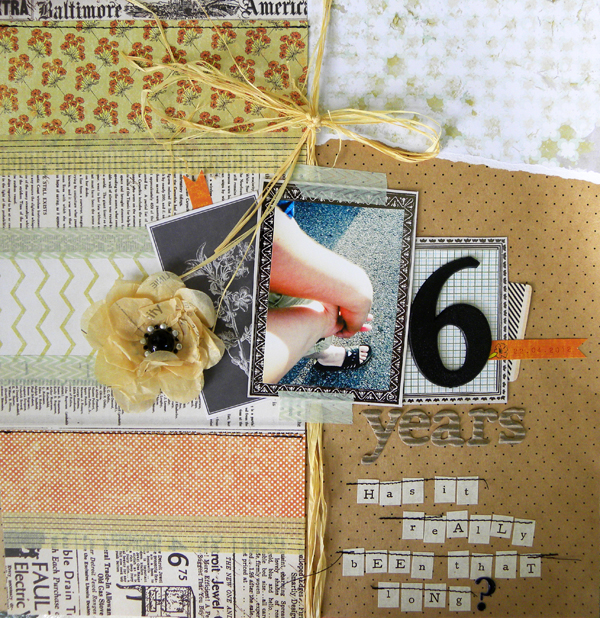
6 Years by Amy Kingsford | Supplies: SEI’s Field Notes and Desert Springs Collections, Corrugate Cardboard Alpha by SEI, Green Washi Tape by SEI, Lined Washi Tape by 7 Gypsies, Prima Pearl Accents, raffia, sewing pattern, mailbox number.
8. Make a rainbow border of washi tape bits
Adryane Driscoll used strips of crumpled washi tape in a rainbow of colors, arranging them to create a foundational strip for her photo. This is a digital page. Adryane says, “The tape pieces had texture already and I used the burn tool to add more texture to the layers and add to their overlapping appearance.”
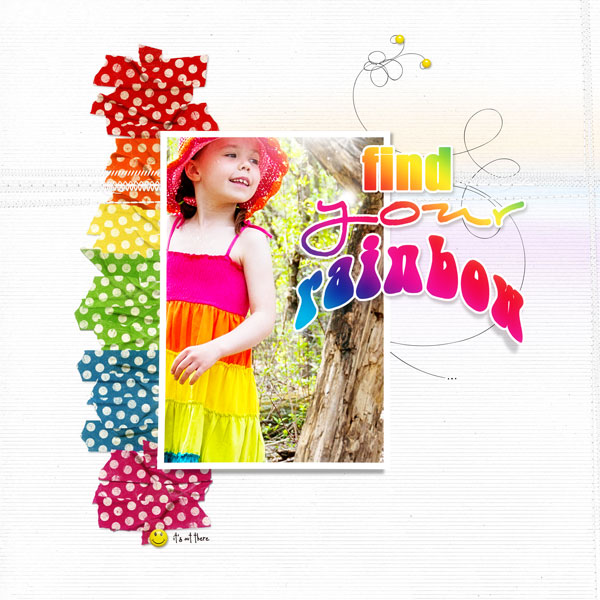
Find Your Rainbow | Supplies by Anna Aspnes Designs: Taped Dotty Polka No.1, FotoGlows No.2, Warping Frames No.2, KrissKross Stitching No.1, LoopdaLoop Flutterbys No.1, ArtPlay Palette Scholarly (smiley brad), ArtPlay Palette Sun Fun (background paper)
[current]

