Your scrapbook page canvas is usually a square (12″ by 12″) or a vertical rectangle (8.5″ x 11″) or, in the case of a two-page design, a landscape rectangle (24″x12″ or 17″ x 11″). That canvas defines the space within which you can organize elements: photos, title, journaling, embellishments.
You can actually create differently sized canvases by dividing that primary space or by layering within it in unexpected ways. See the examples below, and give it a try yourself.
[hr]
Marie-Pierre Capistran says, “This layout is a year-in-review page for my daughter’s 5th year. I decided to divide the 12″ x 12″ layout into nine 4″ x 4″ canvases to show diverse aspects of my daughter’s year.”
“I treated each of the nine blocks as a separate, small layout. I made sure to vary the colors of the papers enough to really make a break between all the squares and ensure the viewer perceives them separately. Finally, to accentuate the idea of small canvases, I tore the edges and used a stitched border.”
“I really wanted to highlight separate events and not to have one overwhelming melting pot of events. You can see that my journaling is one big block of text in the blue circle frame, but the four photos clearly define bigger events which happened throughout the year. Some canvases contains no words or photos and yet they still tell the story, like the sun rays next to the sky with rain and an umbrella.”
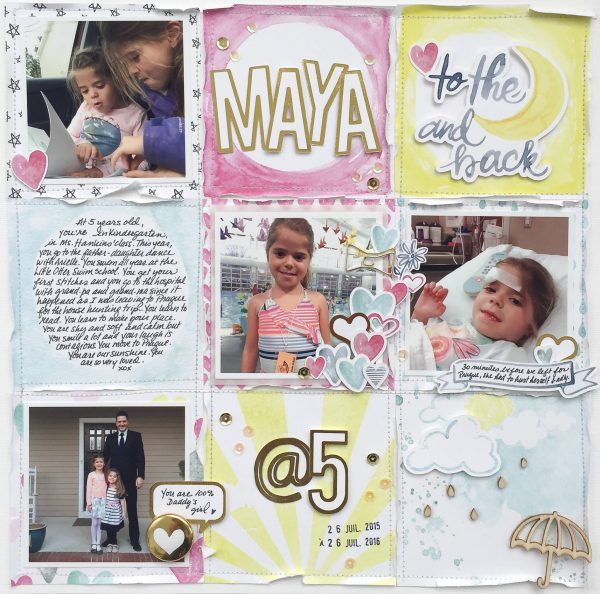
Maya @ 5 | Supplies: Paper: Pretty Little Studio; Die Cuts: Pretty Little Studio; Flair, paperclip and wood veneer from stash.
Debbie Hodge says, “This two-pager has been designed to create a sense of a portrait rectangular canvas on the left and a landscape rectangular canvas on the right. The story is one of my cousins and grandmother.”
“The canvas on the left is established with layered patterned papers that distinctly contrast with the grey cardstock background on the right–and notice how that cardstock and even some of the elements placed on it cross the break in the middle of the two pages. It’s fun to play with this kind of design to get the experience of working inside of differently proportioned canvas spaces.”
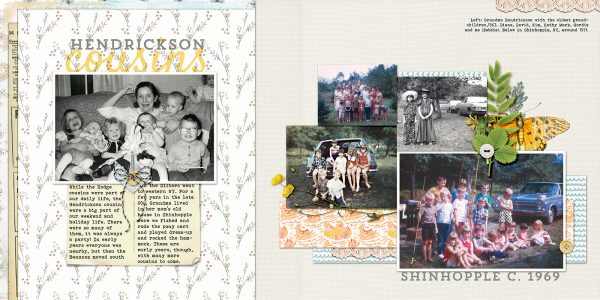
Hendrickson Cousins by Debbie Hodge | Supplies: Bee Curious, Ripped & Recorded by Lynn Grieveson; Flip Flop, Duck Pond by Forever Joy; Holly by Amber Labau, Blendable Layers 31, Post Card Journalers by Katie Pertiet; Ephemera by Paula Kesselring; Trend Rough Slab, Satisfy, Bohemian Typewriter fonts
Deborah Wagner says, “While boating to our snorkeling destination, we saw this building. I loved the fairy tale look of it and the turquoise framed windows. I wanted it to take center stage on my page so I used a map as the frame, and matted the photo with solid colored papers. To add a little texture and interest, I duplicated the map paper, brought the duplicate later to the top of the layer palette, and changed the blending mode to soft light.”
“The canvas within a canvas approach highlighted my photo beautifully, and needed no embellishments. I loved the simplicity.”
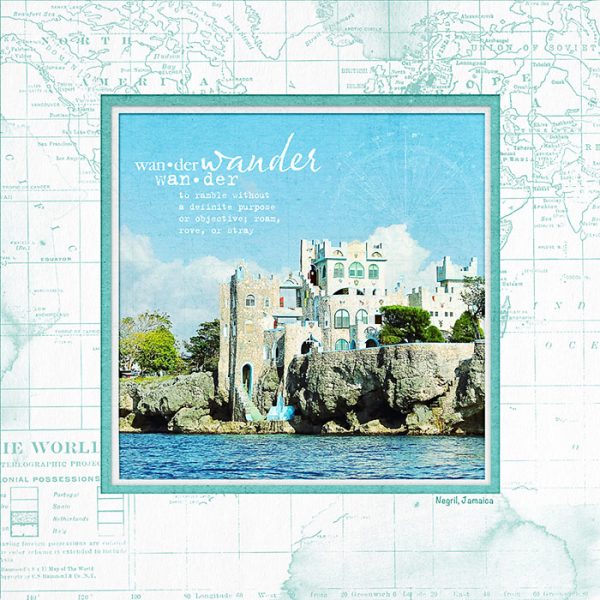
Wander by Deborah Wagner | Supplies: Katie Pertiet – Away We Go, Defining Words No. 4, Charted Brushes No. 1.
Sian Fair says, “This page records a quick weekend trip my husband and I took, just before he had to leave for a week’s traveling with work.”
“I created a canvas with a quick swipe of black ink and then put together four smaller canvases to organize my photo, title, embellishments and journaling. This is one of those pages which are difficult to explain! I think I felt that the smudgy black ink canvas created some tension with the carefully organized other elements and that that combination reflected my feelings about my husband’s trip. I’m not used to him traveling for work!”
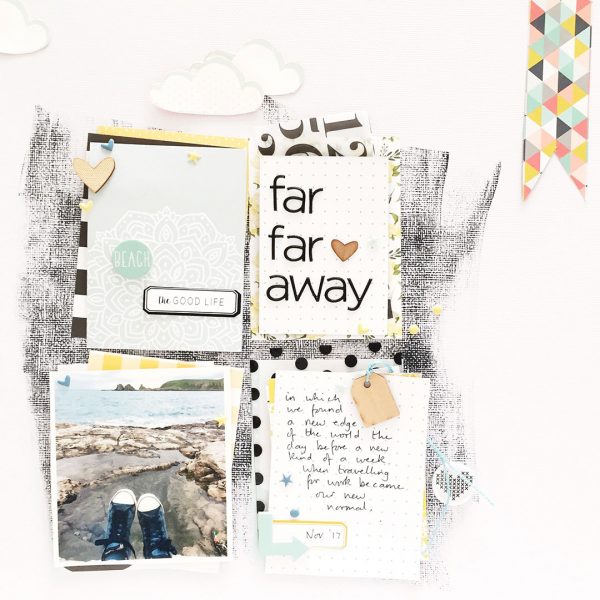
Far Far Away by Sian Fair | Supplies: Patterned Paper, journaling cards, alpha, stickers and wood veneer label all from a kit by Felicity Jane.
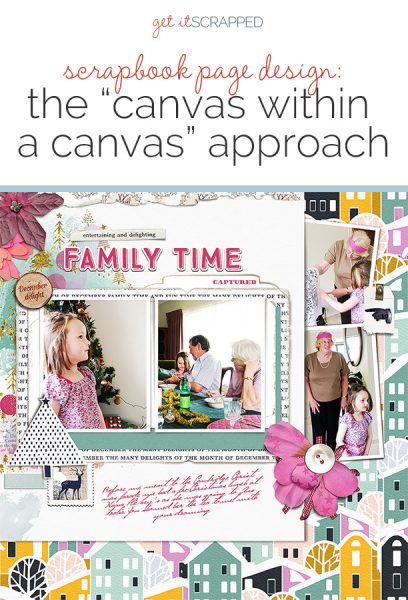
Lynn Grieveson says, “I am scrapping my way through my youngest’s age four photos, and this was a pre-Christmas lunch spent with her grandparents (as my mother in law was going to be away for Christmas Day). There were no stellar pics but just some lovely little moments of interaction between them.”
“I essentially used an 8.5″” x 11 layout and placed it onto a 12″ x 12″ canvas of bold patterned paper. I tucked two of the sweet photos of my daughter and her Gran along the side under the first canvas.”
“I liked this way of drawing attention to, and separating out, those two photos, which were sort of side action of little moments between the two of them away from the lunch and Christmas tree. I really enjoyed this way of using a bold patterned paper as well.”
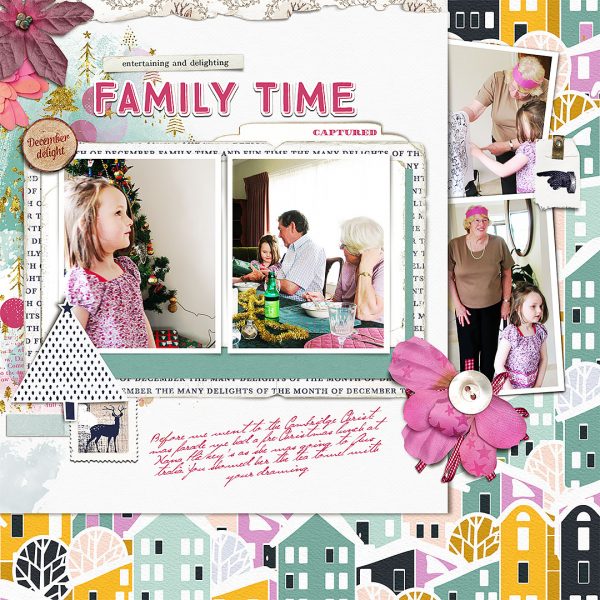
Family Time by Lynn Greiveson | Supplies: High Hopes Papers by Paula Kesselring; Design Story template No2, Frostell Kit, St Nick Layered Transfers, Fresh Festive Kit and Nikolaus kit by Lynn Grieveson.
Cara Vincens says, “Children grow and change so quickly. As parents we can’t see the change in our everyday lives but it appears clearly when photos from different ages are grouped together. I wanted to capture this fleeting change on this page.”
“I absolutely love adding a canvas within the canvas of the scrapbook page. Here, I’ve actually added 3 various canvases. There is a larger canvas to house the photos, using patterned paper, but then I have two smaller canvases using tags for my long title and layered label stickers for a little embellishment grouping. I love how they give each element of the page a home. Each home helps keep the different parts of the page separate and gives them each a more definite purpose. The photos, for example, would not have such an impact if they had bee spread out around the page, seeing the different faces from different ages all together really emphasizes how he has grown. Layering items off of each of the canvases helps to anchor them to give them more ‘belonging’ to the page as a whole.”
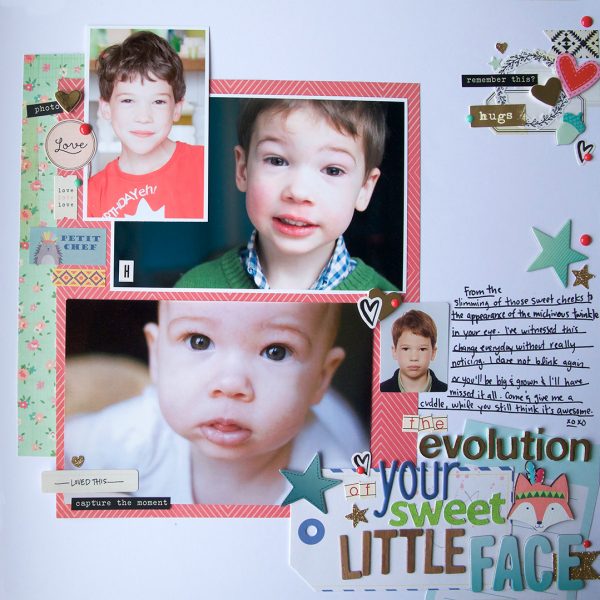
The Evolution of Your Sweet Little Face by Cara Vincens | Supplies: cardstock – Amercian Crafts; patterned paper – Crate Paper; alphas – Jenni Bowlin, Hip Kit Club, American Crafts, Sassafrass; stickers – Crate Paper, Artemio, 7gypsies, American Crafts; chipboard stickers – Pink Paislee; Wooden Stickers – Artemio; enamel dots – My Mind’s Eye.
Kelly Prang says, “I have a few childhood Christmas photos, and remembered a great story about the year we had our first (and only) live tree.”
“I started with a 12″ x 12″ canvas and created an 8.5″ x 11″ canvas within it using the red patterned paper as a background. I added the photo and then built up embellishment and paper strips into clusters.”
“I realized I would need more space for the journaling, so I added a 6×12 extra page for the story. My purpose for the add-ons was to create a layered page that looked as if it had been added on to over the years since the photo was taken.”
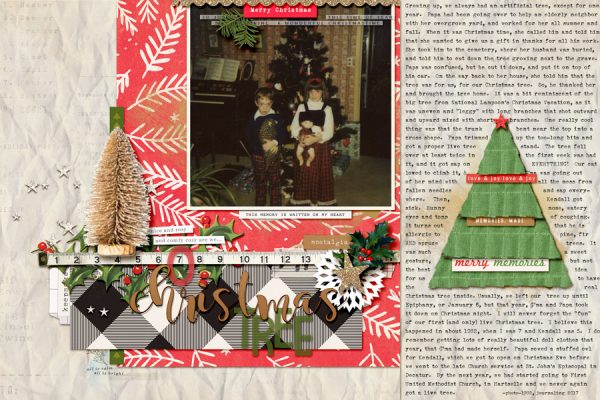
Oh Christmas Tree by Kelly Prang | Supplies Fonts: Sears Tower (journaling) and Magnolia Sky- “christmas” ; Heather Joyce- Vellum Alpha- “o” and “tree” in title; American Crafts- Fa La La (digital)- papers and elements; One Little Bird- Shimmer- word art, pine sprig, gold paint and mix tap transfer, Chestnut Lane- word art; Paula Kesselring- Season to be Merry- measuring tape, 3D Holly and berry sprig, Paper Collection #5- paper; Sara Gleason- Sparkle Confetti- stars, Advent- fabric tree, word art; Artifact- word art, Hosta- musical notes washi tape; Sahlin Studio- Santa’s Workshop- Holly and Berry ephemera piece.
Christy Strickler says, “Sometimes when I want to tell multiple stories with the same set of photos, I create two mini canvases on the page by cutting small squares or rectangles.. On the upper left, I briefly tell the story of heading back to school with my son’s homeschool coop and how the cats hate when we pack up to go. On the lower right, I tell the story of how I think both cats could be leash trained and how badly they want to come along.”
“Doing this allows me to tell multiple stories without having to scrapbook the same photos twice. A page like this is visually stimulating as you get to play with proximity. At the same time, you have two small squares to embellish which makes it easier to create simple clusters.”
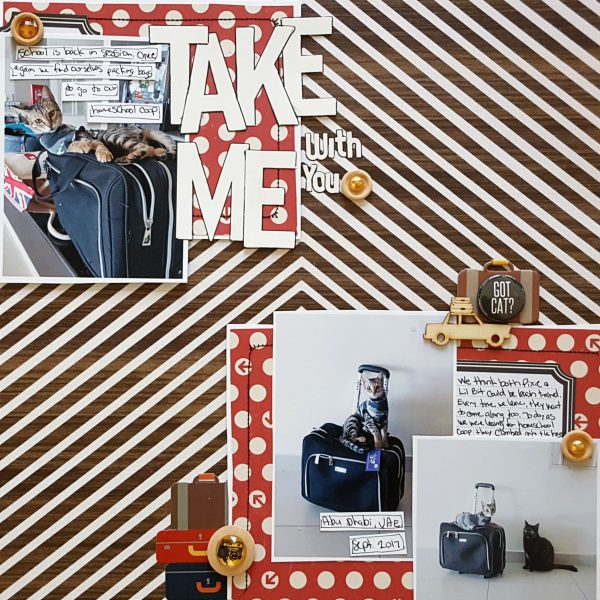
Take Me With You by Christy Strickler |Supplies Patterned Paper: Simple Stories, Cocoa Daisy; Letters: American Crafts, Evalicious; Stickers: Simple Stories: Chipboard: October Afternoon; Wood Veneer: Chic Tags: Buttons: Crate Paper; Other: Jewels, Flair.
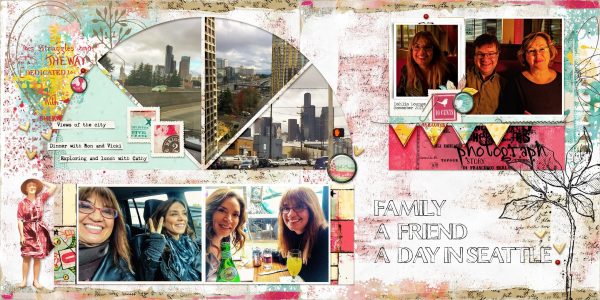
Karen Poirier-Brode says, “This page is about some of the events of a day in Seattle. My friend, Cathy, and I went out to lunch and explored a bit. Later that evening I went to dinner with my cousin and his wife.”
“I created a small canvas with the in thetwo dinner photos separate from the collection of pictures in the city. I’ve been studying art history, and cathedral windows inspired my design. A technique I used on the page involved the word strips. I did not want to use white rectangles and found some lovely pieces in the kit I used. I used the quick selection tool to capture the words on a strip then used the Edit tool in Fill Mode set to Content Aware to make new strips that co-ordinated with my page. I elongated one of the pieces to fit my journaling.”

