
 Use this 7-step formula to make easy scrapbook pages. Amanda Jones paired one black-and-white photo with a same-sized block of washi strips and mounted the two on a shared mat. Amanda says, “I knew I wanted to use this silly photo of my son on a simple page, highlighting some of his quirky personality traits. I added my journaling in a list-type way to make it punchy and take up less room on my layout.”[hr]
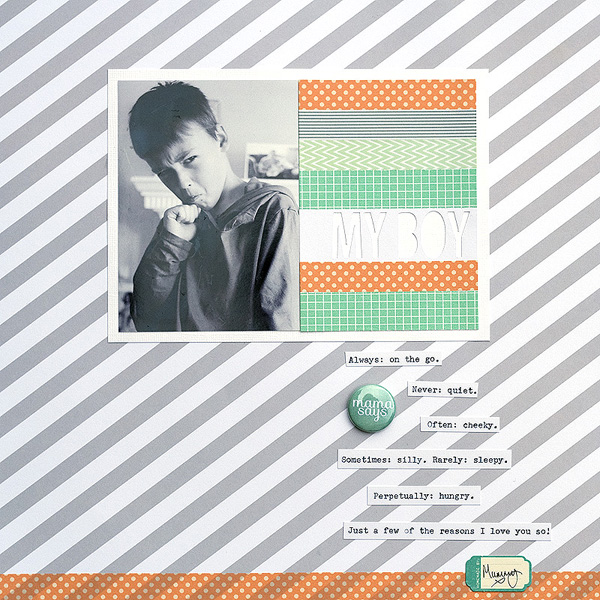
My Boy by Amanda Jones | Supplies: Washi Tape – Freckled Fawn, American Crafts; Cardstock – Bazzill Basics; Patterned paper – Studio Calico; Button Flair – Ormolu; Tag – Jillibean Soup; Die-cutting Machine – Silhouette Cameo; Typewriter – vintage.
How to make this layout
- Trim one photo to 5″ x 3.5″ and trim a piece of white cardstock to the same 5″ x 3.5″ size.
- Adhere strips of washi tape across the 5″ x 3.5″ cardstock block, leaving a space 2/3 of the way down tall enough for your title. Add title with alpha stickers or by die-cutting it from the block.
- Mount the photo and washi-adorned cardstock on another piece of white cardstock measuring 5.25″ x 7.25″.
- Select patterned paper with strong geometric pattern and just one color plus a neutral for your base. Adhere the photo block 2″ from the top of the page, at horizontal center.
- Adhere coordinating strip of washi tape across bottom edge of canvas.
- Add journaling on strips of varying length below the washi block.
- Embellish within journaling with flair and at end of journaling with tag or label.
