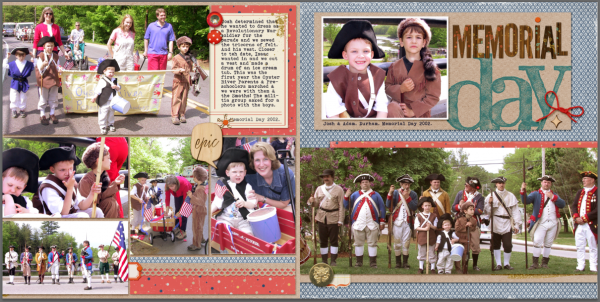
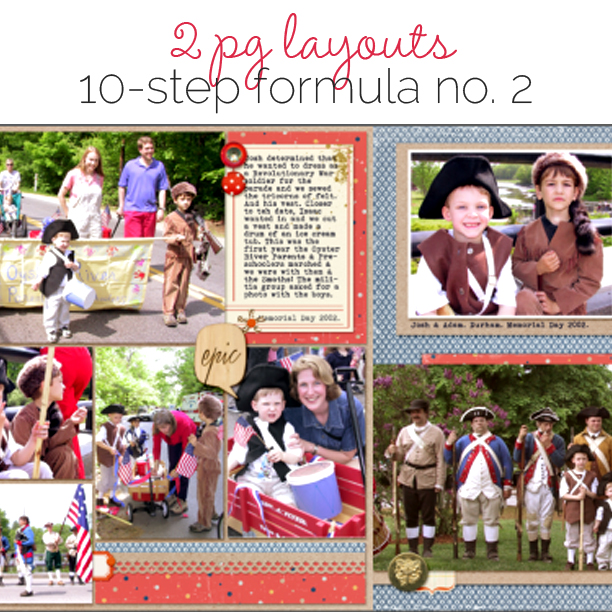
 Use these 10 steps to quickly crop photos, select papers and arrange it all into a two-pager with a focal point and lots of detail shots.
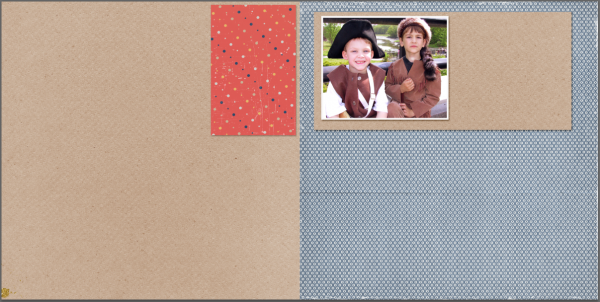
1. Start with a variety of photos from a big event. Choose one photo to emphasize and crop to 5″ x 4″. Print with narrow white border or cut narrow white mat.
2. Choose a neutral base (like Kraft!) and two patterned papers. Notice that the two patterned papers here were chosen so that they won’t overpower photos. That’s because the blue is a tone-with-neutral (white) and the red has very a small dot motif–it’s not a solid, but it’s got a lot of solid background.
3. Back up the left side of the page with your neutral/Kraft. Back up the right side of the page with one of the patterned papers.
4. Mount your focal point photo on a piece of neutral/Kraft that is 10.5″ x 5″ and mount that block at upper right.
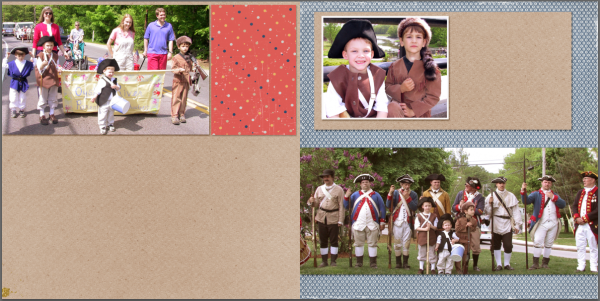
5. Crop 5″ high photos to fill a band across bottom right. Notice that I’ve used a 12″ wide photo at bottom right but that could be filled with multiple photos.
6. Crop 5″ high photos to fill about 8″ across in top left corner. Add a piece of your second patterned paper that’s about 3.5″ x 5″ next to the photo at top left.
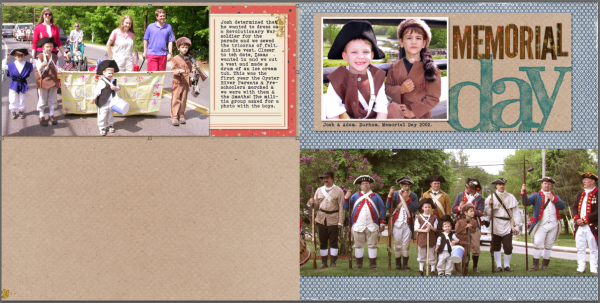
7. Add title next to focal point photo. Add journaling on journaler card next to photo at top left.
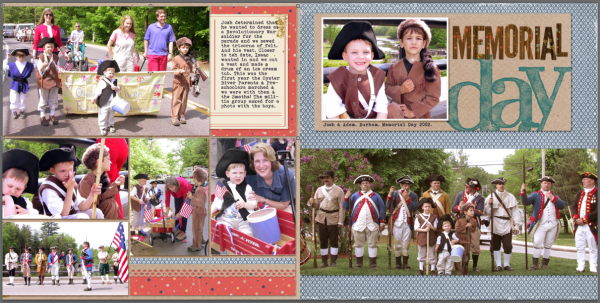
8. Add more photos to fill most of the area at bottom left — but leave a bit of space and repeat your two patterned papers here as embellishing.
9. Behind the photo at bottom right, add a foundation made of strips of the coordinating patterned paper and your neutral.
10. Add embellishments in one of your patterned paper colors and neutrals.
More inspiration…
Looking for examples of how these instructions have been used by others? Here are a few inspired pages from our Get It Scrapped Creative Team.
Sue Althouse says, “I was drawn to this design because it was a two-page, multi-photo layout suitable for scrapping event photos. My page is about our summer beach vacation. Using the instructions, I was able to include nine photos. They are cropped at 4 inches tall, which is smaller than the instructions indicate. I also used a single, yellow-striped patterned paper to fill in the page and added stickers and embellishments to introduce more color.”
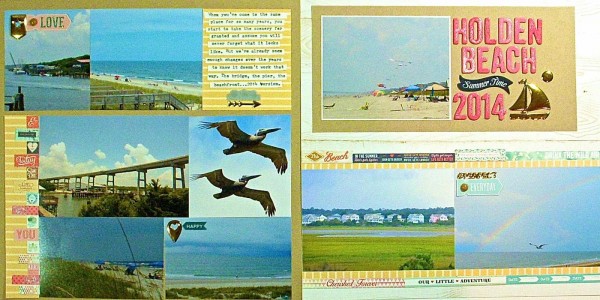
Holden Beach 2014 by Sue Althouse | Supplies: Cardstock: Bazzill, Patterned Paper, Stickers: Pink Paislee, Webster’s Pages, Alphabets: American Crafts, Die Cuts: Pink Paislee, Enamel Dots: Queen & Co., Typerwriter: Remington
Ronnie Crowley says, “I liked this design for event scrapping as there was room to include lots of pictures. My page is about a birthday party I had even more pictures but the design allowed me to include enough to tell the story. As a digital scrapper who used to paper scrap starting with these instructions made the whole process feel more like paper scrapping. Usually I start with a template even if the end result looks nothing like it, I need to do this more often as it was fun!”
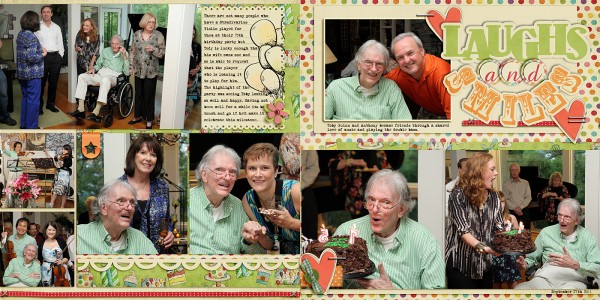
Laughs and Smiles by Ronnie Crowley | Supplies: Kim Jensen: Garden Pop’ MLE Card, Birthday Bash; The Daily Digi: My Life at Play Collab, My Life Of Wonderful Collab; Chelles Creations: Carve, Fall semester; Celeste Knight: Noted; Just Jaimee: The Party; Mommyish: Best Summer Ever; Cindy Schneider: Word Art Birthday; Katie Pertiet: Lil Bit Tags
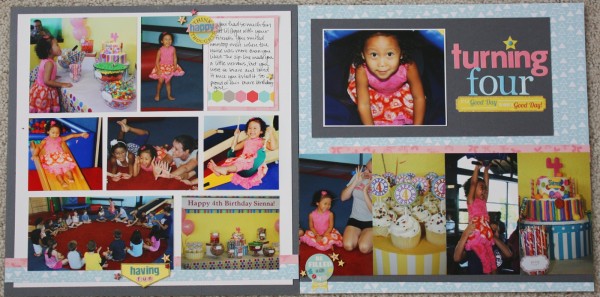
Jett Hampton says, “I loved the ability to include so many photos but still maintain a clean and simple layout.”
“This page is about my nieces 4th birthday party. The photos are busy so I used gutters between the photos on the left side and used minimal embellishments. I can’t wait to use this design for other event pages.”

