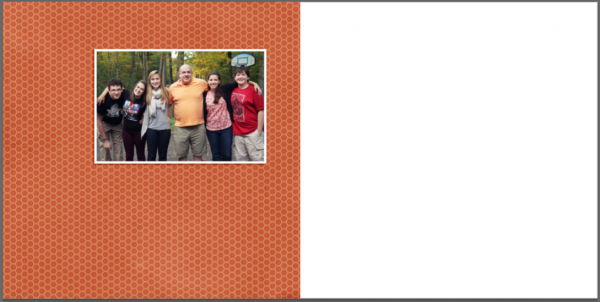
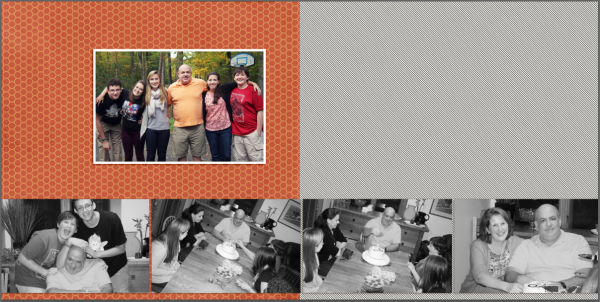
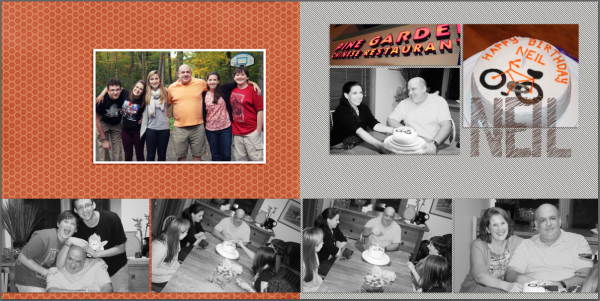
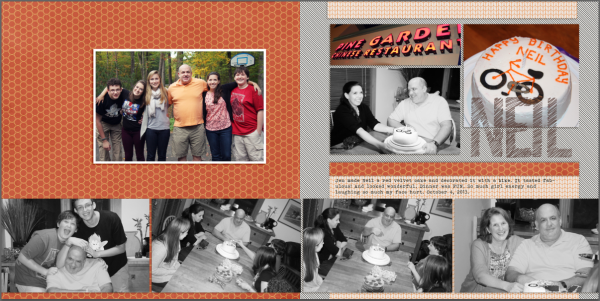
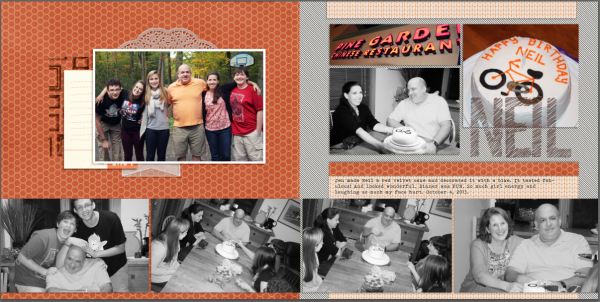
 Use these 10 steps to quickly crop photos, select papers and arrange everything into a two-page scrapbook layout with a focal point and two supporting groupings.
1. Choose 7 or 8 photos from an event that can all be cropped to a landscape orientation (i.e., they are wider than they are high).
2. Choose 1 photo to feature. Crop it to 7″ x 4.5″. Print it in full color with a narrow white mat or cut a narrow white mat for the photo, and mount the photo on the mat.
3. Choose one tone-on-tone patterned paper (or solid color) to use as a base for the left side of the layout. The color should show off your photo well. For this example, I’ve used orange for my background paper, and orange is the color of my husband’s shirt in the focal point photo. He is the birthday boy and star of this page so that is a good choice–the orange background pulls out the orange in his shirt and emphasizes him above all others in the photo.
4. Place the focal point photo in the top half of the left (colored) side of your spread.
5. Choose one neutral print or solid for the right side of your layout. I’ve used a diagonal black-and-white stripe.
6. Choose 4 photos to arrange in a band across the bottom. This is a logistical grouping that supports the focal photo. Print these as 6″ x 4″ black-and-white prints. Arrange them across the bottom with a narrow margin below and narrow margins between. (You’ll need to trim their widths just a bit).
7. Choose 3 photos to arrange in a second supporting grouping. These will be blocked to fill an area on the right side of the spread that is about 10″ wide by 5″ high. These can be color and/or black and white photso. Arrange them in a block. You can leave some space open or fill with embellishing or–as here–with embellishing type.
8. Trim two coordinating patterned papers to the width of your blocked grouping (here, about 10″). Place them above and below your blocked grouping to create a vertical band. I used a narrow strip from the left-side background paper and a white-and-orange print that coordinates. The band runs behind the series of photos at the bottom. Add your journaling to one of the pieces running below your block.
9. Layer foundational pieces behind the focal point photo.
10. Add title layered over top left corner of foundational grouping embellish but leave bottom right corner of focal grouping clear. Embellish at side right of block on the right.
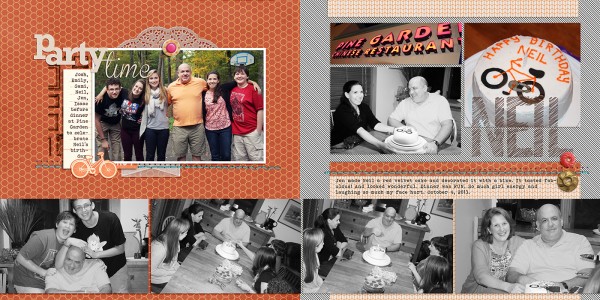
Party Time by Debbie Hodge | Supplies: Japan by YaYeah; At the Moment by One Little Bird; Life Unscripted by Rebecca Wagler; Remember by Amy Wolff; Pocket Fillers by Valerie Wibbins; Vellum Envelopes & Doilies by Snips and Snails; All about Me by Captivated Visions; Color my World by Lili Niclass; Pronuncial Alpha by Just Jaimee; Coconut by Sara Gleason; Sketchbook by Amy Tangerine; Rockwell, Brannboll Small fonts

