The days of regretting a poor photo result are over. Software solutions make it easy to improve that under- or over-exposed, yellowed, or blurry shot.
See how the Get It Scrapped Creative Team fixed up their poor photos and got them onto the scrapbook page.
[hr]
Photoshop Elements Levels, Hue & Saturation, Brightness & Contrast
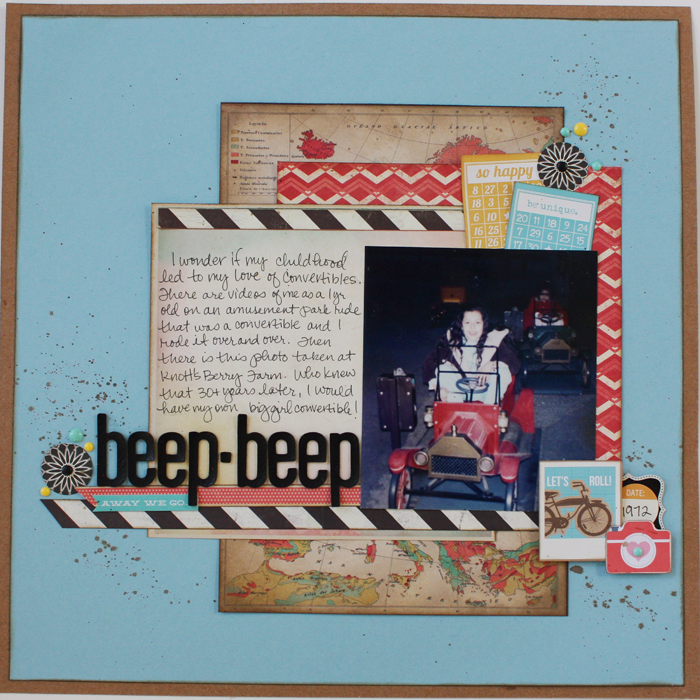
Beep-beep by Jett Hampton | Supplies: Cardstock: American Crafts and stash; Patterned Paper: Crate Paper and Simple Stories; Camera embellishment: Project Life; Brads: Making Memories; Alphas: AC Thickers; Enamel Dots: Basic Grey; Watercolors: Stash
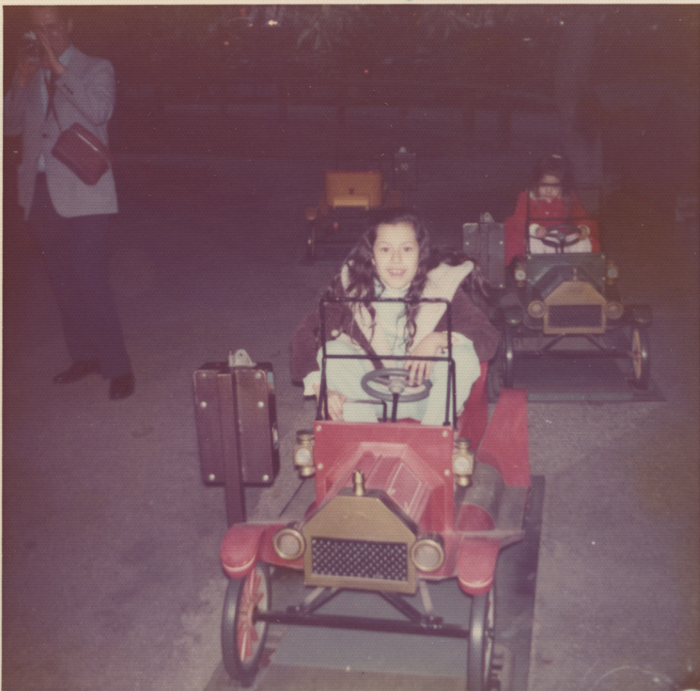
Jett Hampton says, “This is an old photo I found of me being silly in a coin-operated car. It triggered other car memories, including my current big-girl convertable. I used Photoshop Elements 9 to reduce the haze and bring out the original colors with the steps below.”
1. Create a Levels Layer and adjust the grey scale to .78
2. Click on the background layer and adjust the color cast by selecting the spot that should be white
3. Create a Hue/Saturation layer with saturation set to 15
4. Create a Brightness/Contrast layer with brightness set to 2 and contrast set to 4
5. Flatten all layers and crop to remove distractions
[hr]
Pic-Tap-Go! app
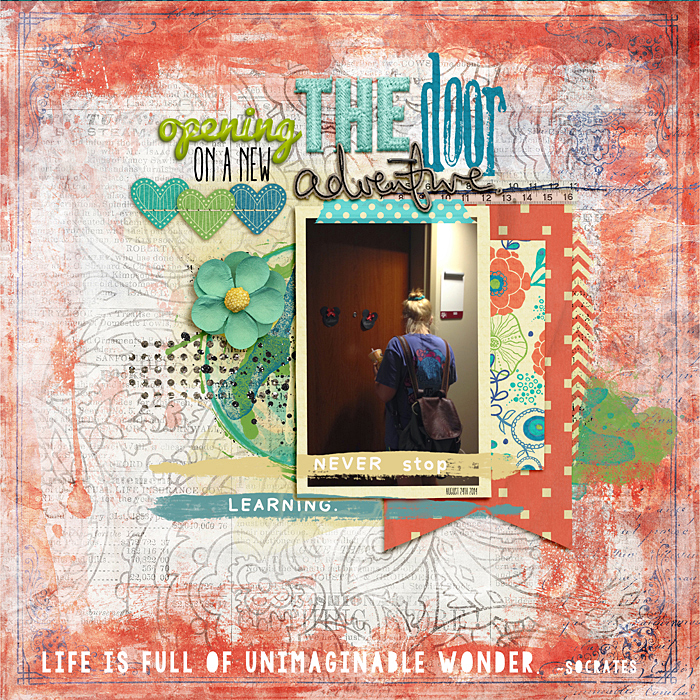
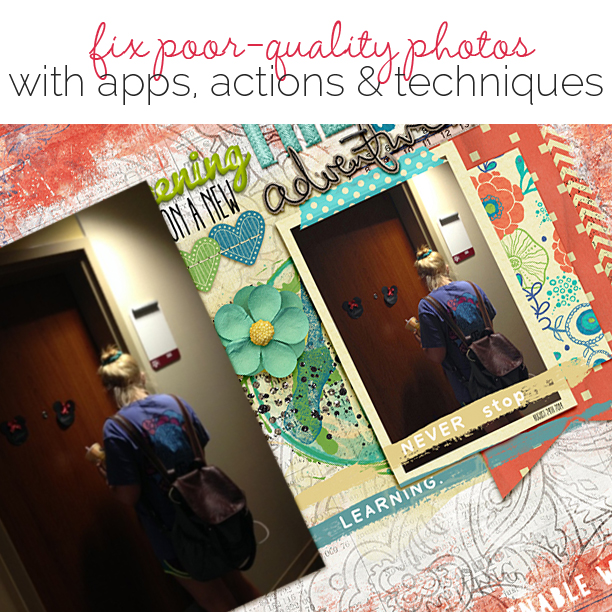
Opening the Door by Ronnie Crowley | Supplies: Anna Aspnes – ArtPlayPalette GoSee; Katie Pertiet – Messy Stamped Alpha No3; Daily Digi – My Life of Wonderful; D Rutter – Layered layouts vol12; Pink Reptile Designs – In Stitches
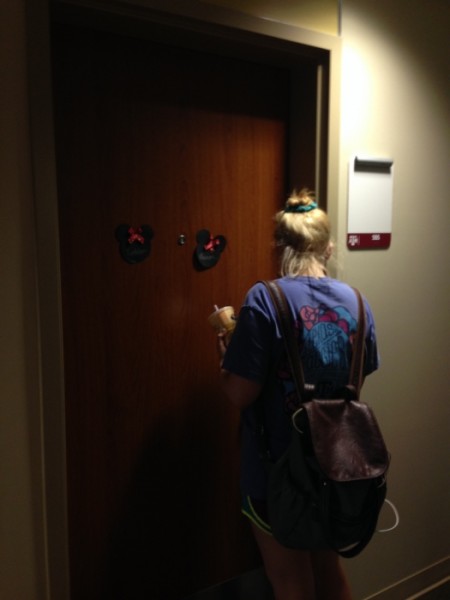
Ronnie Crowley says, “This page is about my daughter starting her college career. As she was about to open the door on her “new room,” it suddenly struck me that this was it, and I quickly snapped a picture on my phone. The resulting shot was really dark. Many of my phone pictures tend to be dark. I often to lighten them wiht the Pic-Tap-To! app. It’s available for both android and iPhone, and it is the mobile app version of Rad Lab. I use the filter “Lights On” to lighten the picture. You just load the picture and select the Lights On filter and save: done in moments and changes the photo from unusable to usable.”
[hr]
Photoshop CC Filters
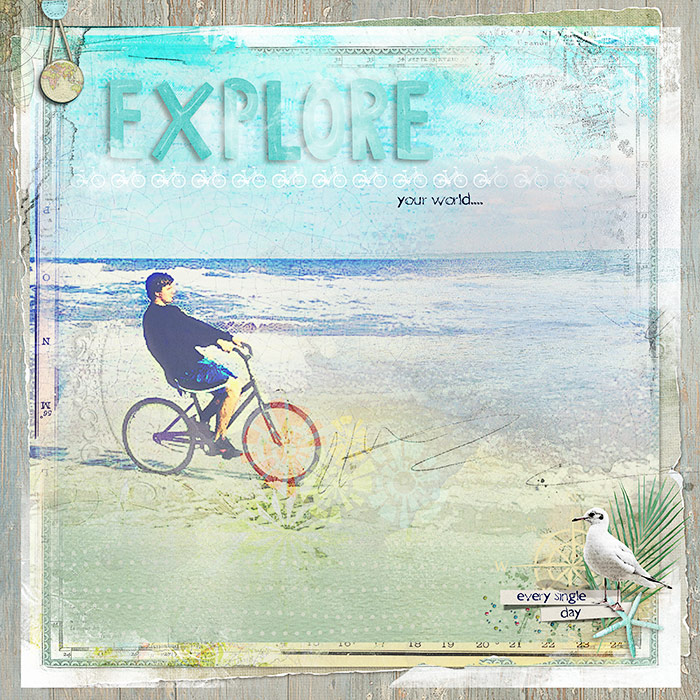
Explore Your World by Deborah Wagner| Supplies: Jana Morton – Cloudy Brushes, Millie’s Cottage; Erica Zwart – Beach Vacation, Ocean View; Anna Aspnes – Art Play Palette SeaFoam; Find My Way Overlays, Art Play Palette Find My Way; Mye De Leon – Forest Friends; Katie Pertiet – Buttoned Up Maps, Charted Brushes, Surf Lagoon, Going Away; One Little Bird – Vagabond; Kim Broedelet – Retrospect; Anita Designs – Travel Time; Joseph Francis – Crackle Texture
Deborah Wagner says, “This photo of my son was taken with a disposable camera, and it was very dark, small, and pixelated. I still loved it, and wanted to enlarge it. It was easy to lighten in Photoshop CC using Levels (Image >Adjustments >Levels), moving the right slider towards center. There wasn’t anything I could do about the poor quality, though. I tried several sharpening techniques, but nothing brought back the details of my son’s face. I decided to still use the photo because the message I wanted to send my somewhat reticent son was important. Here’s how I fixed it up with Photoshop filters.”
- On the 1st duplicate layer, I applied Poster Edges: Filter >Filter Gallery >Poster Edges. The Edge Thickness set to 2, Edge Intensity to 1 and Posterization to 1. This layer was set to Soft Light at 30% opacity.
- I applied Film Grain to the 2nd duplicate photo layer: Filter >Filter Gallery >Film Grain. The Grain set to 3, the Highlight Areas to 1, and the Intensity to 5. This layer was set to Multiply at 60% opacity.
- Although the filters did not bring my son’s expression into focus, it did give texture to the ocean and sand. For color and dimension, I blended several papers, overlays, and brushes over the photo layers.
[hr]
Photoshop Elements 12 Auto Smart Tone + Adjust Lighting
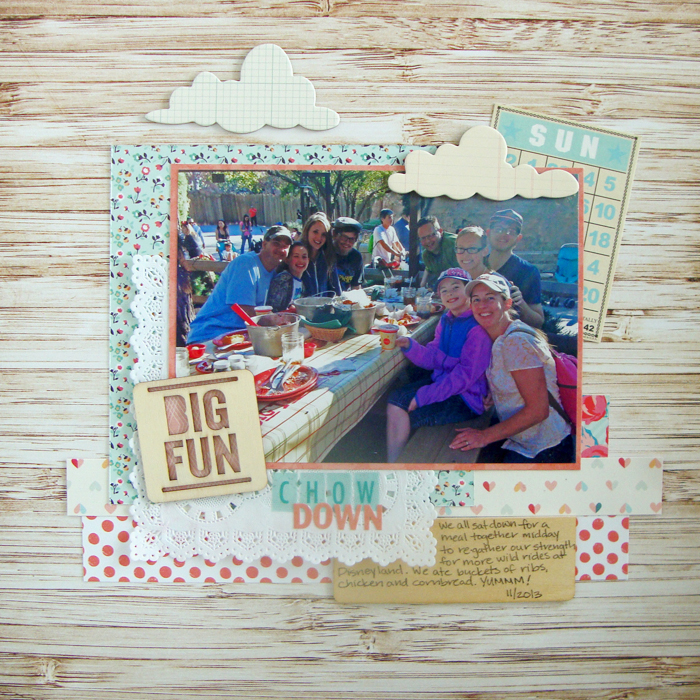
Chow Down by Michelle Houghton | supplies: patterned paper and bingo card; Jenni Bowlin, patterned paper; Pink Paislee, doily and blue sticker letters; Freckled Fawn, wood veneer card and orange sticker letters; Basic Grey, wood veneer lettering; Studio Calico, clouds; October Afternoon
Michelle Houghton says, “In the midst of a busy day at Disneyland I managed to get one shot of our whole group all together eating around the table. Unfortunately the photo is back-lit, which makes it difficult to see all the faces. I used Photoshop Elements 12 to get the lighting a little more balanced and make the faces more visible.”
- Step #1 Enhance>Auto Smart Tone> move the slider on the graph to find the best adjustment – This step brightened up the photo.
- Step #2 Enhance>Adjust Lighting>Shadows/Highlights>move the slider to lighten the shadows and the second slider to darken the highlights – This adjusted the shadows and highlights so the faces were more visible.
[hr]
FotoRus and Aviary apps
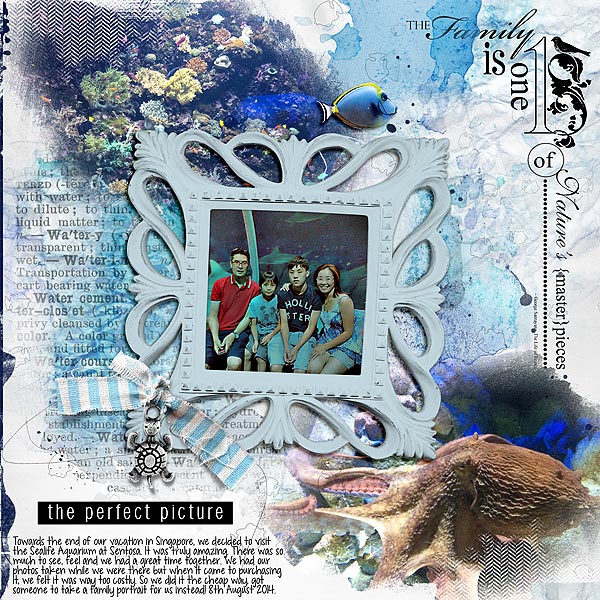
The Perfect Picture by Audrey Tan | Supplies: Anna Aspnes: ArtPlay Palette Splash, ArtPlay Palette H20, Abstract Foto Blendz No7, Abstract Foto Blendz No9, Family Quotes No1; Font: KG Drops Of Jupiter
Audrey Tan says, “While on vacation in Singapore, we visited the Sealife Aquarium. We had our photos taken at the beginning, and when we finished our visit, we were shown our photos but they were quite costly to purchase. I got a stranger to snap a family photo for us, but the picture ended up quite blue. I used a couple of apps to enhance the photo. I used the Fotorus filter “Old Time” to filter out some of the blue and “Enhance Portrait” to restore some colors to the figures in the photo. With the Aviary app, I applied a Sunburn effect. The end result was that we got colors restored to our faces and clothes.”
[hr]
Coffee Shop Actions
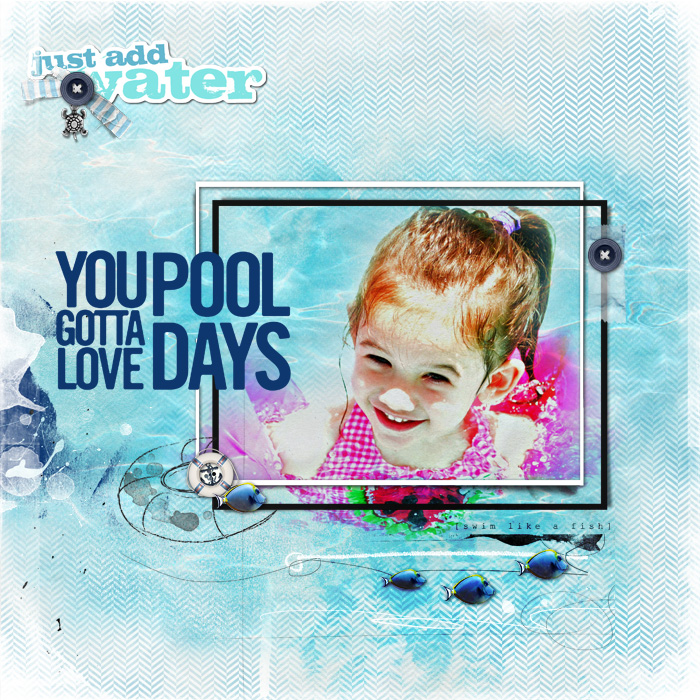
You Gotta Love Pool Days created by Terry Billman| Anna Aspnes: Art Play Palette H20, Art Play Palette Splash, Stained Skribble Summer, 12 X 12 Artist Edge 6; Katie Pertiet: Beachy Words, Gotta Love Brushes, Edge Overlays No. 4; Michelle Martin: Kesia; CoffeeShop Color Pop Action
Terry Billman says, “There are times when you think you have taken the perfect photo only to find the light was not right. This photo of my grand daughter was taken at the pool in full sunlight. I caught her adorable expression and laughter only to find the sun cast a bold reflection on the water causing the photo to be overexposed: the background was white! I used CoffeeShop’s Triple Shot Color Action to enhance the colors in the photo. After running the action on the photo, I duplicated the photo and applied the multiply mode to the duplicated photo. I blended the photo into the pool background I created with various papers and transfers from Anna’s Splash and H20 kits. You can download the free actions from CoffeeShop here.”
[hr]
Snapseed App
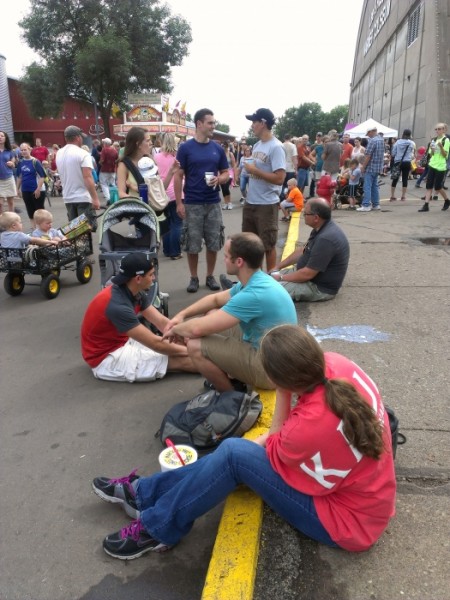
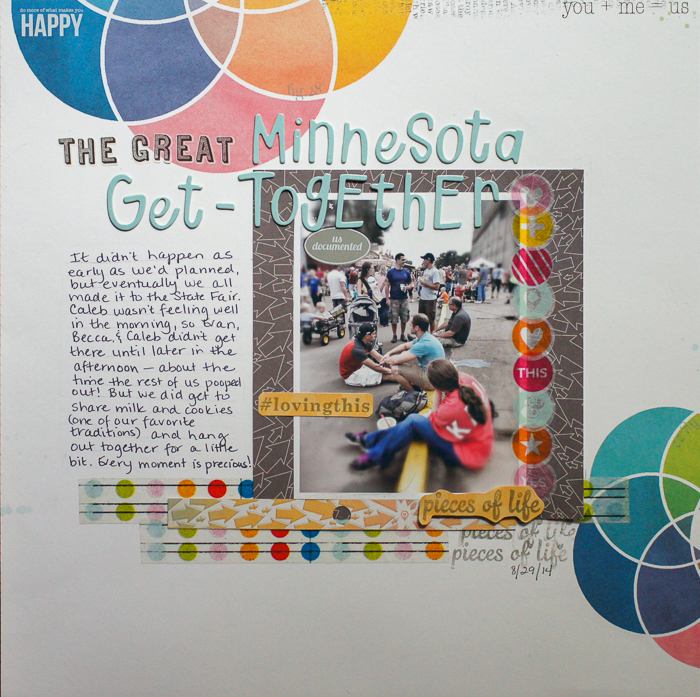
The Great Minnesota Get-Together by Marcia Fortunato | Supplies: Patterned Papers, Washi tape, Stamps, Rub-ons: Studio Calico; Letter stickers: Thickers (American Crafts), Studio Calico; Pens/Markers: Sharpie Pen, Marvy (Le Pen); Ink: Prima; Photo editor: Snapseed.
Marcia Fortunato says, “My family has made it a tradition to attend the Minnesota State Fair together at the end of the summer, and this layout documents a portion of that day this year. I took this photo with my Android smartphone. My family wasn’t looking at me, and the background is quite busy, but sometimes a poor photo is better than no photo.”
To improve the picture, I edited it with the Snapseed app (available for free in the Google Play Store). I used Center Focus>Blur and made the focus area large enough to include my whole family. I then increased the blur almost to the maximum (100) to blur the people in the background. I also used the Drama>Drama 1 filter to help my family stand out even more, and I set that quite high. Although the photo is still far from perfect, it now does a better job of drawing attention to my family, the important people in the picture.”
[hr]

