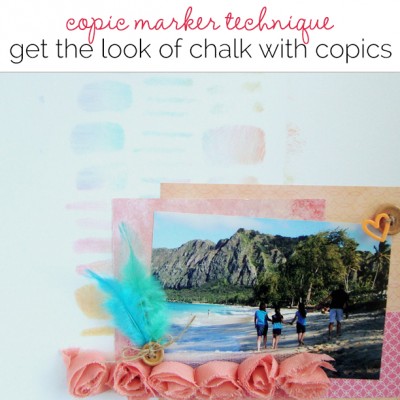
 Here’s a copic marker technique that yields a chalk-look effect.
Each month Michelle Houghton is examining an artistic technique or supply to add to your scrapbook layouts. She will show you the steps to get this product or technique onto your pages now. This month Michelle found a fun new technique with Copic markers to share.
Originally I was going to take August off from these media tutorials, but I discovered a technique using Copics that I had not seen before and decided I’d better share! The idea comes from Sandy Allnock and makes Copic ink look like chalk.
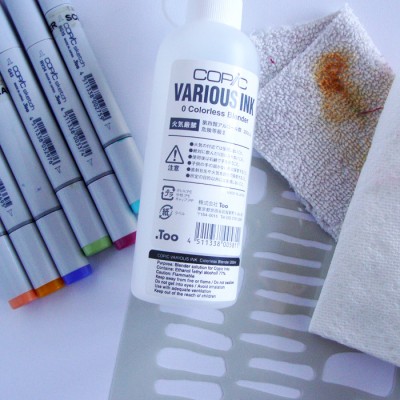
To play along you will need:
- white cardstock
- Copic markers
- Copic Colorless Blender Solution
- paper towel or an old wash rag
- a plastic or acetate stencil.
[hr]
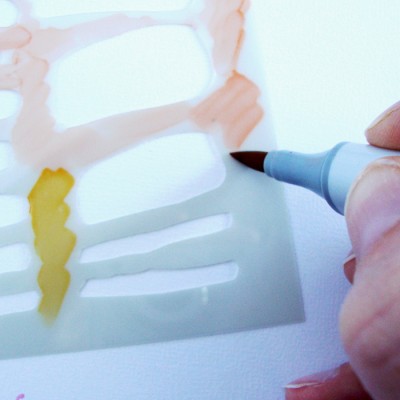
Step #1 – Use your Copic markers to color directly on your stencil. You can add one or multiple colors, keeping in mind there will be some blending of colors that are sitting next to each other in the next step.
Step #2 – Drip a small amount of Colorless Blender Solution onto your rag or paper towel. You just want the surface damp not soggy. I found my paper towel fell apart as I worked so I prefer the rag but either is going to work.
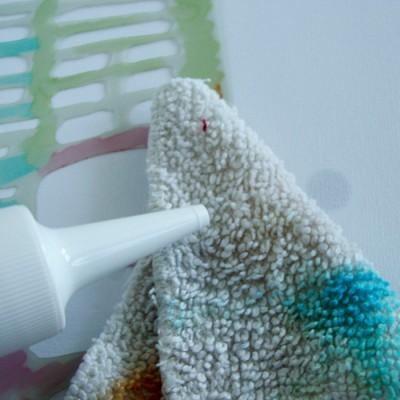
Step #3 – Lay the stencil over your cardstock. If you want to keep all the outer edges clean you might need to use some scratch paper to block of the area around your stencil. Working from the stencil over onto the paper, push the ink into the holes of the stencil. Use short brush like motions.
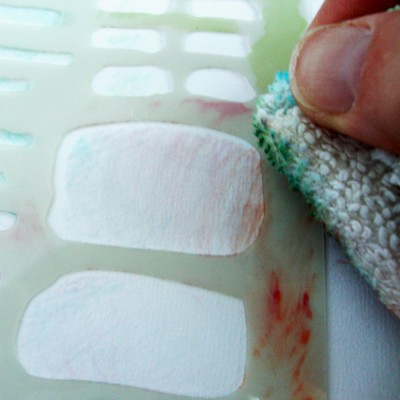
Step #4 – Go over the entire stencil, add more ink if areas are lacking.
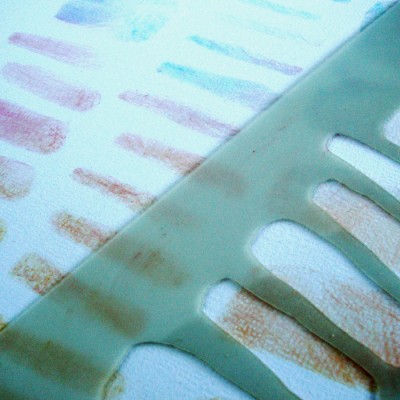
It is just that easy!
Now you can add your Copic chalking as a background on a layout, cut it apart like patterned paper or use it on another artistic endeavor.
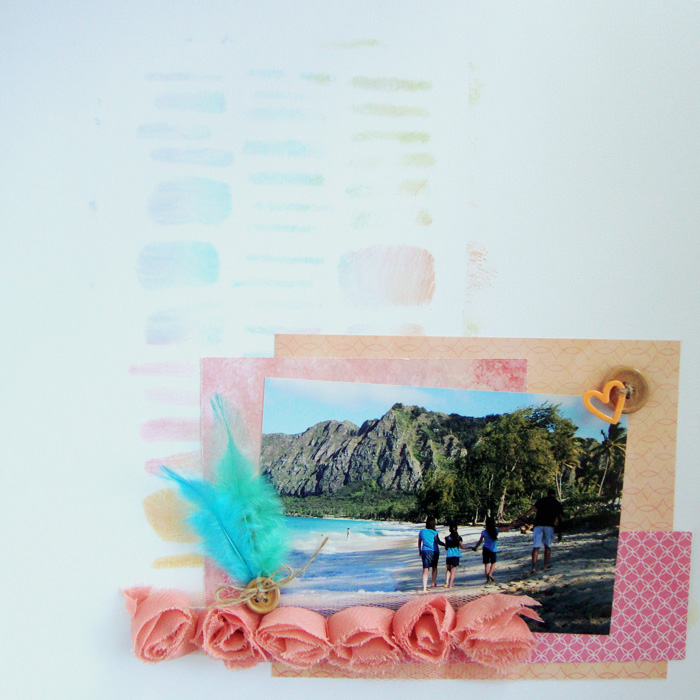
Layout by Michelle Houghton | Supplies: cardstock; Colorbok, feathers, flower trim and patterned paper; SEI, ink; Copic, acrylic heart; Freckled Fawn, button and twine; American Crafts
[mhoughton]

