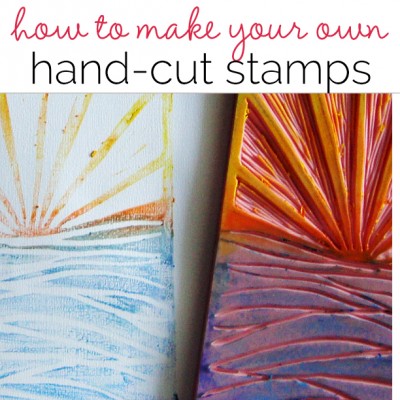
 Each month Michelle Houghton takes a look at an artistic technique or supply you could add to your scrapbook layouts. She shows you the steps to get this product or technique onto your pages now.
This month we look at making your own stamps. There are a variety of ways to make stamps, and here we look at cutting stamps and quick and easy stampmaking from supplies you have around the house.
Linocut Stamps
Linocut stamps are traditionally made out of linoleum, which is stiff and hard and difficult to cut, but exceptional at holding detail. Often you heat the linoleum as you cut it, re-heating as it cools to soften the material and make it easier to work with. There is a newer product out there that cuts like linoleum with the ease of a softer rubber. Whether you are cutting into linoleum or this softer rubber surface the steps would be the same with the exception of heating the linoleum.
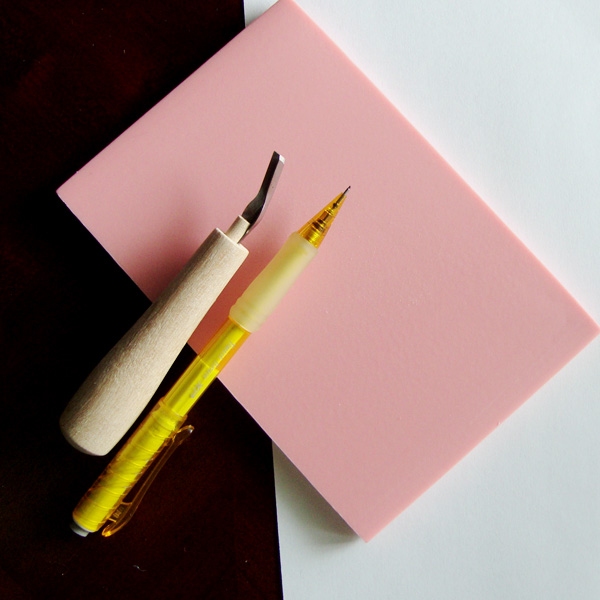
To start, you will need your stamping material, paper, pencil and a cutting blade made for linocuts. I used the Speedball Speedy Carve kit from Michaels.
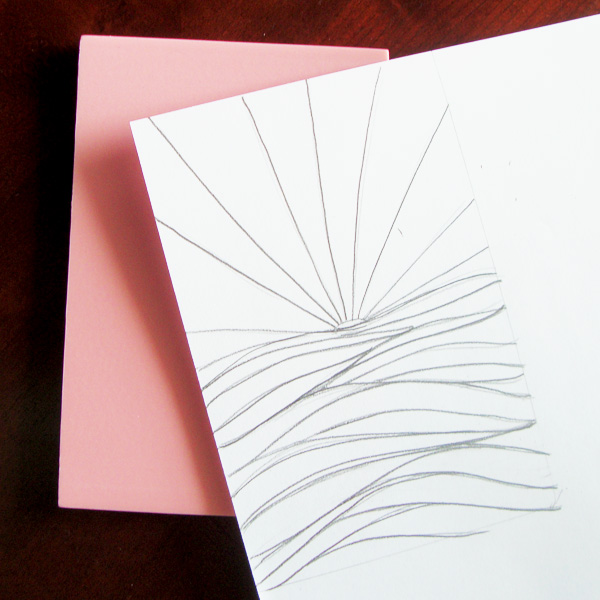
Step #1 – Trace your stamp size onto a piece of paper, and then use a lead pencil to draw what you would like your stamp to look like within that template.
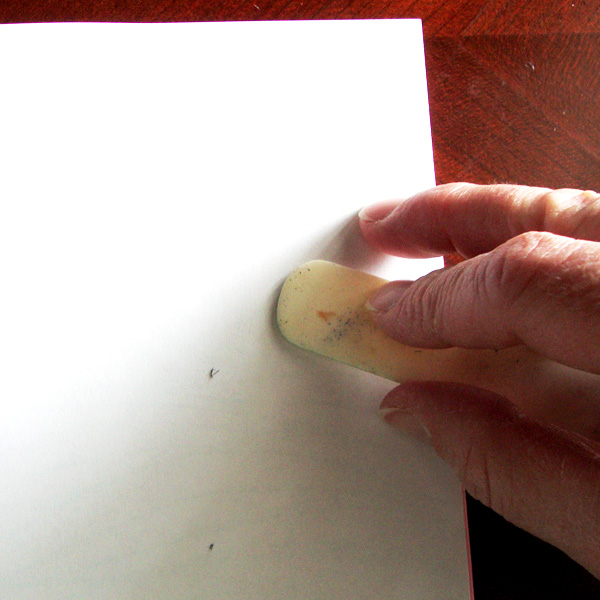
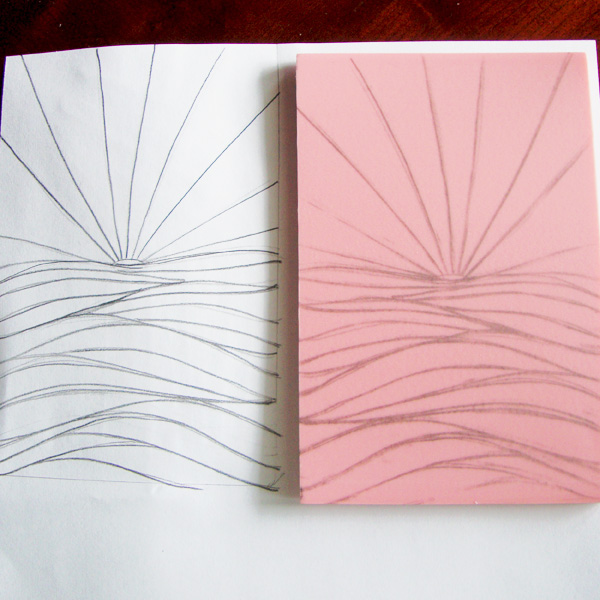
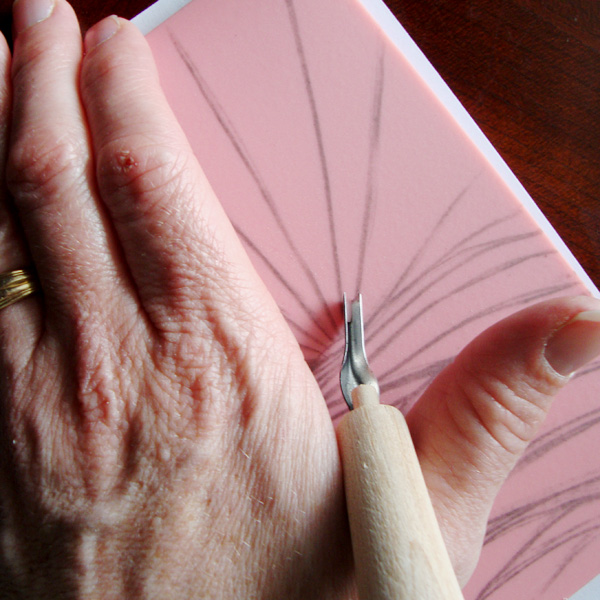
Step #2 – Lay the paper face down on top of your stamp and rub firmly with a bone folder or back of a spoon all over the back of your design. This will transfer the image onto the stamp surface. Your design will be in mirror image, when we stamp it will flip back again.
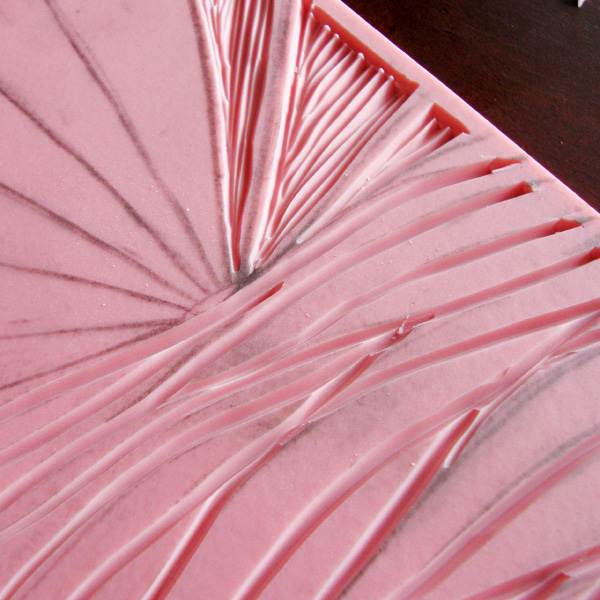
Step #3 – Now begin cutting out around your lines. Make sure to ALWAYS cut away from your hand. Experiment with pressure starting lightly, you do not want to cut all the way through your stamp. There will be interior lines showing that is part of the linocut look so consider the direction you are cutting as well.
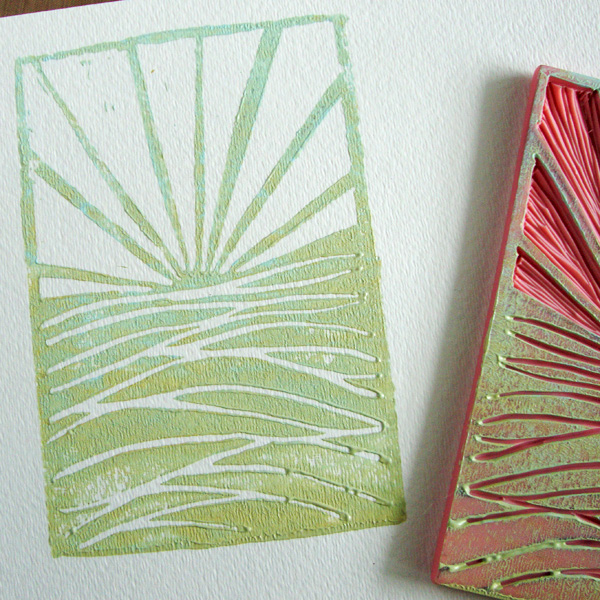
Step #4 – Complete all the cutting on your stamp, roll ink or paint on it and stamp! You can see how the larger areas carved away have small lines still showing in the cut away sections.
Eraser Stamps
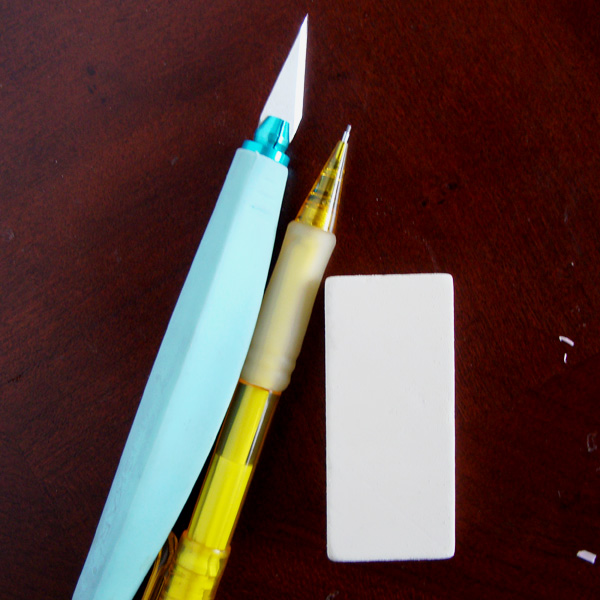
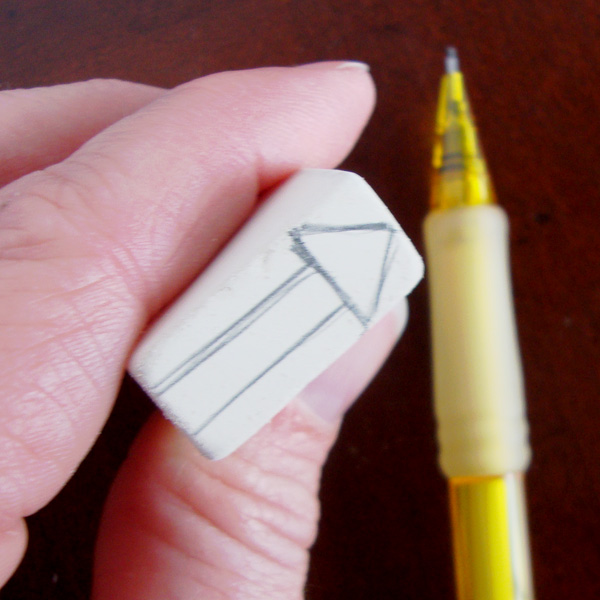
You can cut small stamps out of white plastic erasers. They are fun quick and easy. You need a white plastic eraser, craft knife and pencil.
Step #1 – Draw your desired image directly onto your stamp. Remember that it will stamp in mirror image, this will particularly make a difference if you are trying to do lettering.
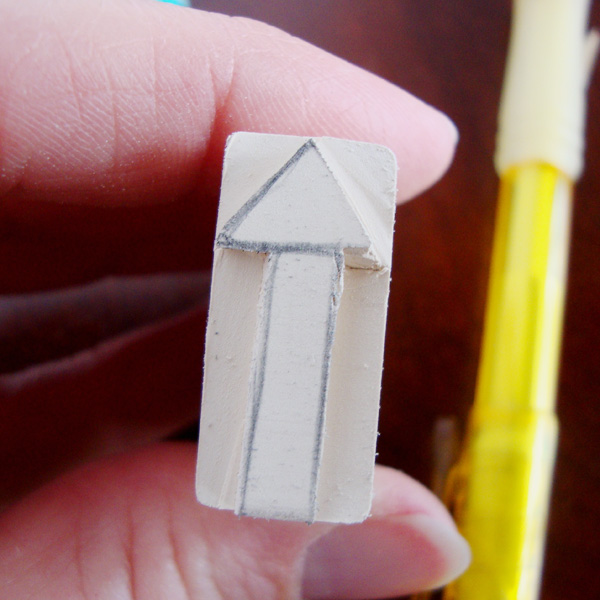
Step #2 – Use a craft knife to cut away the area around your drawn image. You can cut interior lines with a craft knife as well. Cut from both sides at an angle creating a V cut into the eraser that can be pulled out.
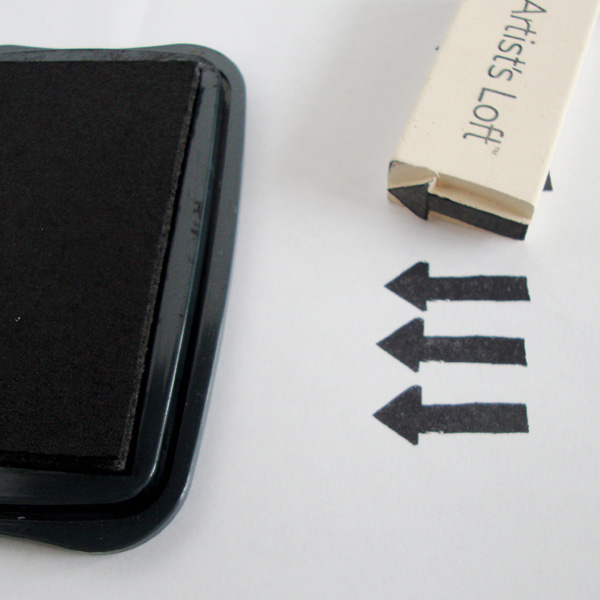
Step #3 – Ink your stamp and stamp away! One of the fun things about eraser stamps is that you can cut designs into multiple sides if desired.
Found Object Stamps
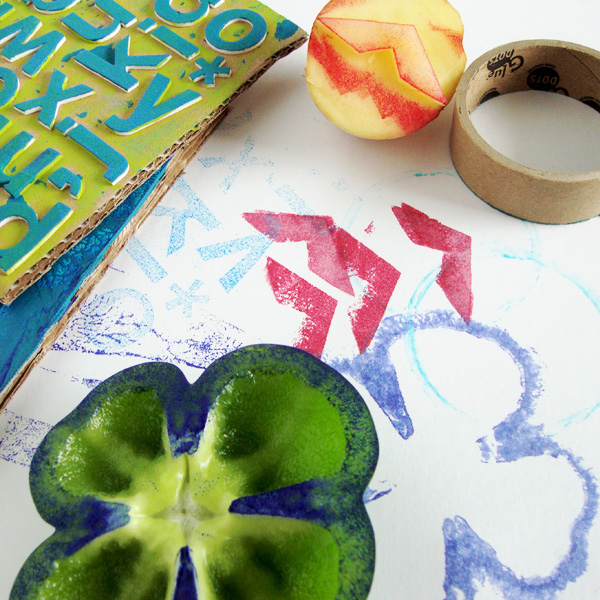
There are a lot of things around the house that make fun and easy stamps. Try cardboard, foam letters and shapes, cardboard rings, and my absolute favorite: bubble wrap! There are even a few things in the kitchen that do beautiful things. Have you ever seen a bell pepper stamp, or who can forget potato stamps?
Hand-cut and Found Stamps on the Scrapbook Page
Christy Strickler from the Get It Scrapped Creative Team uses handmade stamps on her layouts frequently. Here are two recent examples of how she used them;
On this layout Christy carved a stamp with a geometric pattern on it that she stamped and then cut circles out of that she used on her layout.
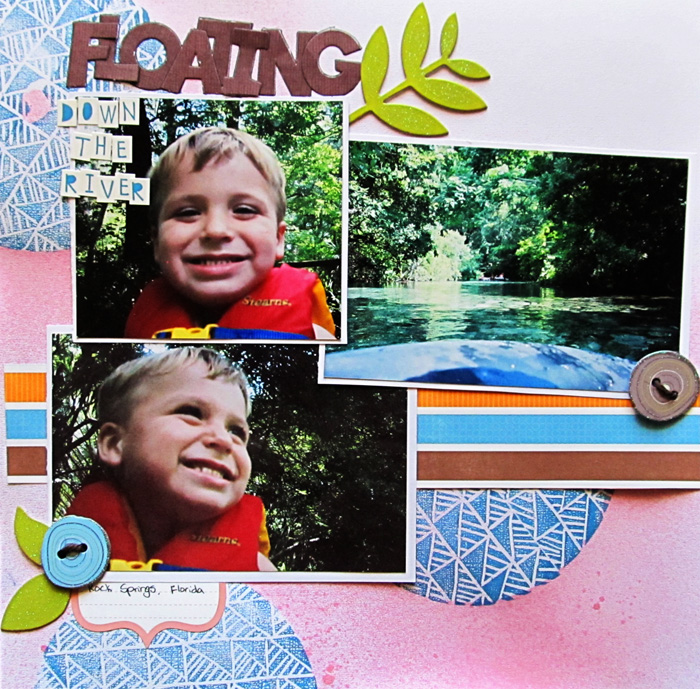
Floating by Christy Strickle |Supplies Cardstock,Letters: Colorbok; Chipboard: Little Yellow Bicycle; Other; Mist, stamp, ink
For this layout Christy hand cut a feather stamp. She then stamped and embossed the image onto her base layer to create a diagonal flow to her page.
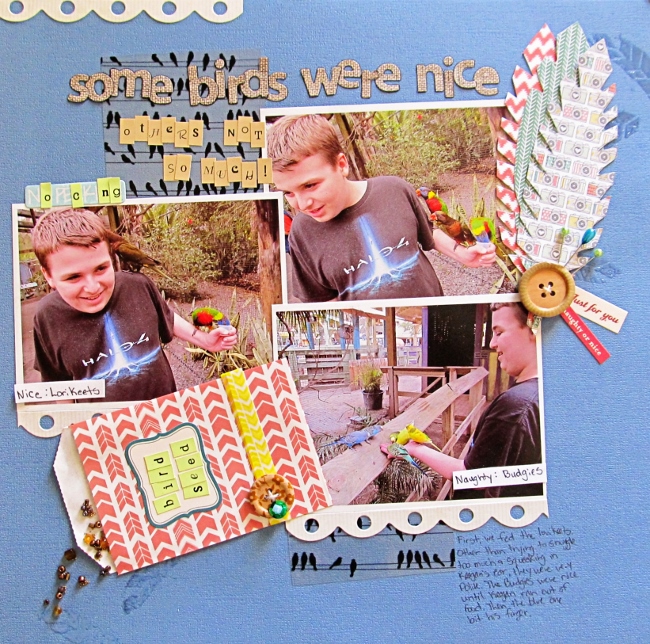
Some Birds Were Nice, Others Not so Much! By Christy Strickler |Supplies Cardstock: Colorbok; Patterned Paper, Tape,Transparency, Bag: Webster’s Pages; Letters: Sassafrass, My Little Shoebox; Buttons: Basic Grey; Stickers: Crate Paper, October Afternoon; Microbeads: American Crafts; Stick Pin: My Mind’s Eye; Embossing Powder: Ranger/UTEE; Stamp: handcarved; Stencil: JBS Mercantile; Other: glass beads, quilt pins
And here is my completed layout using the arrow stamp I cut out of the eraser. It is very subtle in a light brown but I love the effect and I know I will use the stamp again.
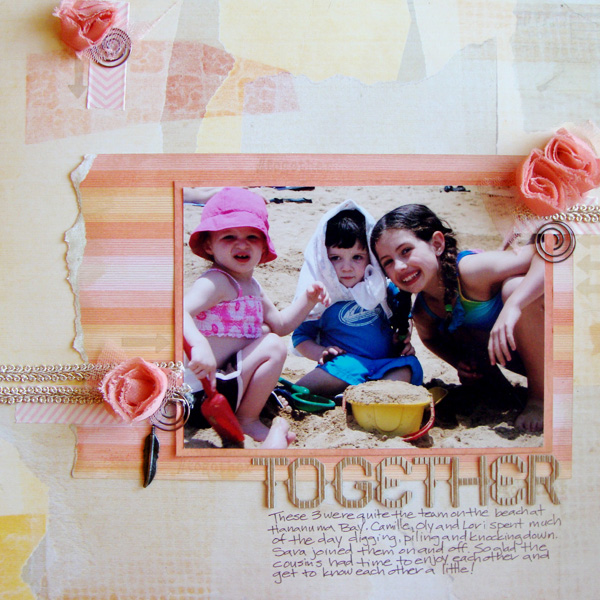
Together by Michelle Houghton | Supplies: patterned paper, trims, metal elements, flowers; SEI, wash tape; Bella Blvd., ink; Ranger and Zig
[mhoughton]

