 Each month Michelle Houghton is taking a look at a medium and one or more ways to add it to your layouts. Other artists from the Creative Team at Get It Scrapped will add inspiration to fuel your imagination and get you scrapping.
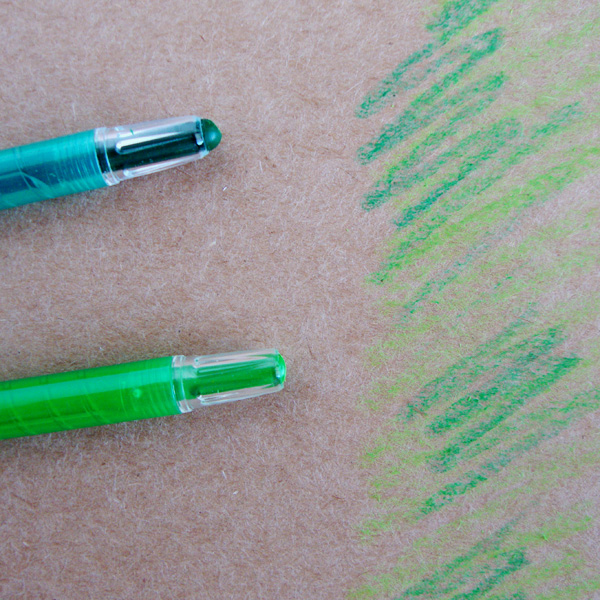
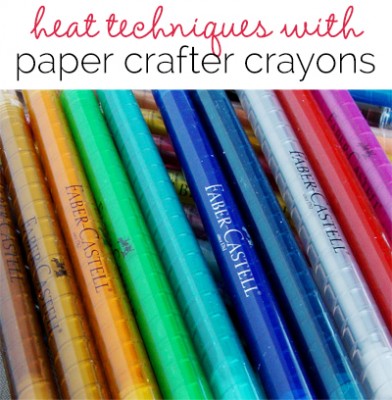
This month we are taking a look at a newer product from Faber Castell: paper crafter crayons. These crafty crayons came out last year and have quietly showing up in the crafting community. They are a highly pigmented crayon in a plastic tube that twists up. They can be applied to most crafting surfaces including paper, chipboard, wood and even glass and ceramics. One of the benefits of having them in the twist up tube is that they can be sharpened in a standard pencil sharpener to a fine point.
What I like most about this new medium is the bright saturated color and their ability to melt. The techniques I have found and tried all involve heat, and melting the colors. I know there is more I can try, but here are a few ideas of how to get paper crafter crayons onto your pages. Next month I will explore resist techniques using the paper crafter crayons.
Coloring with crafter crayons
Paper crafter crayons can be colored directly onto your pages for bright intense colors.
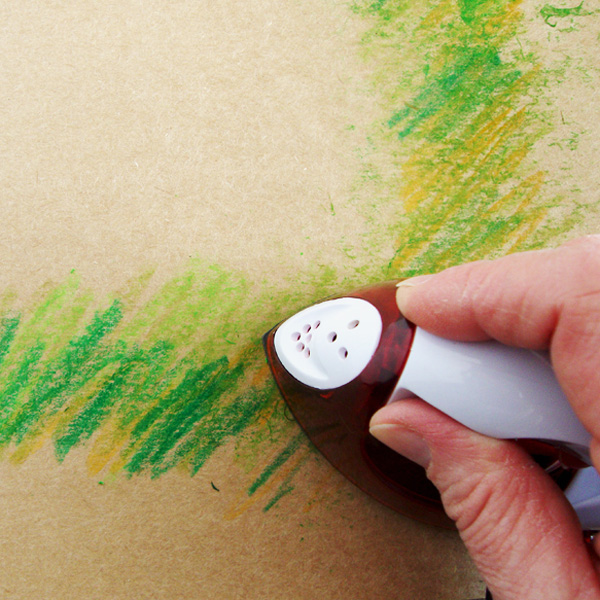
Coloring then melting crafter crayons
Step 1 – Start by coloring one or multiple colors thickly on your page.
Step 2 – Then run an iron over them. I would recommend using a small crafting or seam iron for this. It is going to get messy so it is a good idea if you keep it inexpensive and dedicate this iron as a crafting iron.
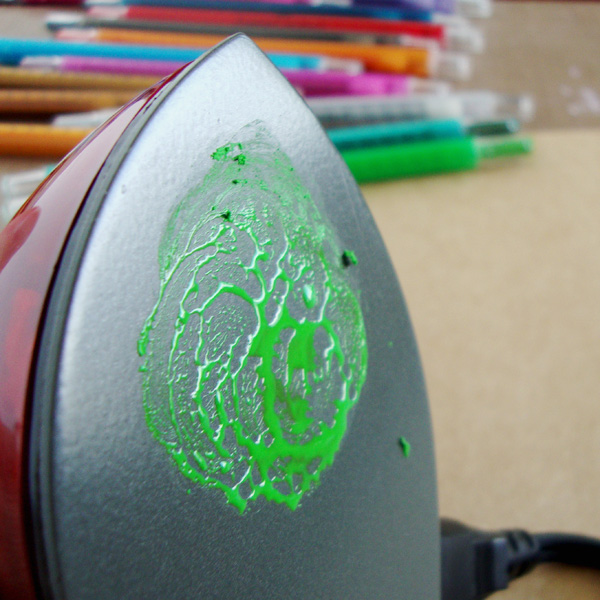
Applying crafter crayons straight to the iron
Step 1 – Color straight onto an iron.
Step 2 – Transfer the color directly onto your page. You can do a single color at a time or add multiple colors right onto the iron.
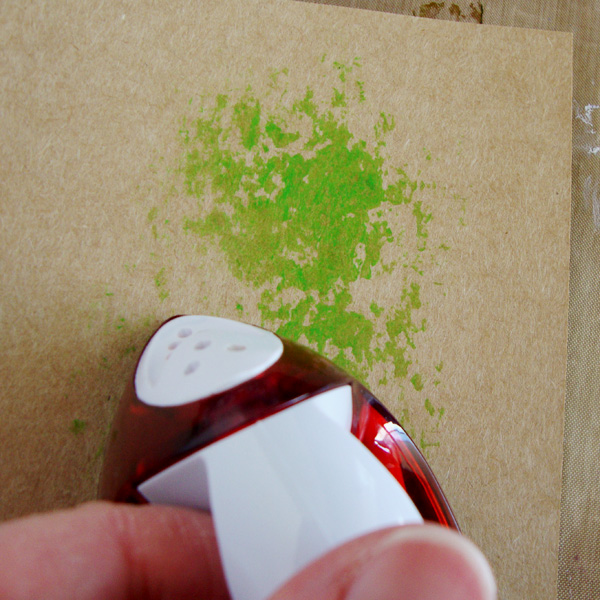
Shaving and melting crafter crayons
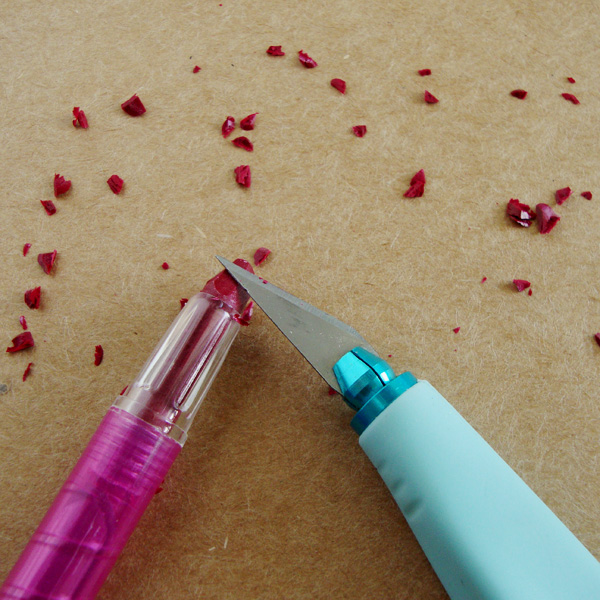
Step 1 – Using a craft knife shave off small pieces of paper crafter crayons onto the area you want to add color.
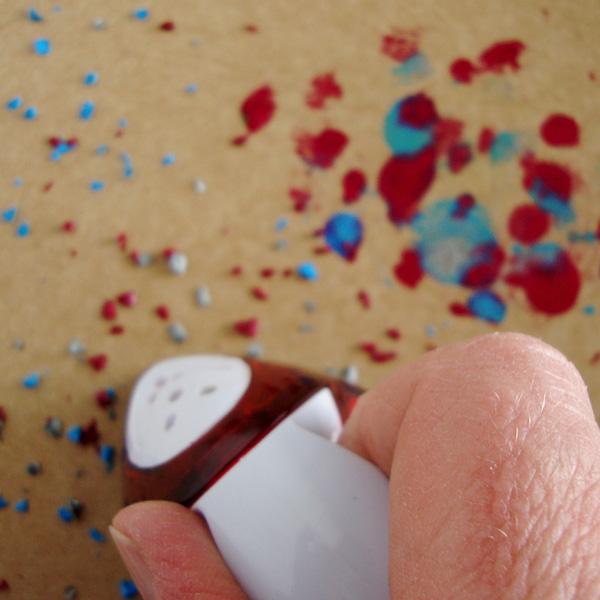
Step 2 – Moving slowly press the iron directly on top of the shavings. Try lifting straight up to keep the melting more dot like or add a twisting motion to smear the colors together.
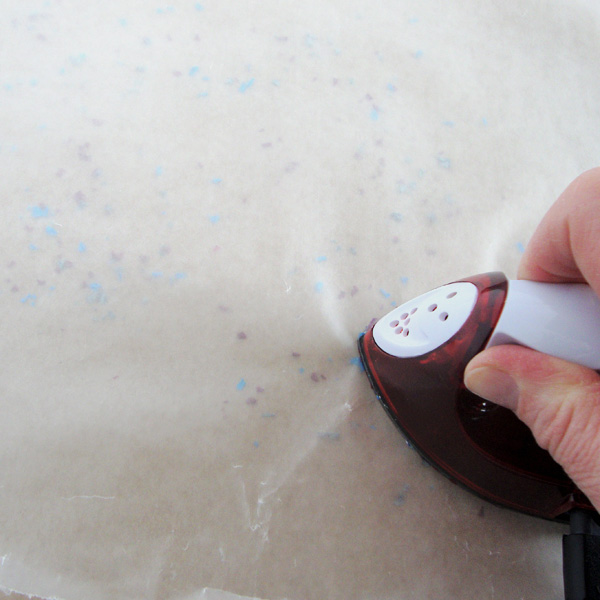
Step 2 – Lay wax paper directly on top of your shavings and then iron over the top of the wax paper.
The melting happens in a splatter like pattern, but you get some residual from the wax paper on your page.
Melt crafter crayons with a heat gun
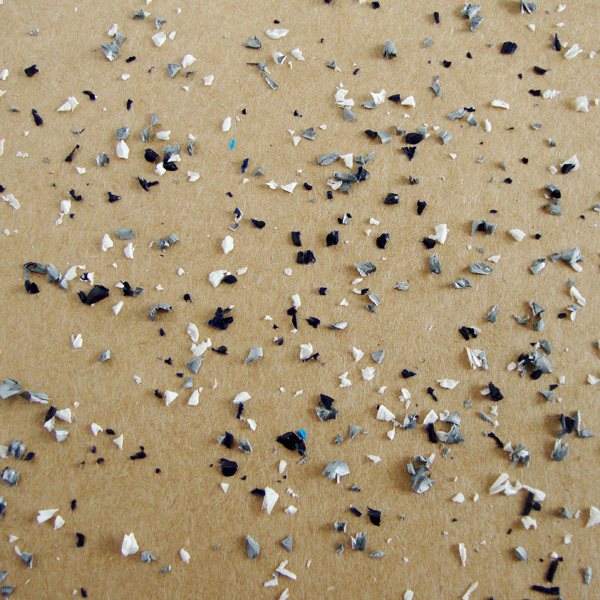
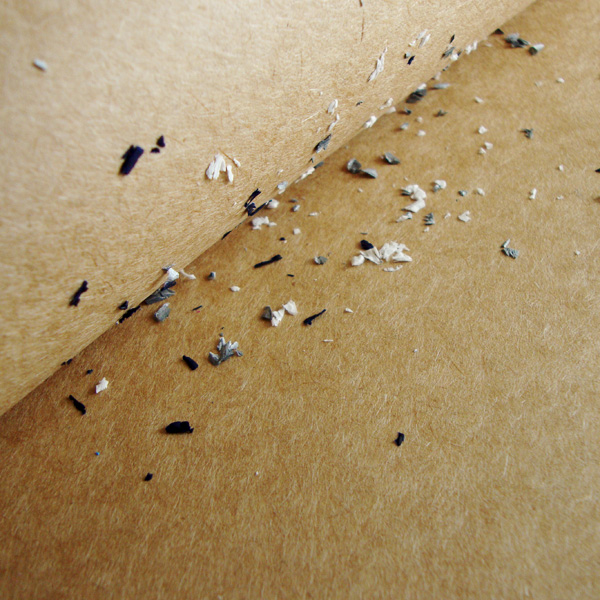
Step 1 – Sandwich shavings in-between two sheets of cardstock.
Step 2 – Use an iron to iron over the top page, this is only going to start the melting process and help the shavings stick to the page. Some will stick to both the top and bottom page so more shavings is better in this particular technique.
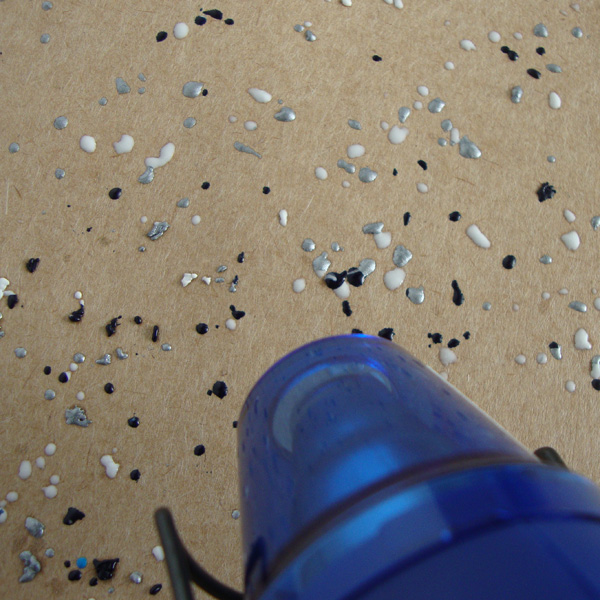
Step 3 – Separate the papers and use a heat gun to melt the shavings onto the paper the rest of the way.
NOTE: I tried this technique without the first steps of sandwiching and heating the shavings, can you guess what happened? A mess of crayon shavings everywhere from the heat gun blowing them.
I love how the shavings turn into little drops of color and are slightly raised leaving a wonderful texture on your paper!
Crafter Crayons + Your Scrapbook Pages
The best part of a new technique is getting it onto your artwork. Here are a couple examples from the Get It Scrapped Creative Team.
Christy Strickler created her colorful photo mat by coloring a patchwork stamp with Papercrafter Crayons and then going over the surface with a light pink distress ink pad.
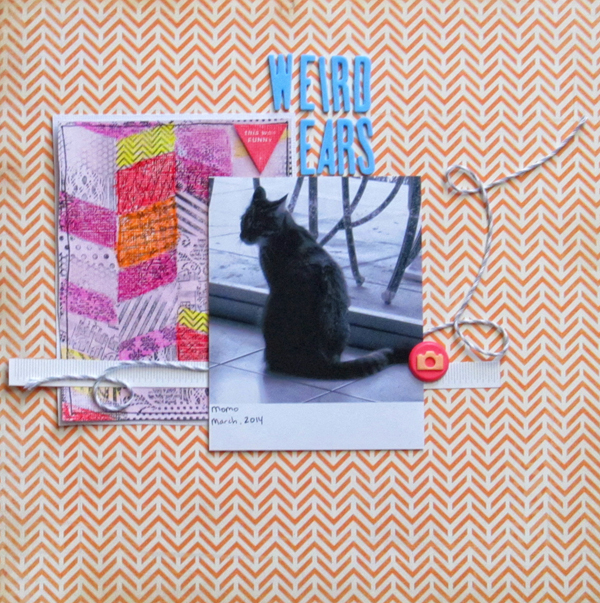
Weird Ears by Christy Strickler |Supplies Patterned Paper,Acrylic: Studio Calico; Letters: American Crafts; Stamps: Basic Grey, Freckled Fawn; Ink: Tsukineko,Ranger; Twine: October Afternoon; Color Medium:Faber Castell Paper Crafter Crayons
I used the shaving and melting technique above to create this layout. I decided to even include the wax paper in a unique layer.
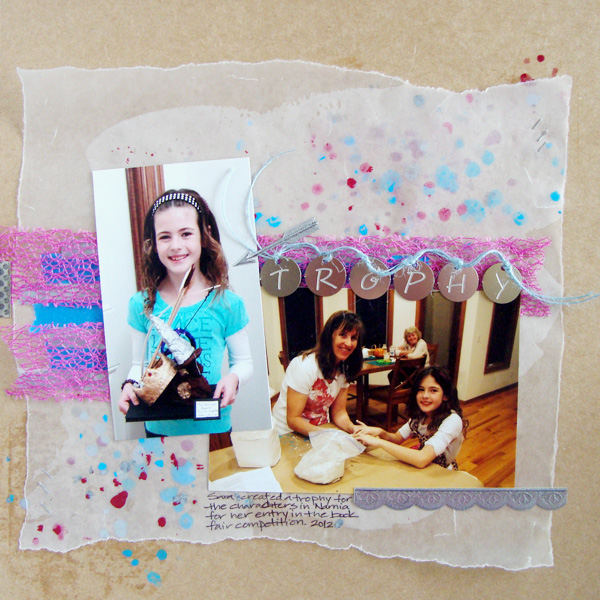
Trophy by Michelle Houghton | Supplies: cardstock; Kraft, metallic stickers and mini attachers; Ranger, twine; American Crafts, Washi tape; Darice and Little B, Papercrafter Crayons; Faber Castell, metal letters; Paperbilities, mesh and metal clip; unknown
[mixedmedia]

