Printed transparencies offer the opportunity to layer image on image — to see through one pattern or image to another. Our team has scrapbooking ideas for using premade transparencies and for making your own (both digital and paper).
[hr]
hide personal journaling with flip-up printed transparencies
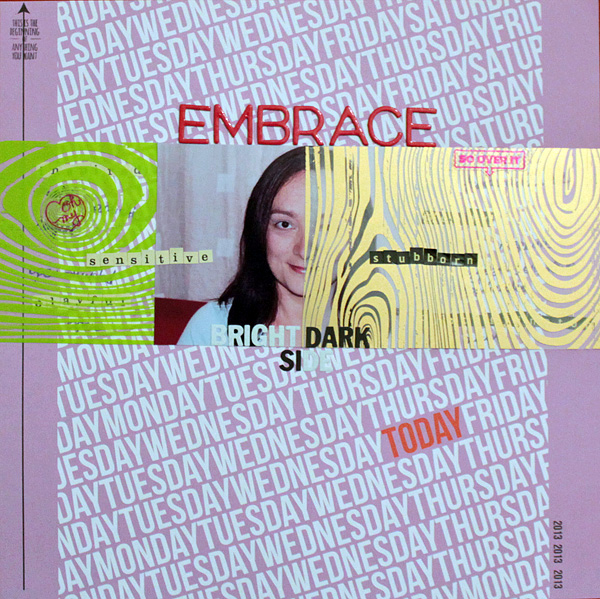
Embrace by Kiki Kougioumtzi | Supplies: Pattern paper, stamps: Studio Calico; Transparencies: Hambly; Alphas: Basic Grey, Cosmo Cricket, American CRafts; Ink: Tsukineko StazOn.
Kiki Kougioumitzi says, “On this layout I’m admitting some of my virtues and some of my defects. Because the subject is so personal I wanted to keep the journaling private but not completely hidden. The viewer will know at first sight there is more to read there. And that’s why I used transparencies.”
“I used pre-printed transparencies for my main blocks and also made my own transparent embellishments. I used patterns that leave little open space. For my handmade embellishments, I repurposed plastic packaging. I stamped on the plastic using solvent based ink. Stamping on plastic needs a steady hand because the surface is slippery and you can accidentally smudge the image. To adhere my transparencies I used thin double sided tape and tried to place it under the printed pattern so that it doesn’t show through.about the page.”
make custom shadows for digital transparency layers
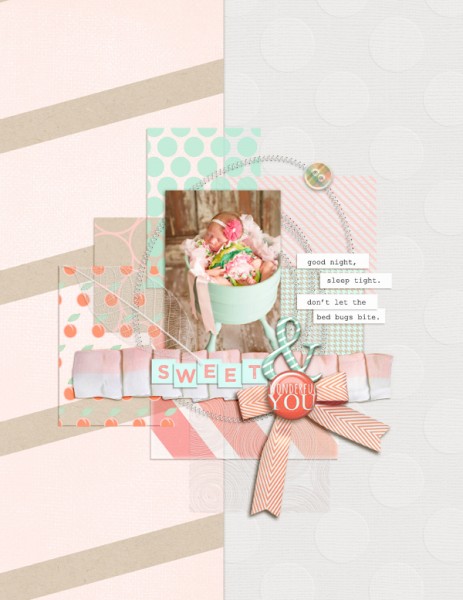
Sweet & Wonderful You by Amy Kingsford | Supplies: Karla Dudley: Peachy Keen Chevrons, Peachy Keen Element Bundle, Dad’s Day Cardstock, The Good Stuff; Creashens: Hei Hei Elements, Dotted Vellum, Button It, James Alpha.
Amy Kingsford says, “This is a photo of my newborn cousin. I love using transparent products as a way to keep a page light and airy while still being able use a good mix of patterns and embellishments.”
“I combined several 3 x 4″ digital transparencies by Karla Dudley with patterned journal cards to create a layered foundation. I like to make custom digital shadows for my transparencies by placing my shadow on its own layer and removing the part of the shadow that lies under the transparency. This leaves the outlying shadow intact, but keeps patterns bright and allows the layers beneath to shine through.”
make a layered foundation with printed transparencies
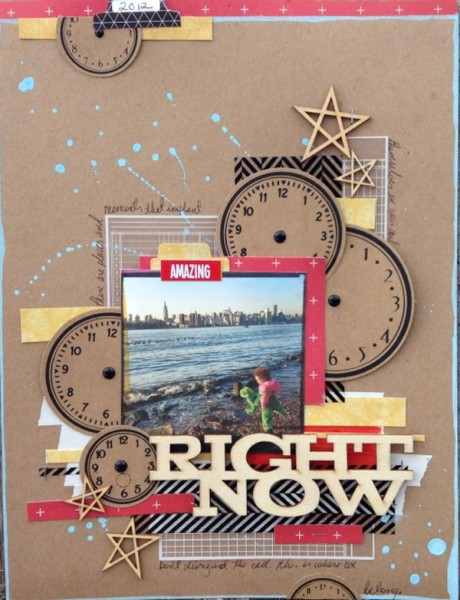
Right Now by Michelle Hernandez | Supplies from Maya Road, Hambly Studios, Studio Calico, Montana Paint.
Michelle Hernandez says, “I love layering with transparency material. For this project I used Maya Road ledger and Hambly Studios herringbone transparencies. I added pops of color with paper strips and brought in visual contrast with Maya Road clocks–not all contrast has to be in values of light and dark. As a last touch, I added acrylic paint drips and a painted border made with a thin Montana paint marker.”
make your own digital printed transparencies
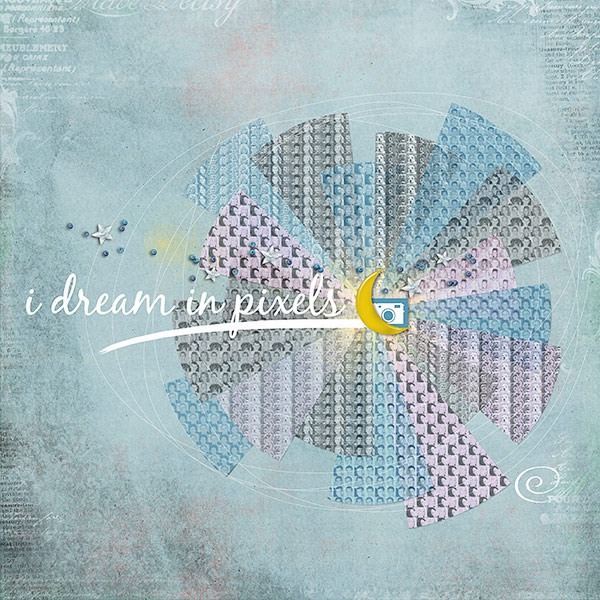
I Dream In Pixels by Deborah Wagner|Supplies: Jana Morton – Pumpkin Pals, Angels Wings Solids; Katie Pertiet – Really Awesome Layered Template, Astro Kit, Lens Flares No.2, Letter Box Overlays No.4, Cut Ups Photography; Lynn Grieveson – Beckie Worn Solids
Deborah Wagner says, “I Dream in Pixels: this is exactly how my head feels some nights!”
“I created several patterns in Photoshop using photos of my family. I clipped each set of patterns to a piece of a pie chart. To imitate the confusion of some of my “pixel dreams,” I lowered the transparency of each piece so you could see through to the layer beneath.When making/using transparencies, shadow work can be difficult. Because of the lowered opacity, the transparencies can look muddy. To avoid this, my shadows are on their own layer, and I move them out from under the transparencies using the arrow keys and smudge tool. Then I delete the shadows under the transparencies, leaving only the outside edges of the shadows. Be certain to lower the opacity of your transparency shadows as they leave a lighter shadow than regular paper.
use printed transparency circles as embellishment cluster foundations
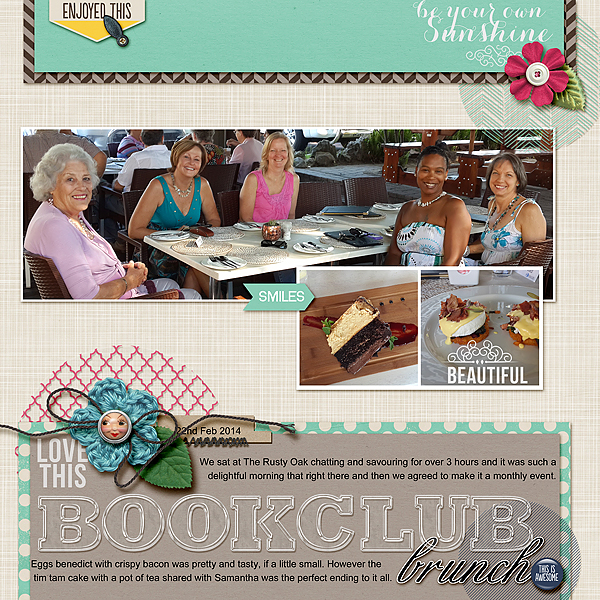
Bookclub Brunch by Stefanie Semple. Supplies: Scrappy creations by Melanie : Stackers (template); Mye De Leon : Bits of life (kit); Pink Reptile Designs: Chatterbox elements; Kim Jensen: Me right now (acrylic alphas); Erica Zane: Tab, you’re it (date tab & stitches)
Stefanie Semple says, “I spent a delightful morning out with my bookclub ladies, and this layout is the result. I used three transparency circles, each printed with a pattern. Some I layered underneath and others over the paper layers. This adds dimension and interest. I love that the layers below are still visible.”
layer printed transparencies over one another
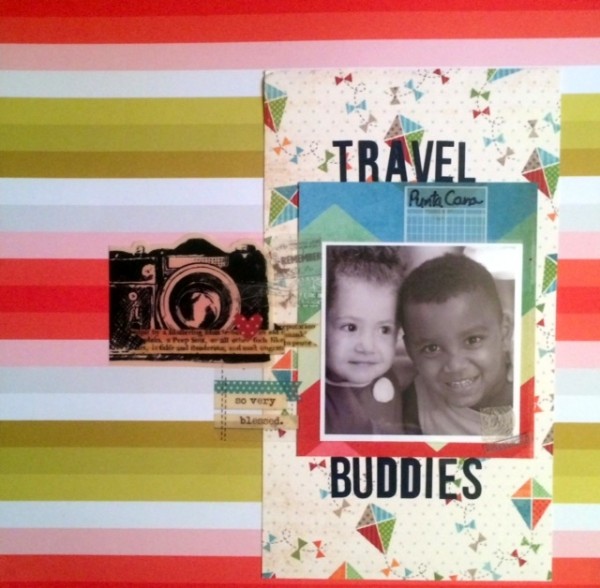
Travel Buddies by Rosann Santos-Elliott | Supplies: Studio Calico Twirl; Simple Stories Urban Traveler Alpha, Documented Transparency, FabUlous Transparency, Sn@P Transparency.
Rosann Santos-Elliott says, “My family often travels with another family. Both kids are only children and have become good friends. This was a trip to the Dominican Republic about 3 years ago. It never ceases to amaze me how quickly children grow. This photo is a distant memory of what they look like today even though it’s only been 3 years.”
“I embellished with transparencies from Simple Stories. All of their lines come with 4×6″ transparencies that go over a photo. In this layout I used layering the way I would in any other layout. The camera is layered over the blessed transparency. On top of that are the postmarks that I cut from a 4×6 transparency and placed strategically over the photos to give it a postcard look.”
make a digital transparency from patterned paper
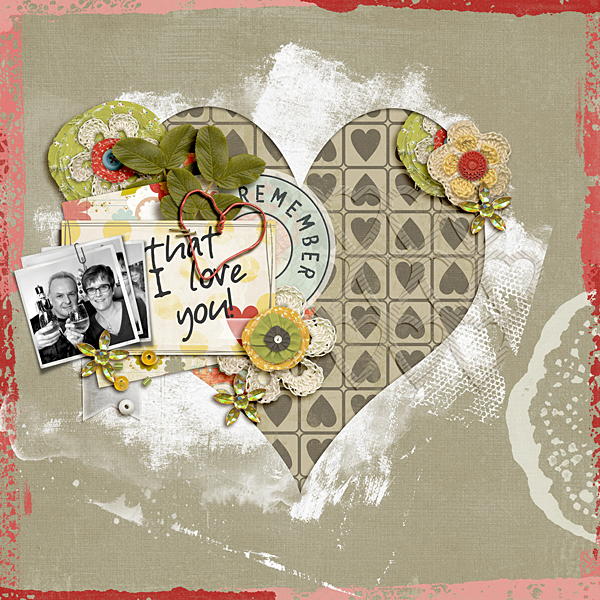
Remember That I Love You by Ronnie Crowley | Supplies: ForeverJoy – OSNAP; Etc.by Danyale Designs – Simple Things; Gennifer Bursett – Love Actually; Daily Digi – Grazzi; Tangie – Quickity Splits Workshop; Katie Pertiet – Clipped Stacks; Little Green Frog Designs – Love Letters.
Ronnie Crowley says, “This page is a reminder of our love – we’ve been together since we were 16!”
“I used two pre-made vellum items (the circular remember accent and the vellum tab). The template I used for this page had a cut-out of hearts: I clipped a patterned paper to this and then lowered the opacity of the layer to make it look like vellum. You can see the soft pattern and what it beneath the layer. The addition of a soft shadow (distance 10, size 5 – opacity 30) finished it off. This created a replication of the heart cut out in the center of the page and some additional texture.”
“do it yourself” with office transparencies and stamping ink
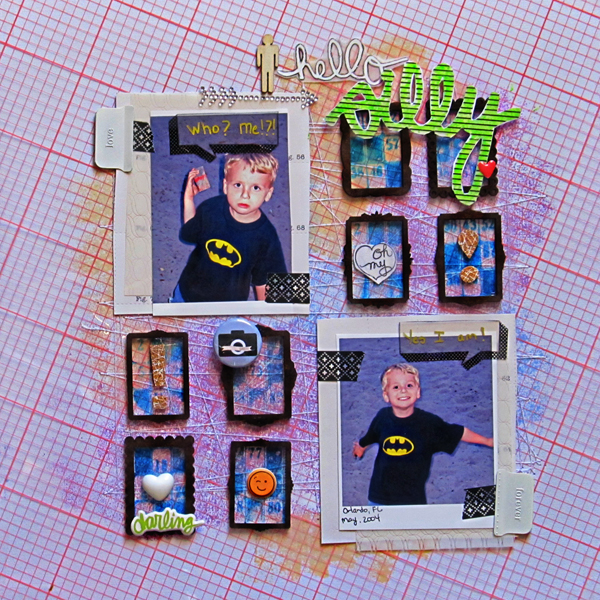
Hello Silly by Christy Strickler |Supplies Cardstock: Colorbok; Transparencies: Studio Calico, Webster’s Pages; Run- ons, Wood Veneer, Cork: Studio Calico; Ink: Hero Arts, Ranger, Tsukinejo; Stamps: Jenni Bowlin, Basic Grey, Studio Calico; Frames: Coffee Break Designs; Stickers, Tape: Freckled Fawn; Jewels: Prima: Metal Clips: Making Memories; Acrylic: PinkFresh Studios; Badge: BlueBird Chic
Christy Strickler says, “These are some random photos I took of my son at a playground.”
“I started the layout using a 12×12” transparency as mg canvas. I used a sponge to blot three different shades of reinkers in a haphazard manner on the back side. When I added the transparency to the white cardstock, the ink spread out and formed a cloudy block underneath. I used my sewing machine to stitch lines back and forth over the ink blot. I created small packets for each photo with a metal clip, patterned paper and a white transparency. I stamped a bingo style background stamp and speech bubbles onto an office transparency using solvent ink. I cut apart the transparency with the background stamp and used it to line the inside of the frames. The word “silly” in the title is a transparency as well. I blotted the back with ink to add a little color.”
“While I love using pre-made transparencies, I also love to create my own using office transparencies. Use solvent or permanent inks with your stamps to create crisp images that dry quickly. When you stamp on a transparency, you can flip the image over to use the back side. I did this with the speech bubble and used a permanent marker to write my journaling.”

