 Each month Michelle Houghton looks at a medium and one or more ways to add it to your layouts, while other artists from the Creative Team at Get It Scrapped will add inspiration to fuel your imagination and get you scrapping.
There are many ways to add stamped images to your work. Using paint instead of ink is a fun way to add variety and a completely new look to your stamping. As with any technique there are many ways to achieve the results you are looking for. Get ready to explore a few options.
Paints and delivery systems for crafters working with paint come in several forms. Acrylic is easily available, cleans up quick and can be purchased by the tube, jar, bottle or even dabber. Here are a few options of using acrylics with your stamps.
Use acrylic dabbers with stamps
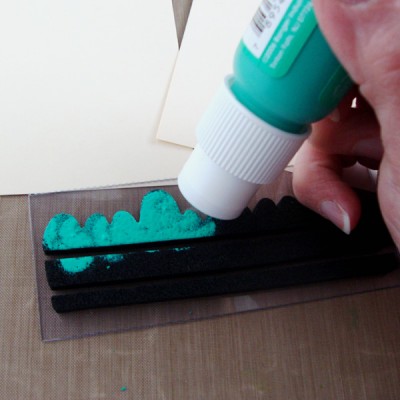
Step #1 – Use an acrylic dabber to generously coat the stamp with paint.
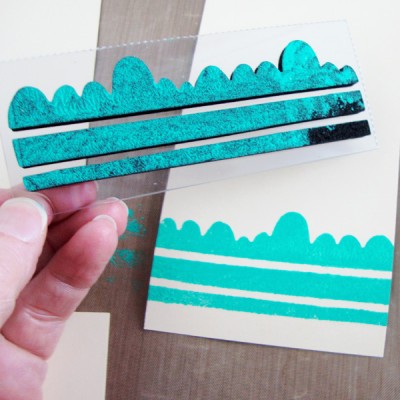
Step #2 – Press the stamp firmly and evenly onto the area desired.
Yes, it is really that easy! Now notice that paint is not as clean and neat as ink. You don’t always get crisp lines or even coverage. Also note that it is easier to use broader stamps that have less detail versus ones with fine lines and tighter images.
You can use a paint brush and just paint onto the stamp, but often you will get globs of paint at the edges of the image that will create globs of paint on your creation. A foam brush used like a dabber works better and is very similar to the pre-packaged paint dabbers.
Create a “paint pad” for stamps
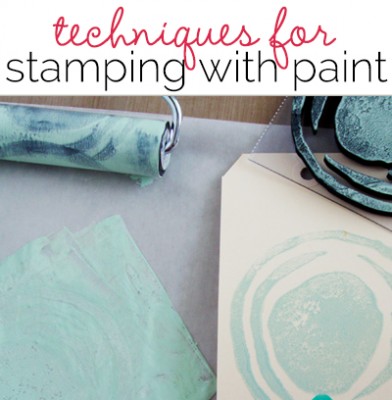
Step #1 – Use a brush or a brayer to smooth paint over a broad surface. I like to use wax paper or a paper paint palette because I can just throw these away when I am done.
Step #2 – Press the stamp into the paint to load it.
Step #3 – Press the stamp firmly and evenly onto the surface to be stamped. If you have a larger stamp and an extra brayer that you can keep dry, you can roll it over the back of the stamp. This can help distribute even pressure throughout the stamp.
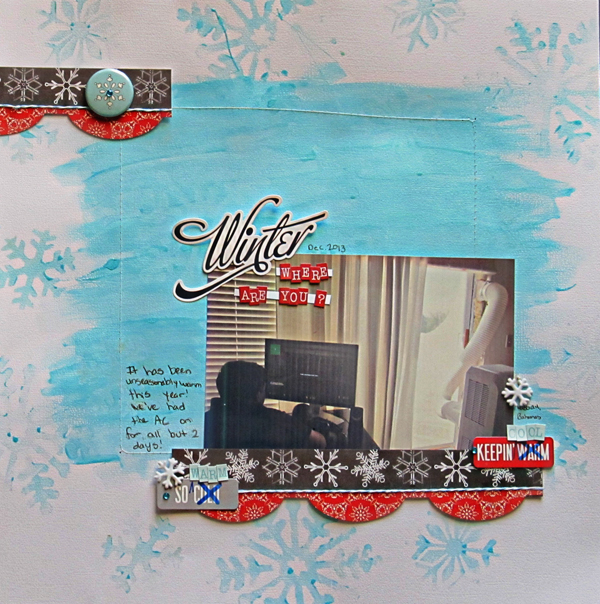
Notice that on the “paint pad” where you picked up the paint you leave a lighter colored area where the stamp was pressed into the paint. Check out Christy’s layout below. The way she uses this effect on her layout is brilliant! She creates her paint pad right on her layout.
Use Gelatos or water soluble oil pastels
When you add water to Gelatos or water soluble oil pastels they turn into paint. Gelatos look like a water color and oil pastels look a little thicker, depending how they are applied. You can use this to your advantage and use either of them to get a paint-like stamp effect.
Step #1 – Use an oil pastel or Gelato to color your stamp. You can use multiple colors or just one.
Step #2 – Mist the stamp generously with water.
Step #3 – Press the stamp firmly and evenly onto your creation.
You might be able to add a little more water and stamp again it will vary on how thickly you added your medium and how much water you sprayed. I found the Gelatos worked a little easier with brighter results but with some play both make great options!
Stamp with paint + your scrapbook pages
Here you can see how I’ve used techniques #1 and #2 in my scrapbook page Yummm.

Yummm by Michelle Houghton | Supplies: cardstock, large flowers and letters; American Crafts, tags; Paper Memories, paint; Tim Holtz, ink; Copic, trims; unknown
And here is a wonderful layout by Christy Strickler. Can you see the snowflakes in both the positive and negative? Look close, the effect is subtle but beautiful!

Winter Where are You? by Christy Strickler |Supplies Cardstock: Colorbok; Stickers, Patterned Paper, Letters: Echo Park; Twine Jillibean Soup; Brads, Flair, Jewels: Freckled Fawn; Paint: Silks Acrylic Glaze; Other: foam stamps
Christy’s says, “I wanted to document how hot our winter has been. We are still using our AC to keep cool. I first created an irregular block with the acrylic glaze. While the paint was still wet, I stamped into it with a foam stamp.This removed some of the paint from the base layer. Then I stamped off the paint on the edges of the cardstock.
[mixedmedia]


