
 by
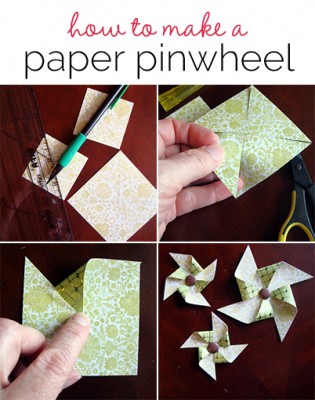
by Pinwheels are trendy scrapbook layout embellishments. And they are easy to make yourself. Use the instructions that follow to customize embellishments that make scrapbooking personal.
You need a few supplies:
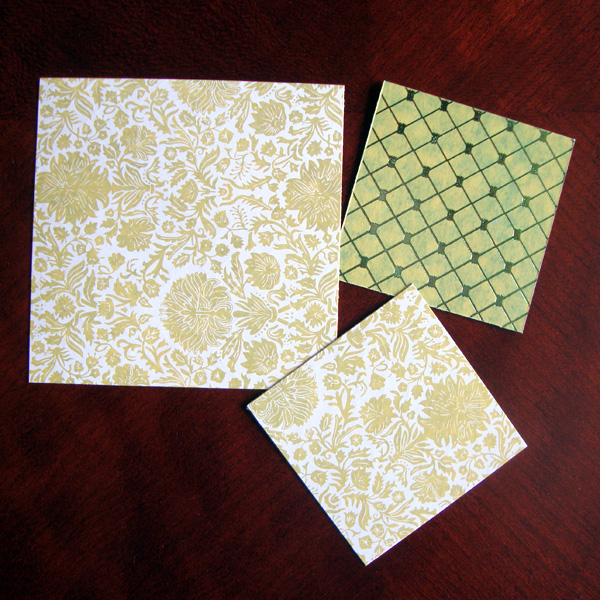
- double sided paper
- glue dot
- brad or button
- pencil
- straight edge
- scissors
- paper cutter
Step #1 – Cut your paper into squares. It’s easiest to use double-sided paper since both sides will show.
Step #2 – Use a straight edge and pencil to LIGHTLY draw lines across each square from corner to corner.
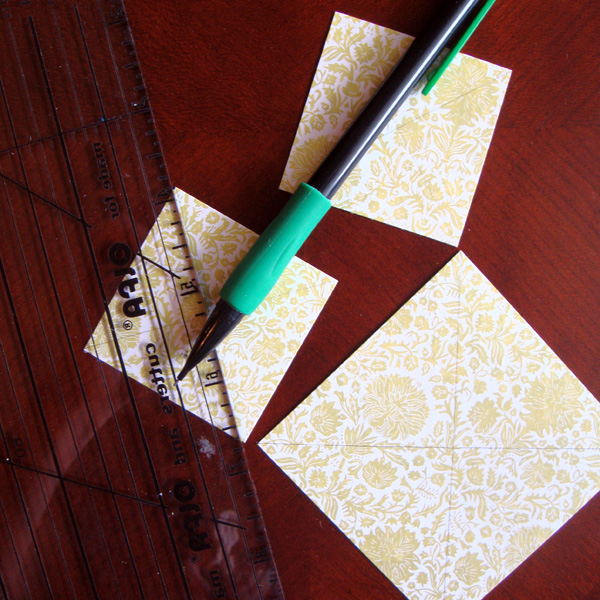
Step #3 – Now cut from each corner about halfway to the center of the square.

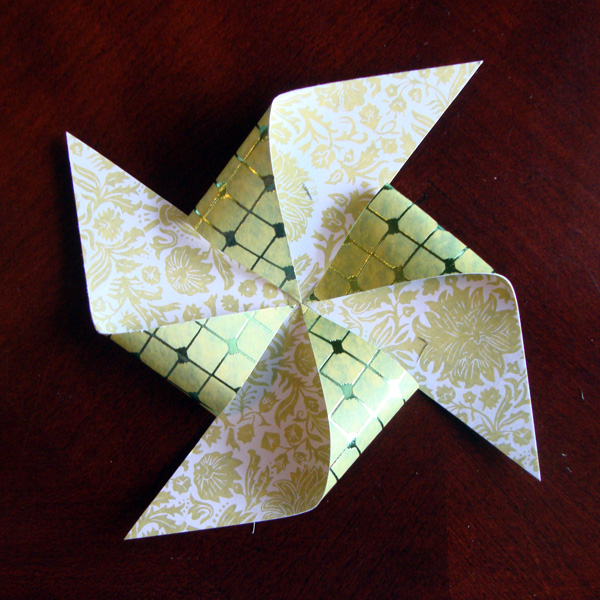
Step #4 – If your lines are dark, erase them now. Place a glue dot on the very center of the square, and bend one corner piece into the center. Note that you do not want to fold the paper down just bend it over and attach the tip to the glue dot.
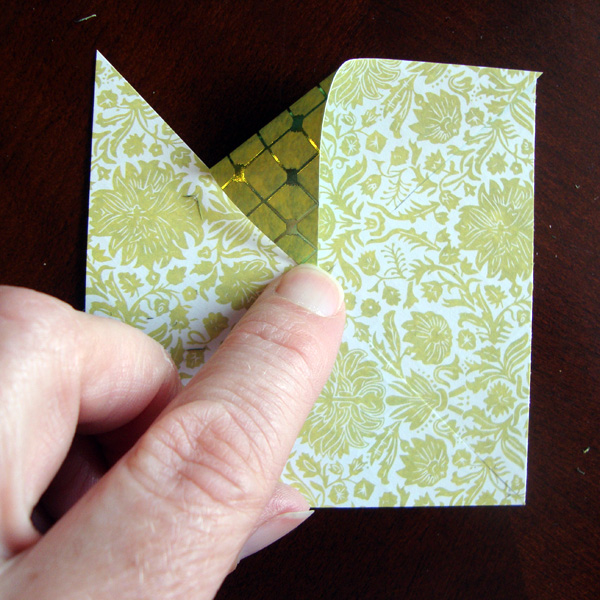
Step #5 – Bend 3 more tips over into the center, attaching them to the glue dot.
Step #6 – Add a brad, button or any other small embellishment on the center of your pinwheel.
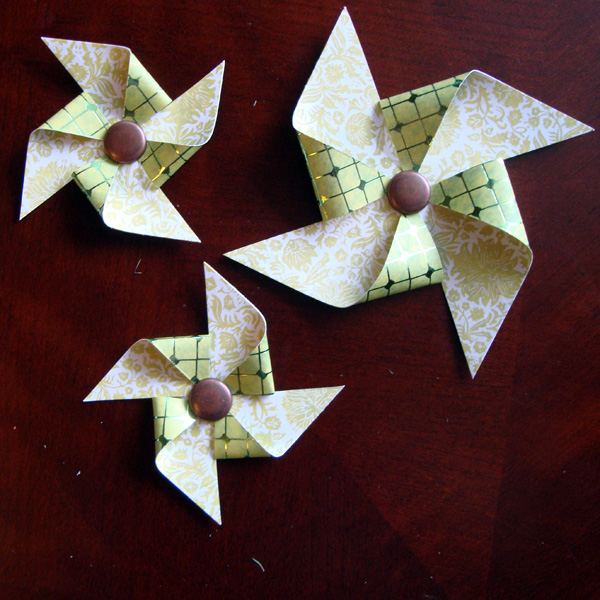
Step #7 – Now you can add your finished pinwheel to your scrapbook layout.
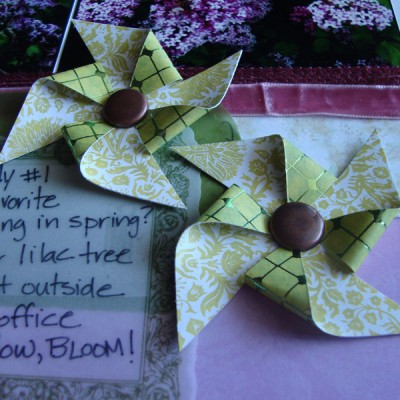
On my own scrapbook page I documented one of my favorite details of spring, the blooming of our lilac tree. I used pinwheels because they remind me of spring and summer. They have a similar petal-looking shape to the flowers featured in the photos. I wanted my pinwheels to match my page perfectly, so I used one of the double sided papers from the paper line to create my own.

Spring Has Sprung by Michelle Houghton | Supplies: cardstock; American Crafts, patterned papers, vellum tags and brads; SEI, ink; Sharpie, sticker letters and words; Cosma Cricket, trims; unknown
Join us tomorrow on the blog for a roundup of scrapbook layouts using pinwheels from the Get It Scrapped Creative Team. You’ll be scrapbooking fun dimensional pages.
[mhoughton]
