Vellum is a translucent paper that lets diffused light pass through so that the layer beneath is toned down, visible but not as clear and bold as when uncovered.
Use vellum in full-sized or small bits on your scrapbook pages to:
- add layering with out bulk
- add softness
- tone down a layer beneath
- help a layer above pop on a busy background
- make a pocket that reveals the contents in a subtle way
- evoke a dreamy tone, a misty look, an old-fashioned feel . . . you name it — it will depend on the layers and colors beneath
Attach vellum:
- with stitching
- with brads or buttons
- with adhesive (like micro glue dots) hidden by overlapping element
- with staples
- digitally!
Meghann Andrew says, “I used my Silhouette Cameo to cut a background design out of a patterned vellum. I added interest to the background without too much contrast and business. To bring in another pattern, I added strips of patterned paper to the design behind the vellum. When using vellum, be sure that your adhesive does not show through, or place adhesive in an area that will be covered up by photos or embellishments.”
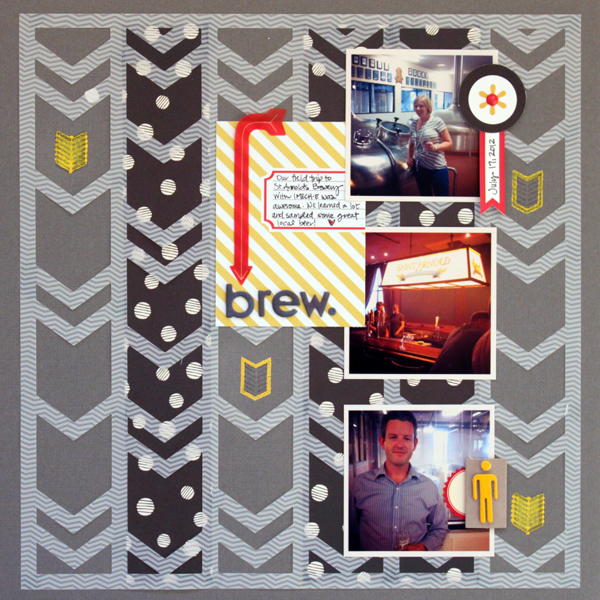
Brew.| by Meghann Andrew| Supplies: Cardstock- American Crafts; vellum- Studio Calico; patterned paper- American Crafts (black & white), SODAlicious (journaling tag); stamp- Studio Calico; ink- Versamark & Stampin’ Up!; embossing powder- American Crafts; transparent die-cuts & letter stickers- Basic Grey; pennant shape- Elle’s Studio; cardstock stickers- Jenni Bowlin (red seal); American Crafts (male potty figure); epoxy dot- My Mind’s Eye; die-cut circle- Studio Calico; die-cut file- Loni Stevens; die-cut machine- Silhouette Cameo
Deborah Wagner says, ” This is a photo of my husband and me on a vacation for our 20th anniversary. I was inspired by these Bob Marley lyrics. I used layers of vellum for the torn, tattered, and imperfect look that represents our many years together. This is a digital page and I made the digital vellum by filling tatterned page masks with white and then reducing the opacity.”
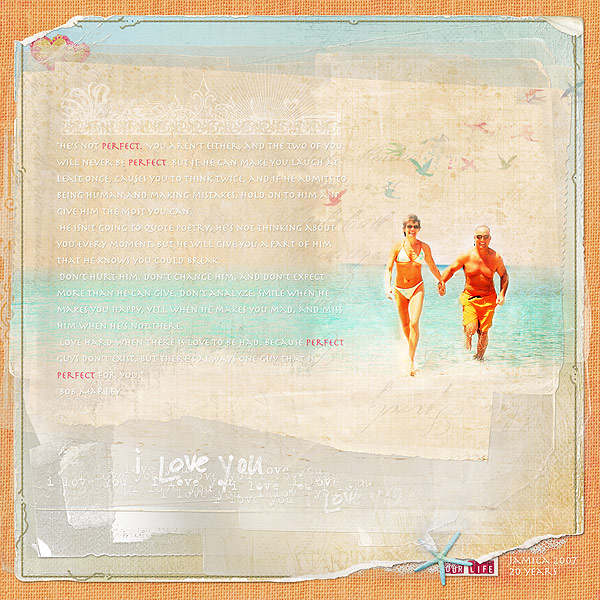
No tPerfect by Deborah Wagner. Supplies – Designer Digitals: Katie Pertiet – Page Blends No. 3, Destination Seaside, Blendable Journalers No.1, Messy Stitched Borders: White No. 2, Worth Repeating No. 5, Shoreline Kit, Catana Solids, Painted Birds No.1; Lynn Grieveson – Worn Page Edges No. 2, Deep End Paperpack, Santa Cruz Kit; Studio DD – Ready Made Journalers No. 3; GT Thomas – Heart Pieces
Katie Scott says, “I recently found my Grandfather’s muster rolls from WWII and wanted to include them in my ancestry scrapbook. Vellum was the perfect material for a pocket because it reveals that there are documents to take out and look at more closely. I machine stitched the vellum to the background paper. The machine stitching makes for a stronger pocket, and I can avoid any adhesive issues with vellum this way.”
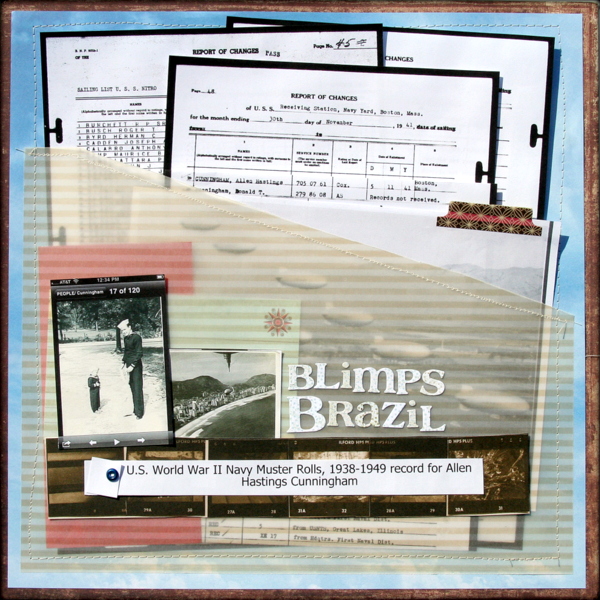
Blimps Brazil by Katie Scott | Supplies: Vellum from Fiskars (2001!); DCWV & Paperloft patterned paper, Basic Grey letter stickers, machine stitching, eyelet, tab.
Barb Brookbank says, “The transparent quality of vellum supports the theme of snow and winter with its shades of white. The two vellum strips on the sides are similar to the tree branches in color and also because they are torn and ragged. Vellum is perfect for small journaling tags – it allows text to be easily read even on a patterned background.”
This is a digital page, and I desaturated the photo and blended it into the background using layer masks and a piece of paper. I also lowered the opacity. I selected and copied parts of the tree branches and placed them behind the photo pocket and in the lower left corner for repetition and to draw the eye around the page.”
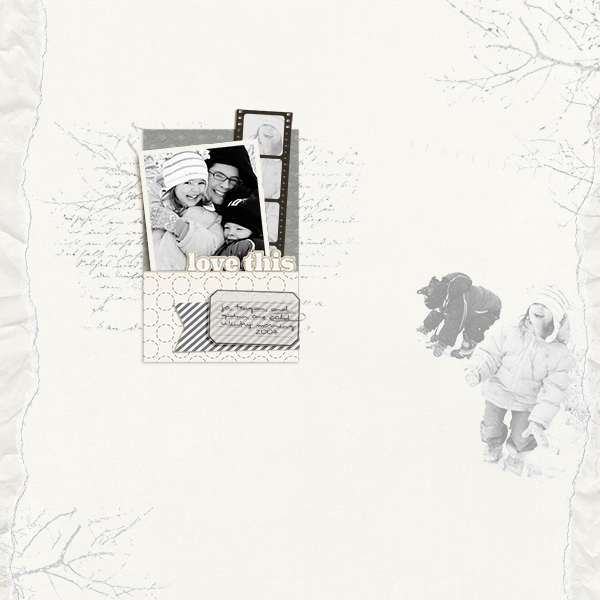
Love This by Barb Brookbank | Supplies: One Little Bird Photo Pockets No.1 Background Paper-Scenes by One Little Bird Vellum Strip-Digital Scrapper Seaside Vacation Handwriting Stamp-Meadowlark by One Little Bird; Photos-Tere
Jennifer Matott says, “I used patterned vellum over the photo and in the upper corner of this page to create a sense of softness, as if viewing the image through mist. I liked how the cloud pattern interacted with the bright colors to tone it down a bit. Using vellum as a design element can be so much fun! I stitched the vellum in place but you can use vellum as a layering element, for journaling to layer over photos or patterns, and as a material to print an image onto!”
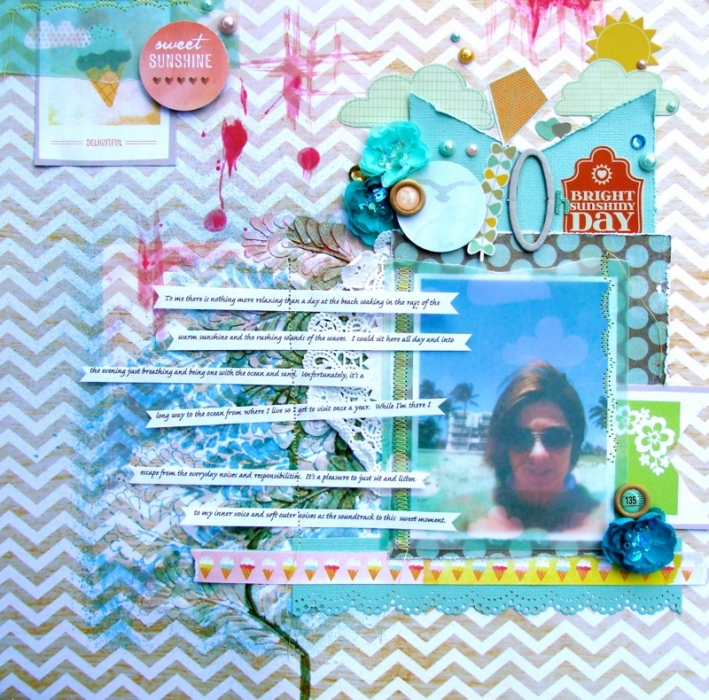
Sweet Sunshine by Jennifer Matott | Supplies: All papers and embellishments from Scrapbooking From The Inside Out kit cardstock: Bazzill; Faber-Castell Design Memory Craft Gelatos; Gesso: Liquitex Perfect; Other: Pearls, Doily
Chris Asbury says, “This photo was taken on a lazy sunny afternoon. To capture the feeling of the day, I used a minimal design without a distracting background and added a layer of vellum. I created the vellum look by using digital tissue paper and setting the blending mode to 25% color burn which blended into the ‘sky’ layer.”
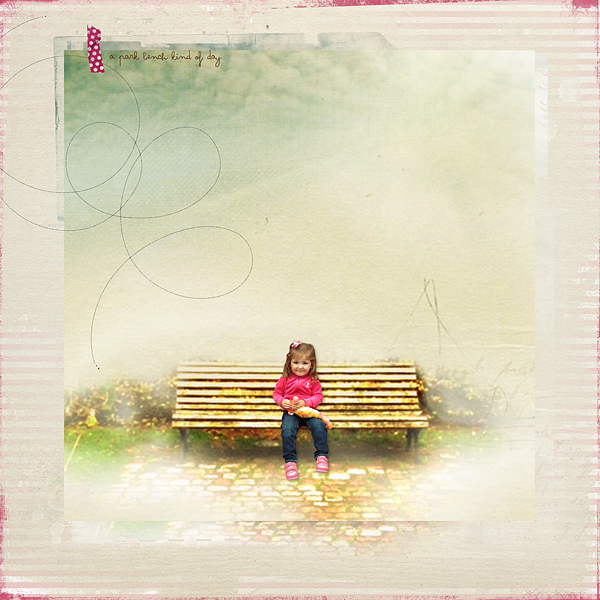
A Park Bench Kind of Day by Chris Asbury | Supplies: Anna Aspnes Designs: Layered Tissue Autumn Paperie No.1, ArtPlay Palette Wander, Textured Overlays No.7, ArtPlay Palette Shabby Christmas, 12×12 Page FotoBlendz No.4, Taped Dotty Polkas No.1, 12×12 Distressed Edge Overlays No.6, Sketchy LoopDaLoop No.2, Font: Arsenale White.
Kiki Kougioumtizi says, “I used vellum to contribute to a fairy feel on this page because it’s about a school play with the theme of a Christmas fairy tale. I used lots of blue glitter and my title was lost so I put the title on vellum. My snowflakes are die cuts from vellum, and to prevent them from tearing (vellum is a delicate paper) I ran them through my die cut machine using 5 layers of paper each time.”
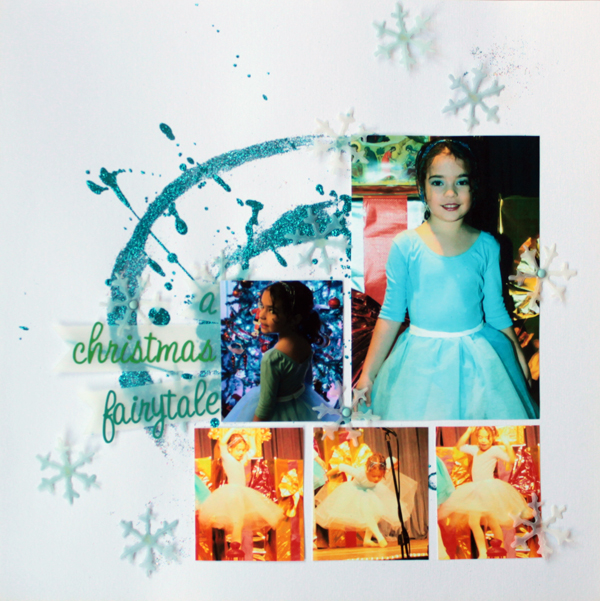
A Christmas fairytale by Kiki Kougioumtzi|Supplies:Cardstock:Canson;Alpha stickers:Webster’s Pagers;Other:Sizzix Die,Ranger glitter glue & distress ink,glitter,vellum,brads.
Doris Sander says, “I am really not very good with stamping or rub-ons, so I never like to apply either directly to my layout for fear of ruining it. Here, I applied them to vellum first then cut them out. The transparent look gives the appearance of having placed them directly on the layout with the added bonus of dimension.”
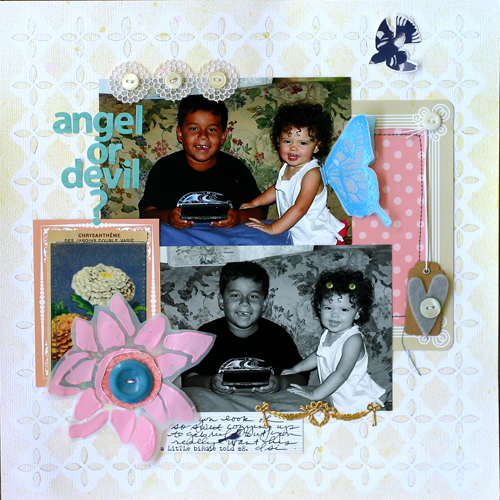
Angel or Devil? by Doris Sander | Supplies: stencil – Crafter’s Workshop, mists, tag – Maya Road, rub-on, felt heart – Jenni Bowlin Studio, foam stamp – Claudine Hellmuth, paint – Jenni Bowlin for Ranger, stickers – October Afternoon, buttons, trim, seed packet – vintage, German foil trim
Terry Billman says, “I wanted to highlight my granddaughter’s laughter and enthusiasm on this layout. I used a strip of vellum over the left side of the photo to ‘hide’ part of the photo in order to accentuate her face. The vellum provided a background for the flowers and the journaling. I lowered the opacity of the vellum to about 7% and applied an overlay blending mode. The pink petals of the flower are strips of pink paper, and I lowered the opacity of the green petals and the stems to give the translucent look of vellum.”
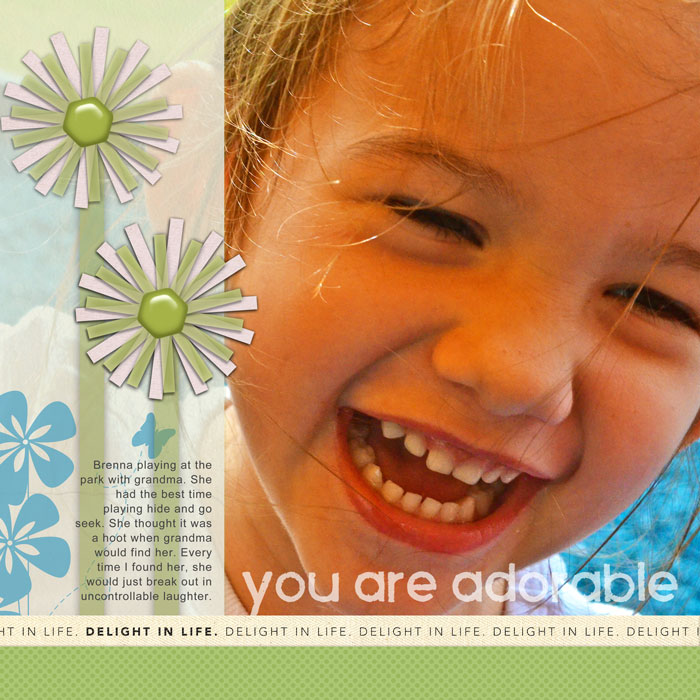
You are Adorable created by Terry Billman| Katie Pertiet: Spots Dots No. 11; Anna Aspnes: Art Play Sweet Pea; Ali Edwards: Everyday 12” Twill
Brenda Becknell says, “My three-year-old granddaughter is a mix of little lady and tomboy. I thought the mix of kraft cardstock, ledger and grid papers, label and tag stickers contrasted with the pinks, flowers and hearts and the softness of the vellum worked well to express her personality.”
“Vellum embosses, punches, and die-cuts well because it’s a little stiffer than most papers. It’s also great for toning down bright colors or changing the shade of papers that just aren’t quite right. The pink cardstock I used for the die cut hearts on this page was too bright for my taste, but adding the diecut and embossed vellum hearts on top toned down the pink and added some texture and softness. I attached the vellum hearts with little cross stitches on this page. Stitching, staples and brads are my favorite ways to attach vellum. If part of the vellum is going to be tucked under another element (like the top of the punched eyelet border) I will use micro glue dots to attach the vellum.”

Sweet” by Brenda Becknell Cardstock: DCWV; Patterned Paper: Studio Calico, October Afternoon; Vellum: Archivers; Label stickers: My Mind’s Eye; Tag stickers: Imaginisce; Die cuts and embossing folder: ProvoCraft; Border punch: Martha Stewart
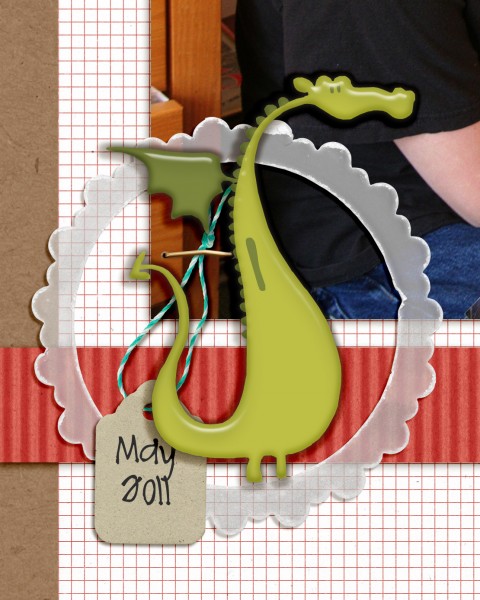
Debbie Hodge says, “I used a vellum pocket to hold the band with my journaling. While the pocket wasn’t actually needed (since this is a digital page) it’s a way to add subtle texture and layering. I repeated the texture at far left with a scalloped ring of vellum embellishing behind the cute dragon.”
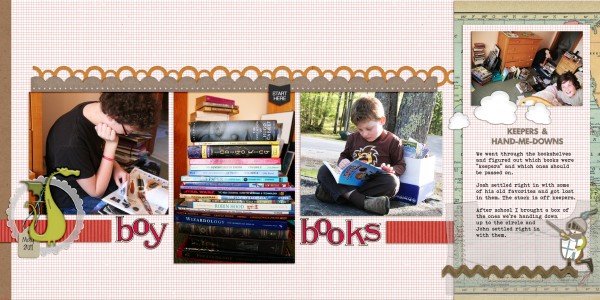
Vagabond by One Little Bird; Dragon Trainer, Traveler Maps by Katie Pertiet; Schoolhouse Alpha by Jenni Bowlin Digital; Restoration by Gina Cabrera; Easy Breezy by Crisdam; Sprinkles 9 by Valerie Wibbins; Staple Its by Pattie Knox; Vellum Ellies, Vellum Pockets by Snips & Snails; Bohemian Typewriter font.
[current]

