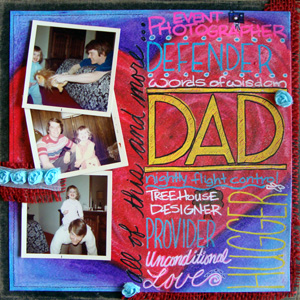
Have you ever thought about adding subway art to your scrapbook pages? Here’s a quick and easy way to add this trendy look onto any layout. No computer skills needed.
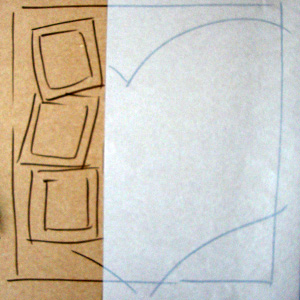
Step 1 – Create the base that your subway art will be sitting on top of and determine how much space you have for your lettering. This is a rough sketch of the placement of my elements that I am working on top of.
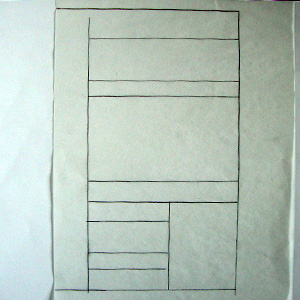
Step 2 – Use a sheet of tracing paper or another fairly transparent paper and break up the space using a ruler. I want the lettering to vary in height so each section varies in height.
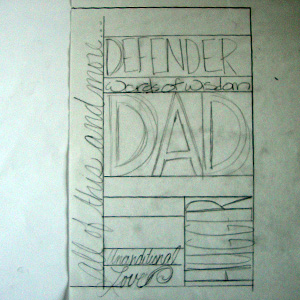
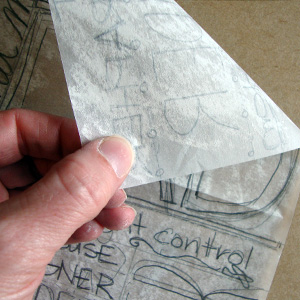
Step 3 – On the tracing paper, fill each section with your word or words. Vary your lettering slightly in each section. These don’t have to be huge differences. Think easy: like height, width, adding curls, block or bubble lettering.
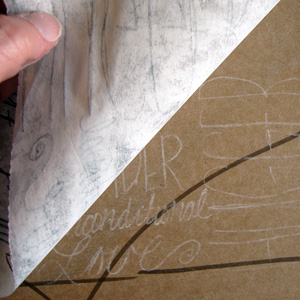
Step 4 – Use a light colored chalk to color all over the back of your tracing paper.
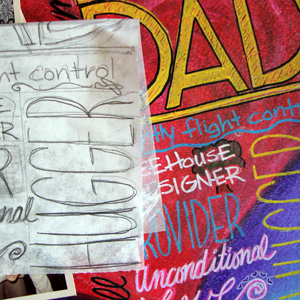
Step 5 – Lay your tracing paper on top of your layout and go over all of your lettering with a pencil or pen. The chalk will transfer onto your layout and create a temporary guide.
Step 6 – Go over all of your lettering and details with your pens and markers. If you need to erase some of your chalk lines do that now. These will erase easily with an eraser.
Step 7 – Add the rest of your layout elements, photos, and embellishments.
Subway art gives you the opportunity to add personal feeling and emotion via the words you chose. When you render those words in your own handwriting, you add one more piece of yourself to your work.
Join us tomorrow for more pages inspired by Subway Art from the Get It Scrapped Creative Team.
[mhoughton]

