layout by Deborah Wagner
Want to get started with digital scrapbooking but trying to make sense of just how it’s done? In this series of articles we show you a digital scrapbook page and then connect the dots between the elements on the page and the Photoshop techniques that were used to create them.
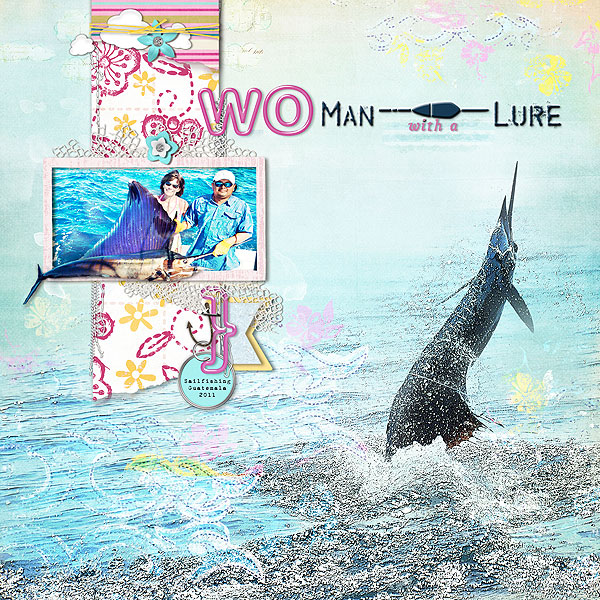
Deborah’s family went on a fishing trip to Guatemala and caught lots of sailfish. Deborah says, “It was beautiful watching them fight as we brought them in. I love this kind of fishing becuase after you take a photo, they are immediately released. Usually after a trip, I come home and start scrapping pages of my children, but not this time. Now my kids will remember what a great fisherwoman I was!”

Woman With a Lure By Deborah Wagner | Supplies: Designer Digitals: Katie Pertiet – Go Fish, Beach House Memories, Blendable Photo Cards No. 3, Sign Makers Alphabet, Atlantic, Banner Bling No.2, Clean Stitched Banners No1, Shoreline Kit, Color Inspiration Pack 1-23-11, Floridian Kit, Totally Tied Up No. 1, Dragon Trainer Kit, Pelican Park Solids, Ad Inspiration 6-11-11; Mindy Terasawa- Pink Florale; Lynn Grieveson- Summer Sunset; Studio DD- Layer Works No.214; Art Warehouse Fishing Brushes
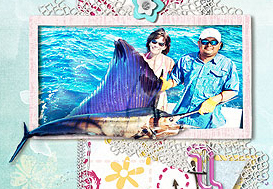
Extend part of a framed photo out of the frame
 Notice how part of Deborah’s fish extends out of the frame. Here’s how to do it:
1. Drag your frame to the canvas.
2. Add a new layer beneath the frame. On this layer, draw out a block to the size your photo should be to fit within the frame.
3. Drag your photo to the layer above the block you just drew. “Clip” your photo to the block with CTRL + ALT + G (or >Layer >Create Clipping Mask).
4. Target the layer with your photo and duplicate the layout (CTRL + J) or drag the photo layer to the “new layer” icon in the Layers Palette. Drag this photo layer ABOVE the frame.
5. “Extract” the part of the photo you want to extend out of the frame and delete the surrounding area. There are lots of tutorials on how to do an extraction. It will take a bit of practice.
- How to extract an image in Photoshop Elements
- Extracting Objects with the Magic Extractor in Photoshop Elements 9
- Tutorial: How to cut out images from patterned papers
- Extracting an image from a photo
- Removing a Picture from Its Background | Photoshop Tutorial.
6. Shadow only the part of the extraction that extends out of the frame.
- Add a drop shadow with a layer style
- Get that shadow on its own layer (RIGHT + CLICK on the style effect in the Layers Palette and select “Create Layer”)
- Erase the parts of the shadow that you don’t want
Shadowing is a big topic and Peppermint Granberg is a great resources for shadowing tutorials.
Create a blended background with texture
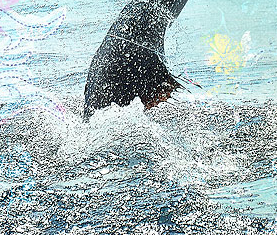
 1. Deborah dragged her photo onto an artsy background paper and then played with blending modes. She used Hard Light at 100% opacity and then a soft brush to erase any hard edges left by photo.
2. Add texture to waves with filter. > Filter > Artistic > Poster Edges. Her settings: Edge Thickness – 1, Edge Intensity –1, Posterization – 2.
3. She added additional dotted flourish brushes and gave them texture with a Bevel and Emboss layer style.
[hr]
[learndigi]

