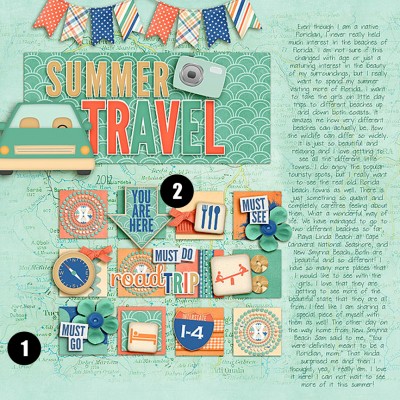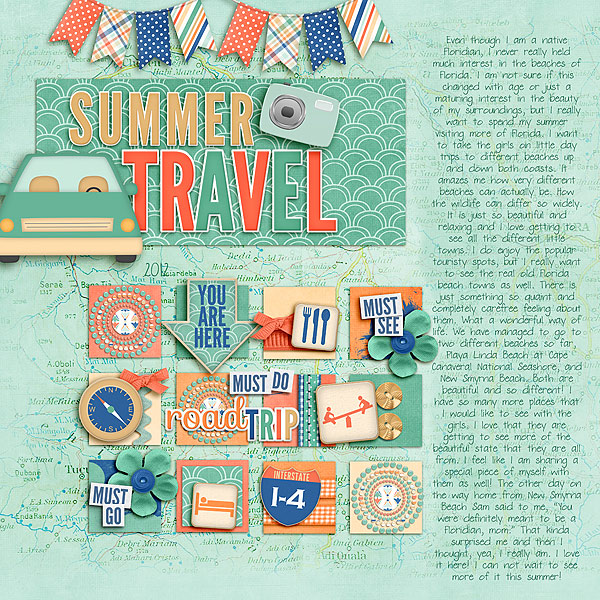
Add interest with blended background and a grid of shapes for clipping papers to.
layout by Tanyia Deskins
Want to get started with digital scrapbooking but trying to make sense of just how it’s done? In this series of articles we show you a digital scrapbook page and then connect the dots between the elements on the page and the Photoshop techniques that were used to create them.
Tanyia Deskins used a summer travel-themed digital kit to record her plans for getting to several Florida beaches this year.
1. Blend an image into the background
You can add visual texture and create your own custom backgrounds by blending two papers.
- Begin with solid digital paper and an image to blend into it (Tanyia used a map).
- Target the image (or map) layer, and adjust Blending Modes and Opacity levels to get the look you like.
- Erase the image around the edges with a soft brush.

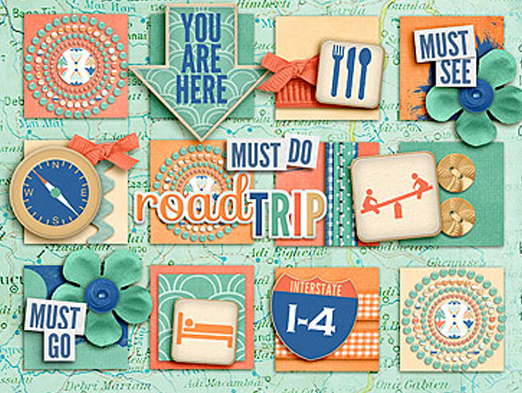
2. Create a grid of evenly spaced shapes for clipping papers to
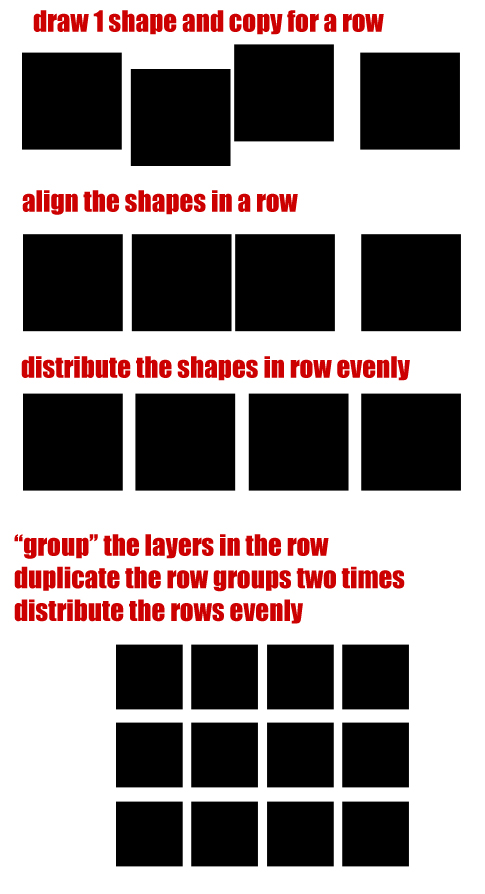
With digital scrapbooking you don’t need to “punch” or trim each shape in a grid individually. Here’s how to make a 4 by 3 grid of squares — and line them up easily — as Tanyia has done.
- Draw a square shape. Duplicate shape 3 times by targeting its layer in the Layers Palette and pressing CTRL + J (CMD + J on Mac) three times.
 Drag each of the squares to create a row of 4.
- Align the top edges of the squares in this row, using the Align options that show up along the top of your Photoshop work area when you have the Move tool (that arrow at the top of your toolbar). See articles linked below for quick how-tos.
- Distribute the squares in the row so that the space between each is equal using the Distribute options that go with the Move tool. Again, see articles linked below.
- Once your row is aligned and distributed, duplicate the row 2 times and then align and distribute the rows.
- Once your grid is set, you can “clip” digital papers and elements like ribbons to the shapes.

Summer Travel by Tanyia Deskins | Supplies: Summer Vacation by Meghan Mullens; DJB Fill In the Blanks font by Darcy Baldwin
[learndigi]

