by Debbie Hodge
The canvas is the piece of paper (or digital background) upon which you build your page. It’s what holds all of your elements, and it defines the space within in which you’re working.
One of the first scrapbooking choices you’ll make is of canvas size and shape. This choice is primarily driven by how you want to print, store, and present your scrapbook pages. Read more about common scrapbook album formats.
Your canvas defines visual space
Putting together a visual design (and a scrapbook page is a visual design) means combining elements within space. Space is where your page elements coexist. Your canvas shape and size are what define the space within which you create.
Canvas size
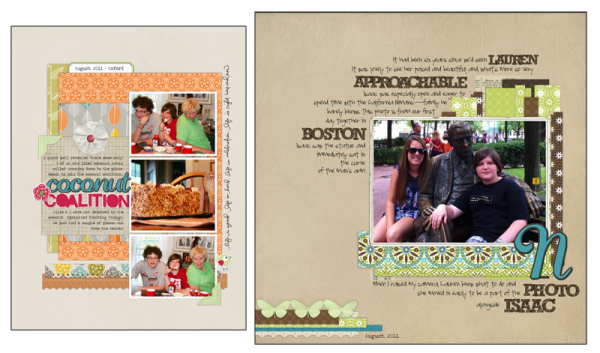
An 8″ square canvas (layout on left) presents a 3.5″ x 5″ photo with smaller accent photo well. For a page with more photos, though (the page on the right), a 12″ x 12″ canvas provides the space to get more elements onto the page harmoniously.
Canvas Shape
Combining your page elements in a non-square rectangular shape offers different design opportunities and challenges than those that come with filling a square-shaped canvas. One is not necessarily better than the other — they are just different. The rectangle is a familiar visual format, and there’s lots of design inspiration to be found.
non-square portrait-oriented rectangle
Most books and magazines come in non-square, portrait-oriented rectangular formats.
non-square landscape-oriented rectangle
Movie, television, and computer screens are usually non-square, landscape-oriented rectangles.
square
While we are less likely to view print and electronic media in square formats, the square is, nonetheless, widely used by scrapbookers. Albums and papers for both paper and digital scrapbookers are widely available in 12″x12″ sizes.
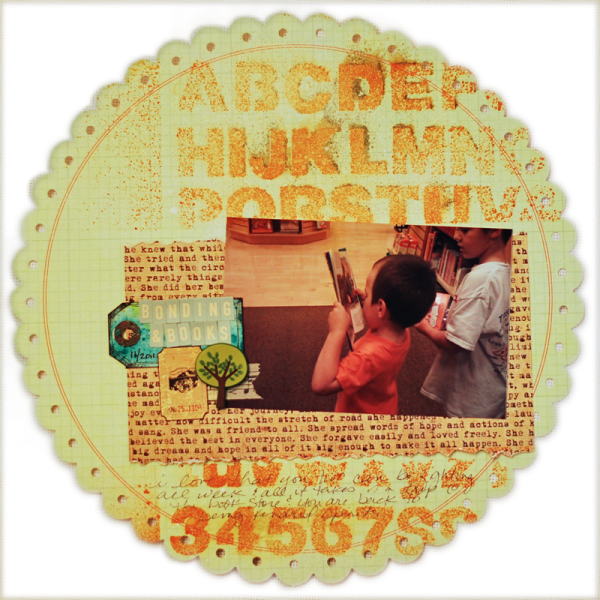
Who says a canvas has to have corners?
For eye-catching impact, use a full-size die-cut once in a while. Because Tami Taylor usually leaves generous white space on her pages, she approaches a shaped canvas understanding that she’s only filling a portion of it. Dina Wakley has more ideas for using die-cut papers on scrapbook pages.
The Two-page Canvas
When scrapbook pages are presented in physical albums, two pages sit along side one another — like pages in a book. Many scrapbookers like making two-page layouts in order accommodate their photos and story and, frequently, because they like the look of matching pages facing one another in their albums.
One approach to scrapbooking two-page layouts is to consider the two pages combined as your canvas and consciously create a design that works with this combined space as one. May Flaum took the approach on “Pumpkin Love.” The orange print that backs up most of her photos spaces the two pages and unites them.

Pumpkin Love by May Flaum | Supplies below.
Another approach is to consider each side its own “canvas” or space to be filled, but to coordinate product and design so that the two side-by-side canvases complement each other.
Tell me:
What’s your preferred canvas size and shape. And, most importantly: why?
 Master design techniques for layering on both clean and richly-packed scrapbook pages. Come away with ideas for using your stash and a stack of layouts you’ll love.
Scrapbook Page Layering is a 4-week online workshop taught by Debbie Hodge and starting January 24th. Click here to register and get more info.
SUPPLY LISTS
Approachable by Debbie Hodge | Supplies: Papercuts No 1, Oiset Rouge Kit, Between the Lines Alpha, Rubber Alpha No 2, Artistry de Blanco Element Pack, From My Bookshelf Blendables by Katie Pertiet; Ginny Paperpack, Ginny solids by Maplebrook Studios; Jucy Kit by Lynn Grieveson.
Coconut Coalition by Debbie Hodge | Supplies: Artistry de Blanco Element Pack, Rubber Alphabet No. 02, Flossy Stitches: Green, Photo Corner Colors No. 02, Notebook Paper Pack No. 03, Oiselet Rouge Element Pack, Scallop Strip Masks, Doodled Block Alpha Brushes and Stamps, Pick Me Up Rub Ons, Labelled Journalers No. 02 by Katie Pertiet; Brad Bonanza No. 03: Digital Fasteners by Pattie Knox; Everyday Sentiment Strips Brushes and Stamps by Ali Edwards
Bonding and Books by Tami Taylor | Supplies: Paper – Collage Press, GCD. Embellishments: American Crafts, October Afternoon. Alpha: October Afternoon. Mixed Media: Tim Holtz Spray Ink. Unknown- Manilla Tag, Alpha Stencil, Stamp
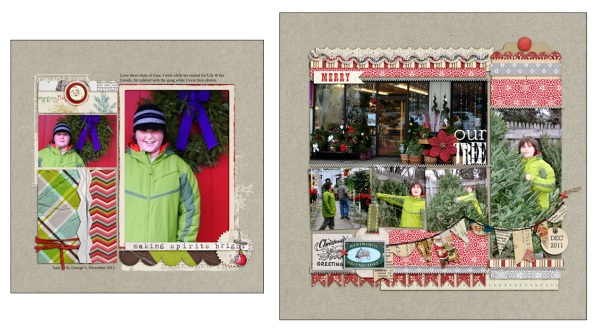
Making Spirits Bright by Debbie Hodge | Supplies: Dashing Papers, Dashing Trimmin’s by Allyson Pennington; Pine Letter Box Collage, Christmas Village, Words and Pictures Christmas Paper Pack, Krafty Canvas No 1 by Katie Pertiet; Christmas Cheer by Lynn Grieveson; Kitschy Christmas by Sahlin Studio and Jen Barrette; Ornamental by CD Muckosky
Our Tree by Debbie Hodge | Supplies: Midwinter, Holiday Cheer by Lynn Grieveson; Kitschy Christmas by Sahlin Studio and Jenn Barrette, DIY Board Game, Life Composition by ViVa Artistry; Oiselet Rouge, File Folder Frames, Flossy Stitches Red, Krafty Canvas No 1, Stamped Alpha No 2 Collageable Banners No 1 by Katie Pertiet; Well Read by Sugarplum Paperie; Stitched by Anna White No 1 by Anna Aspnes; Edgers 2 by Amy Martin
Pumpkin Love by May Flaum | Supplies: Supplies: Jenni Bowlin October die, Making Memories paper, American Crafts alphas
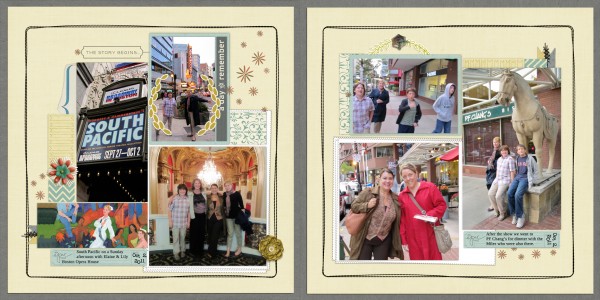
South Pacific by Debbie Hodge | Supplies: Stacked Postage Frames by Katie Pertiet; Time Machine Kit by One Little Bird; Epic Kit by One Little Bird, Biograffiti, Paislee Press; Ransom Journalers by Vicki Stegall; Stitched by Anna Borders Black No 2 by Anna Aspnes; Liberation Serif and Problem Secretary fonts.

