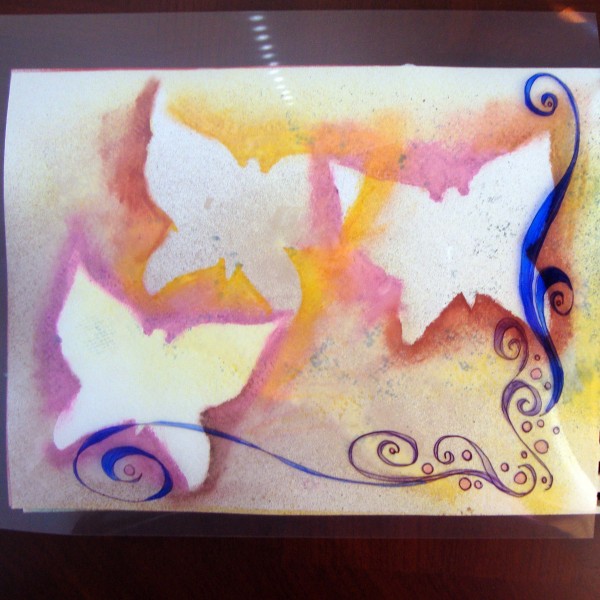
 Hi everyone! I’ve been working on my new class, Creations by Hand, which starts next week and coming up with lots of fun ideas for combining Copic marker techniques, doodling, and handlettering on scrapbook pages, cards, and all kinds of projects. Here’s one way to combine copics and doodling on transparencies for cool-looking overlays.
The beauty of Copics is their ability to work on many different surfaces so I am going to take advantage of that and use three Copics, my doodling sketch marker and a transparency sheet to create an interesting top layer that can be used in a variety of projects.
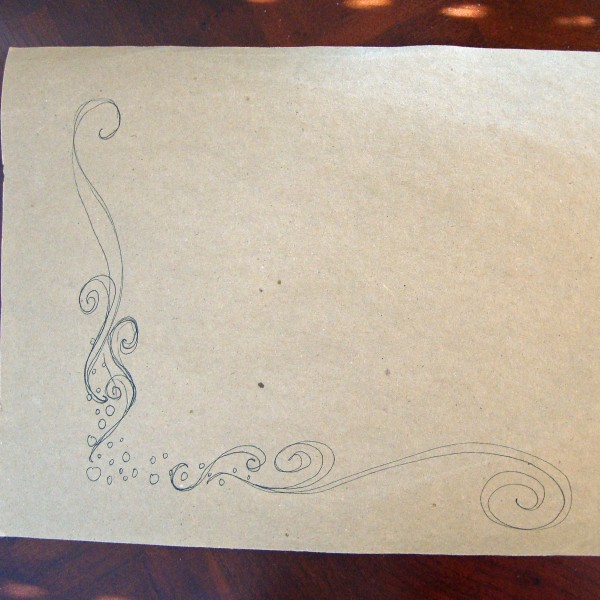
Step 1- First you’ll want to come up with a design. I knew the general shape of the layout I was adding my transparency to, so I started on a sheet of scratch paper and worked out a rough idea.
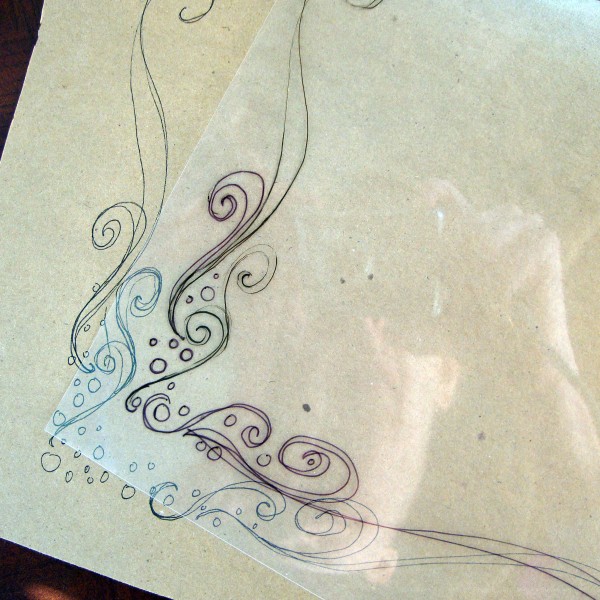
Step 2 –Next I laid my transparency on top of my sketch and used a Sharpie marker to draw on the rough side of my transparency. I also tried an American Crafts Slick Writer and a Copic Multiliner, both worked very well.
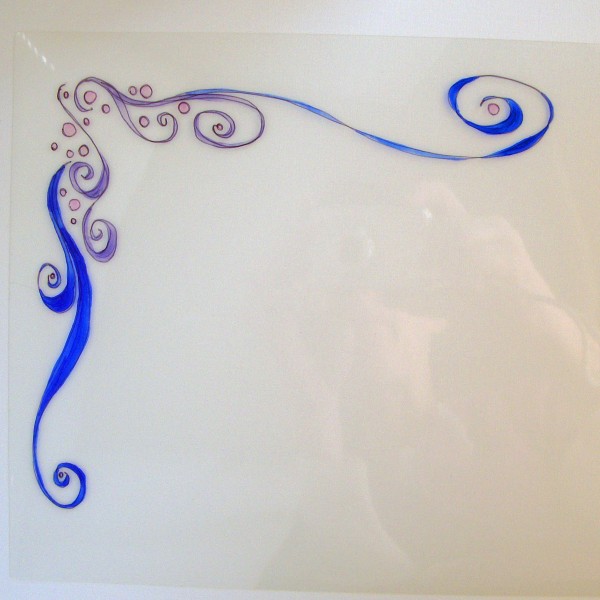
Step 3- Then I turned my transparency over and added color using my Copic markers. You can do some blending, but on plastics you will not get a smooth transition, the colors push each other around instead of mixing.
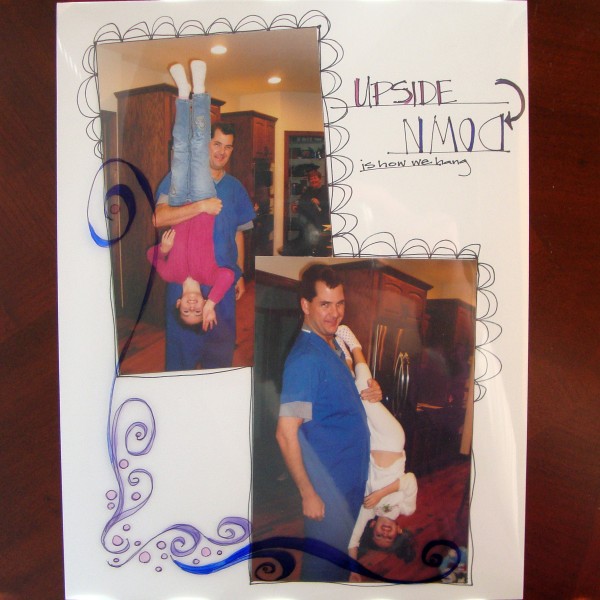
Transparencies can be added in a variety of places. This one is going on a scrapbook layout. It is not completed yet but, I love how it runs over the various elements on the page.
Or it could also go on an art journal page as a top layer or in the middle with more collage and paint elements overlapping it.
I hope you all have fun experimenting with this technique on a variety of different projects! [mhoughton]

