 Many of the products we can buy for papercrafting projects are actually inspired by everyday items. From notion-inspired embellishments to office-inspired papers, we see these items on the shelves of our local scrapbook stores and in our online carts every day
Wouldn’t it be fun to let ourselves be inspired by the everyday items around us and even incorporate some of these very items into our scrapbook pages and projects? Three office supplies that make functional and fun additions to mini albums are:
- CDs
- Name Badge Covers
- Envelopes
Each of these supplies offers durability and versatility for customization. Here’s how to start using them in minibooks today.
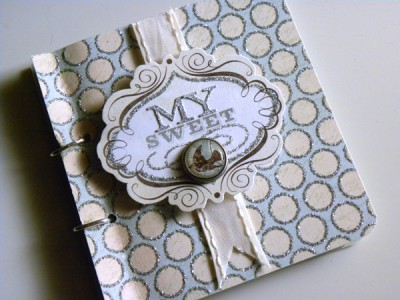
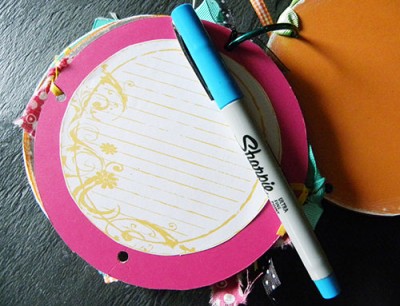
CD Mini Albums
The thing I love about using CDs for my mini albums is that they bring a certain “novelty” to the mix–not only because they’re a repurposed item, but, more simply, because they are round! There is something so visually interesting about a round mini album–don’t you agree?
Here are a few tips for working with CDs in your mini albums:
- These don’t have to be blank CDs–chances are that you’re going to cover them anyway, right?! Repurpose the sample disks you receive in the mail, movie discs that didn’t survive the wrath of your three-year-old, and outdated program software.
- It helps to have a Big Bite or a Crop-A-Dile for punching through your CDs with ease–but if you’re not worried about dulling your basic hole punch, I’m here to tell you that with the right amount of strength it can be done!
- Sand the tops and bottoms of your discs before covering so that your adhesive will hold better.
- Use 6 to 8 CDs–any more can be a little too bulky.
- Try binding your CD mini with a single book ring or even accordion-style to help cut down on some of the bulk and to make it easier to look through.
Name Badge Mini Albums
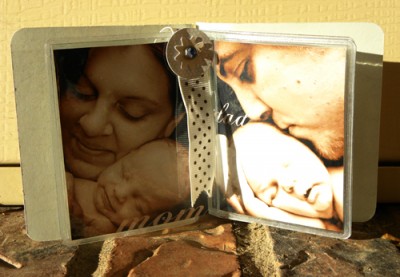
When I first saw these dangling from their peg at Staples, I knew they were intended for a much greater purpose than protecting the name tags of myself and my co-workers. These nifty little items are the perfect size and shape to act as mini page protectors for your ultra mini albums!
These ideas and tips will have you crafting an awesome album of name badge covers:
- There are a few different sizes and types of name badge covers available: choose the size that will work best for your particular project, and make sure that whether they are pin-style, clip-style or lanyard-style that the hardware can be removed easily and without damaging the protector.
- Cut your pages and covers for your mini to size before adding your page elements.
- Avoid elements that are bulky or that pop out too far from the page.
- Resize your digital pages or photo art to the size of your name badge covers to make a simple, but beautiful hybrid mini album.
- Your binding choices with these are going to depend on the type of name badge covers you have, but can include book rings, findings, ribbon-tied binding and more!
Envelope Mini Albums
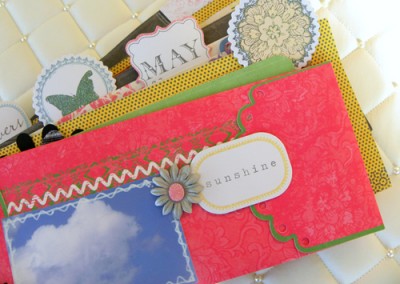
Envelopes can add an element of functionality to your mini albums that you may have been missing out on with simple pages. Envelopes come in many great colors and sizes, and they’re perfect for securing and holding memorabilia, hidden journaling, additional photos and more.
Use these tips to incorporate envelopes into your mini albums:
- Make an entire mini album from coin envelopes—it’s a fun size and they are available both in white and manila.
- Insert an occasional letter-sized envelope inside of your mini albums to hold memorabilia or to hide your journaling inside.
- Use your envelopes as templates to create customized envelopes from patterned paper.
- Repurpose colored and specialized envelopes from old birthdays and other special occasions.
- Make an envelope mini for your old letters from sweethearts, family members or even pen pals.
For more great ideas on repurposing everyday items and thinking outside the box when it comes to your paper scrapbook pages visit me at my site AmyKingsford.com.
[akingsford]


