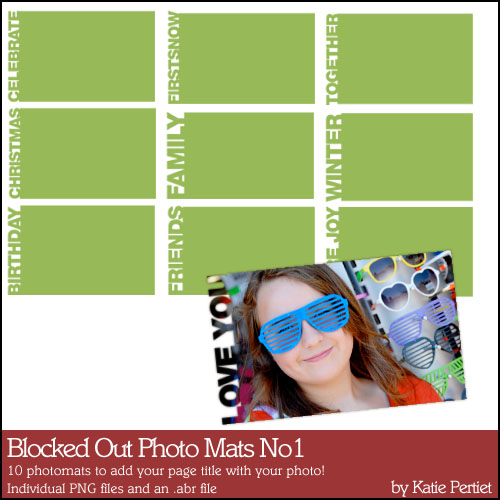

Digital photo masks come in a variety of shapes and sizes and you can use them to get cool effects on your photos. You can then use these altered photos on digital or hybrid/paper layouts.
To get the look on the photo above, I used one of Katie Pertiet’s Blocked Out Photo Mats #1 — it gives the effect of having the words laser-cut from the photo. I made the background blue so the letters would show.
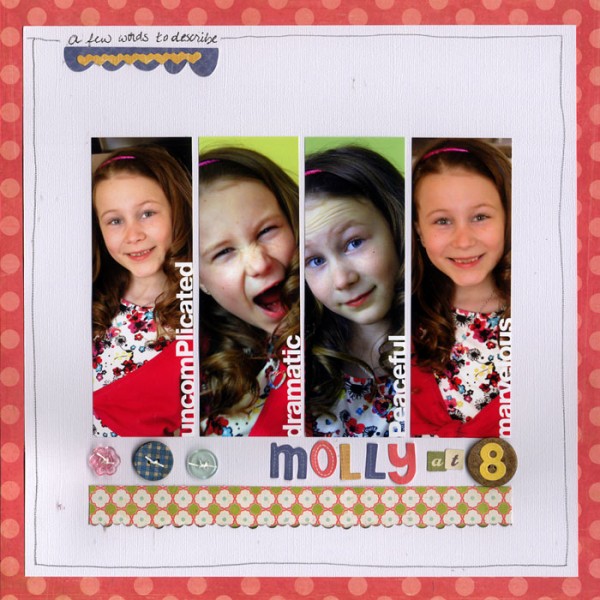
Now I’ll show you how to use these masks on a scrapbook page.
digital photo mask: Blocked Out Photo Mats #5 by Katie Pertiet
1. Create a canvas in Photoshop equal to the size of the photo you want to print
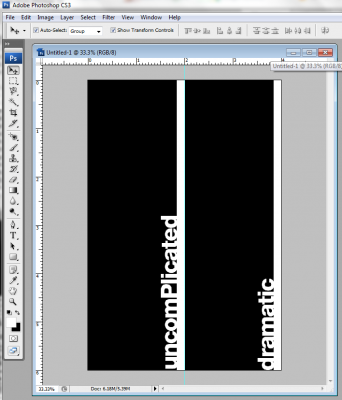
Create a new 4″x6″, 300dpi canvas in Photoshop/Photoshop Elements. You can set your background to whatever color you want to show through your photo mask. Here, I left mine white because I was placing these photos on white cardstock.
2. Drag and place masks on your canvas
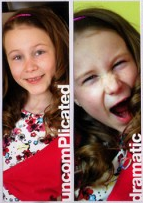
Drag your photo mask/photo block onto your canvas and resize it as you like. On my layout, I resized each to be 6 inches high. (I’m going to be printing a 4″x6″ photo that contains TWO of these masks with photos clipped to them.)
3. Drag your photos to the same canvas.
Drag your photos onto the canvas. Be each one sits on the layer above the mask to which you’d like it clipped. Position and resize as desired.
 4. Create a clipping mask:
- In Photoshop, select the photo layer and press Ctrl-Alt-G (or go to the layer menu and select “Create Clipping Mask”).
- In Photoshop Elements, select the photo layer and press Ctrl-G.
- On a mac replace Ctrl with Cmd.
5. Repeat, print, trim and mount
Repeat for other photo mat/masks that you are using. Print your photos, trim them, and then use on a scrapbook page.
[pgilarde]


