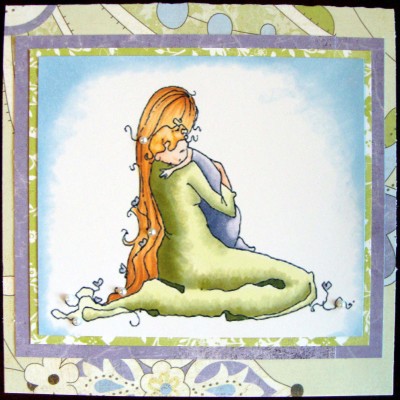
If you are here I know you like to color with Copic markers — or have an interest in coloring with them.
So where do you get your images for coloring?
When I started using Copic markers I was not a stamper or card maker. I truly only scrapbooked and occasionally made a card from scraps for a very close friend or special occasion. Since picking up the habit of Copic coloring I have increased my need for images to color! I still enjoy a rubber stamp and ink pad but I have found I also LOVE the versatility of digital stamps.
What is a digital stamp?
Digital stamps are original images that can be downloaded to a computer and printed out for coloring. You can change their size, rotate, and even flip them before printing. They are usually offered as PNG or JPG files. They offer new opportunities for stampers and crafters alike, because of they can be resized. What’s more, they cut down on the space taken up by rubber stamps and acrylic blocks.
The reasons I love digital stamps:
- The variety is awesome! The number of digital artists out there is staggering.
- I can vary the size to suit my project, whether it is a card or layout.
- Digital stamps take up a lot less space than rubber or acrylic stamps.
- Digital stamps are inexpensive.
How to use digital stamps
A few tips on printing out your digital stamps
Printing out digital stamps can sometimes lead to an image that will blur if your printer ink is not compatible with Copic markers. Here are a few solutions to this problem:
- Make sure to let the ink set. Just like an ink pad, the ink from your printer needs time to dry.
- If time does not solve the issue, take your printed image to a copy shop and have it copied onto your cardstock. The laser copy at a copy shop works very well with Copics.
- It may be a good idea to go to the copy shop with a variety of images and/or sizes to make your trip worth while.
My favorite digital stamp artists
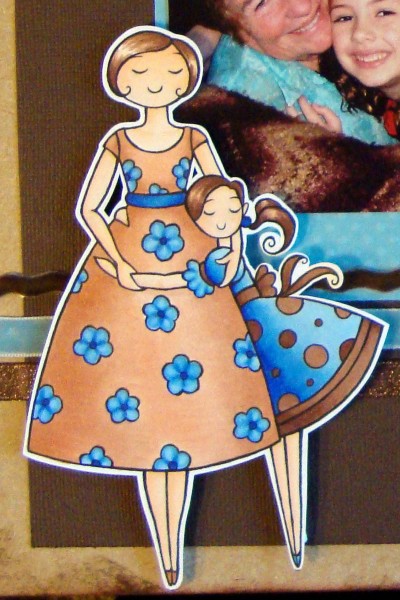
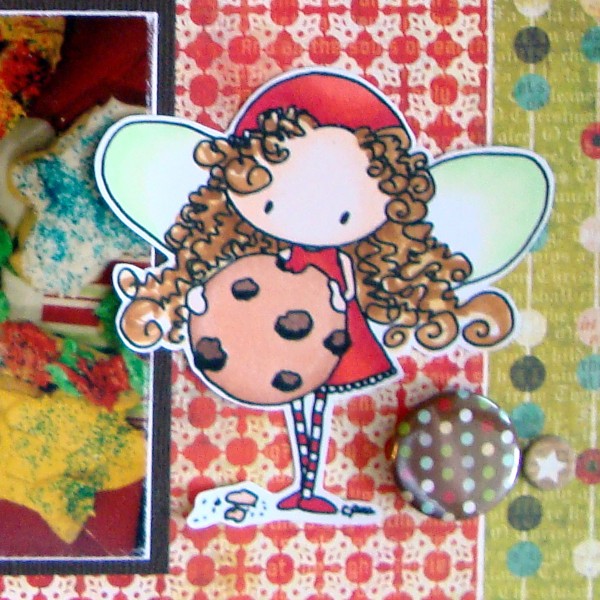
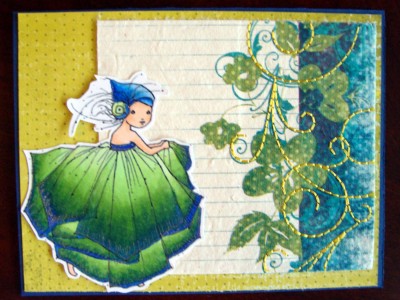
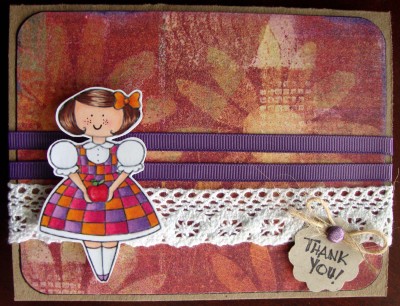
The images included in this article are from three wonderful digital stamp artists that you will definitely want to check out!
- Michelle Perkett of Michelle Perkett Studio
- Christy Croll of Tiddly Inks
- Tammy Siemers Thompson of A Day For Daisies
Got questions? Post them here and I’ll reply. [mhoughton]

