By Doris Sander
 You might think I’m a little odd, but . . .
when I buy new scrapbooking supplies I always look to the product packaging for inspiration.
Yes, the product packaging!
I love the idea of recycling and, well, who doesn’t love the idea of saving a little money? Using product packaging always feels like a free bonus treat to me.
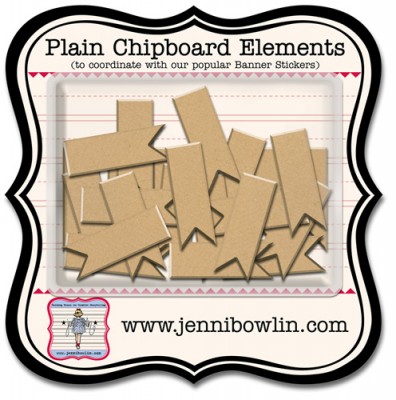
One bit of packaging that I’ve found several uses for is from the Jenni Bowlin Studio Chipboard Buttons (and some of her other products). The chipboard backing is nice and sturdy and in the shape of a lovely bracketed label. Oh the ideas! Save the plastic clamshell from the front as that, too, will come in handy.
Here are three projects I’ve created with this salvaged supply. I have several more saved, and new ideas are constantly percolating.
1. make a wall-hanging
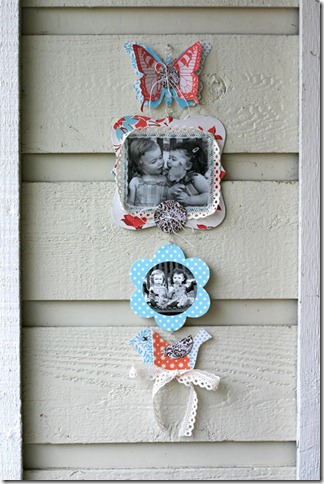
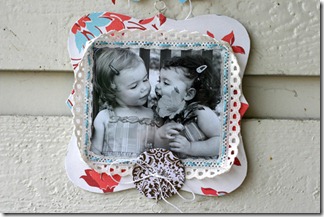
The main frame of this sweet spring wall hanging is made from the backing and clamshell. I first covered the front and back of the chipboard with patterned paper. Next trim your photo to the size of the plastic clamshell and adhere it and the clamshell to the front of the chipboard. Use a tape runner to adhere lace trim around the edges of the clamshell. Finally, use a needle and embroidery floss to stitch everything down to make it extra cute and durable.
2. make a mini album
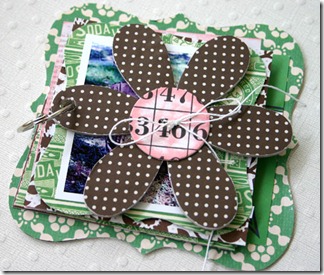
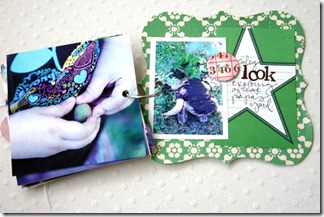
The backing for this adorable mini-album is again the chipboard piece covered front and back with patterned paper. The front is a chipboard flower from Jenni Bowlin Studio. I love the contrast of these two shapes together and since the front is smaller than the pack all the parts are visible. The pages are simply photos trimmed to 4 x 4 inches and covered with patterned paper on the back. Decorate it with some journaling cards and chipboard buttons and join it all with a ring clamp.
3. use it on a scrapbook page
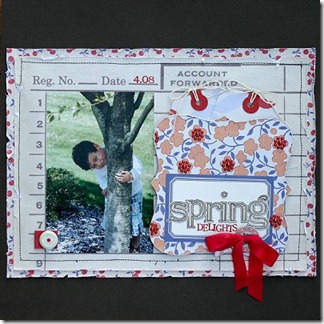
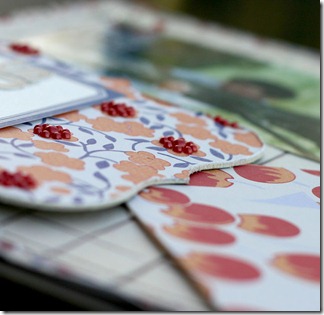
For the layout I again used the chipboard and clamshell. This time I only covered one side of the chipboard with patterned paper. I cut the top edge off the clamshell before reattaching it to the backside of my chipboard piece and adhering it to my layout. The open edge of the clamshell should be at the top edge so it forms a little pocket. I filled mine with manilla tags that were covered with patterned paper on one side and journaling on the other. For a fun twist, you could add extra photos too.
[dsander]

